Key Takeaways
-
Water is the main winter enemy of masonry fire pits: it seeps into pores and joints, freezes, expands, and causes cracking, spalling, and loose stones through repeated freeze-thaw cycles.
-
Clean out cold ash and debris in late fall, since wet ash and trapped leaves hold moisture against stone, and confirm water can drain away from the firebox rather than pooling.
-
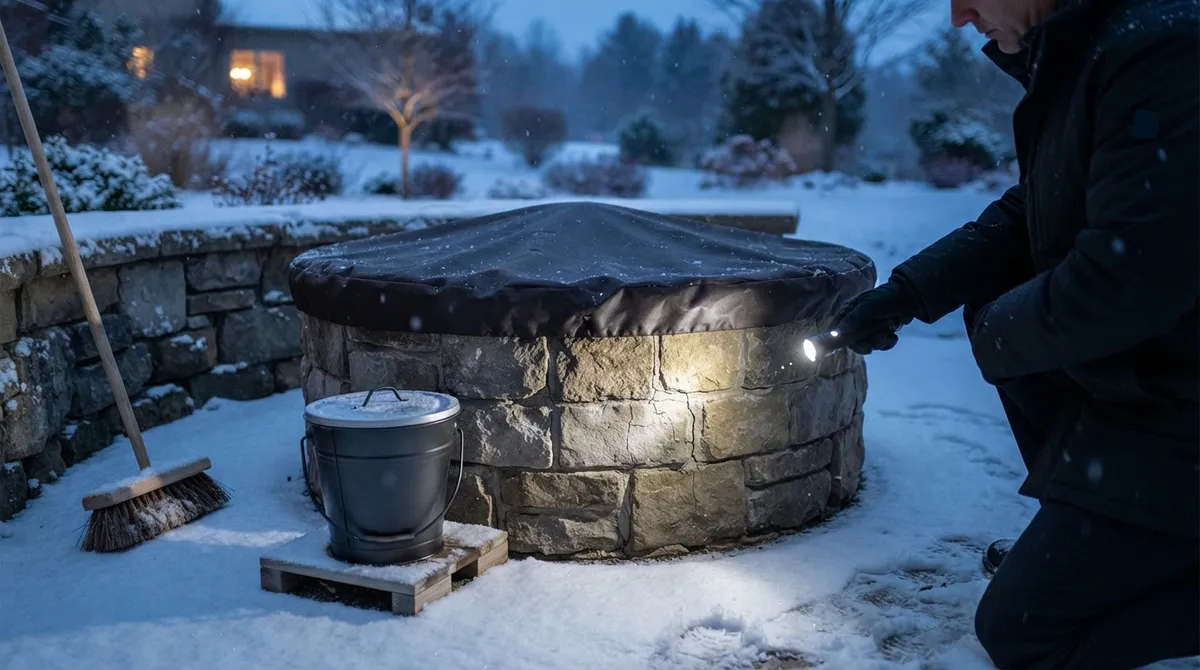
Inspect joints and surfaces with a flashlight for hairline cracks, crumbling mortar, loose stones, and flaking faces, and fix small gaps early before freezing water widens them.
-
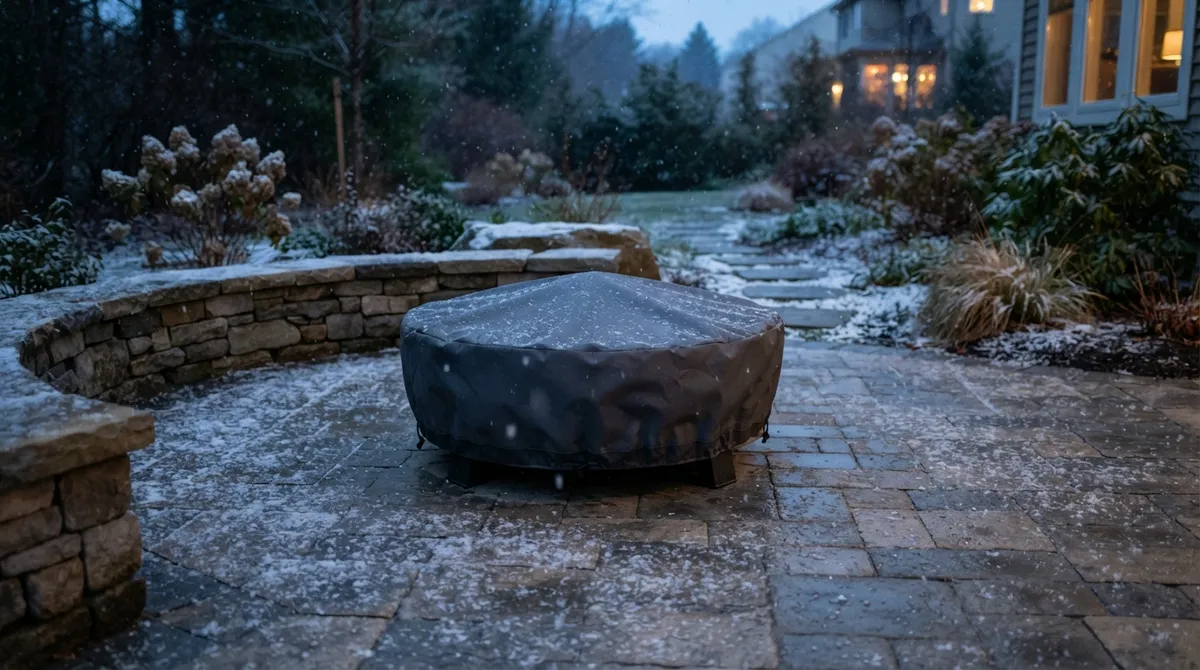
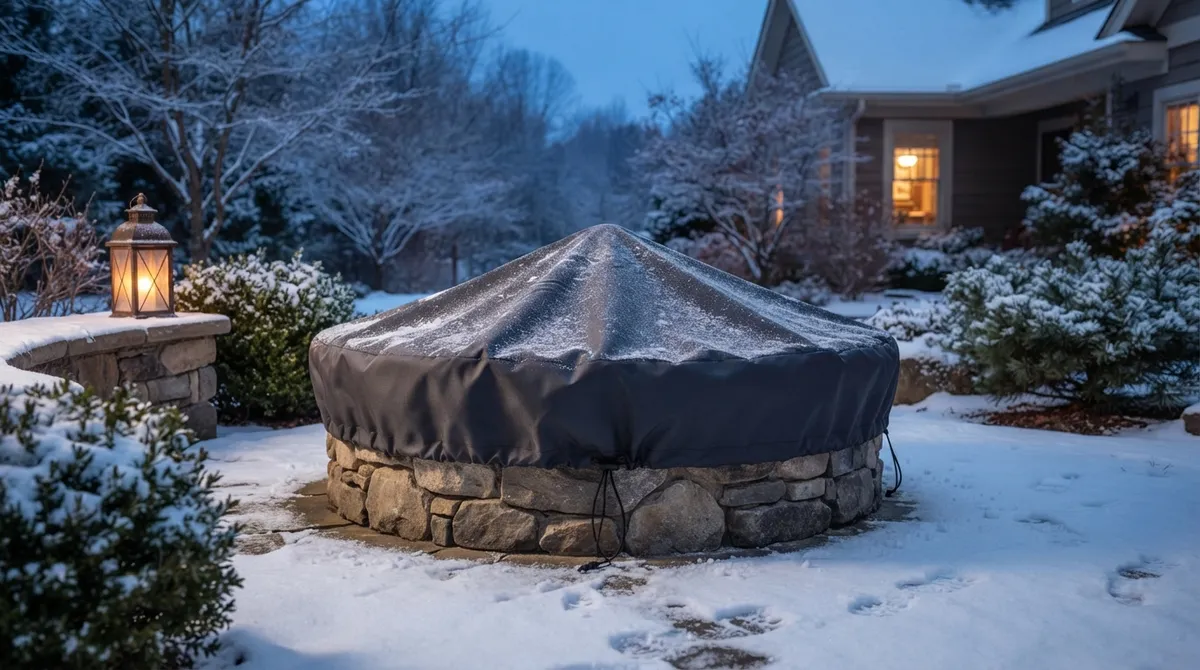
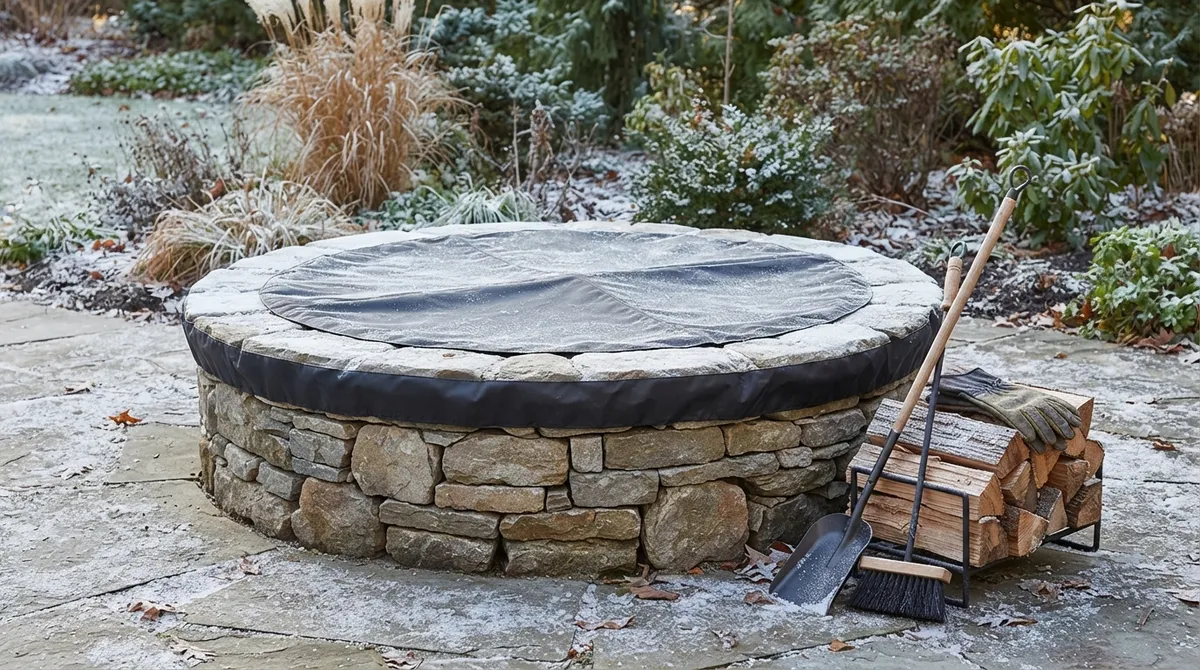
Cover the pit only when it is completely cool and dry, using a fitted, weather-resistant cover that does not trap moisture or let water pool on top.
-
Never use de-icing salt near masonry; clear snow gently with a soft broom or plastic shovel and avoid chipping at ice with metal tools.
-
Use high-temperature masonry materials for any firebox repairs, and call a pro for wide cracks, shifting stones, or any gas line or burner work.
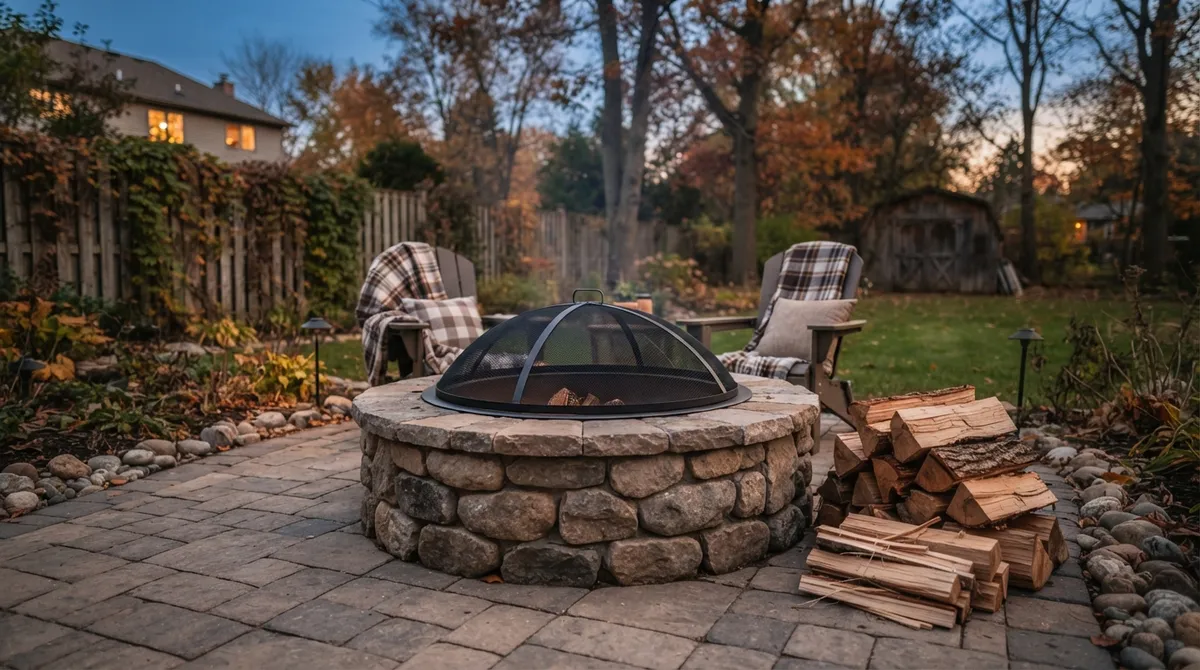
Picture this: it’s a crisp January morning in Chicagoland, and you glance out at your beautiful stone fire pit. It’s buried in snow, and a little ice is clinging to the capstones. Is that a problem? Should you do something? If you’ve ever wondered, you’re not alone. Many homeowners put real love (and real money) into a masonry fire pit, then aren’t sure how to care for it once the temperature drops.
Here’s the friendly truth. Winter maintenance for masonry fire pits is mostly about one thing: keeping water out. Water that sneaks into stone, brick, or mortar can freeze and expand. Then it thaws and does it all over again. That freeze-thaw cycle is a top reason masonry cracks, flakes, and loosens over time.
The good news? A little prep in late fall and a few simple habits all winter can protect your investment. In this guide, we’ll walk you through exactly what to do, what to avoid, and when to call a pro. Grab a warm drink, and let’s get your fire pit ready for the cold.
Why Winter Is Tough on Masonry Fire Pits
Masonry looks tough, and it is. But stone, brick, block, and mortar all have tiny pores. Rain and melting snow can slip into those pores and into small joints and hairline cracks.
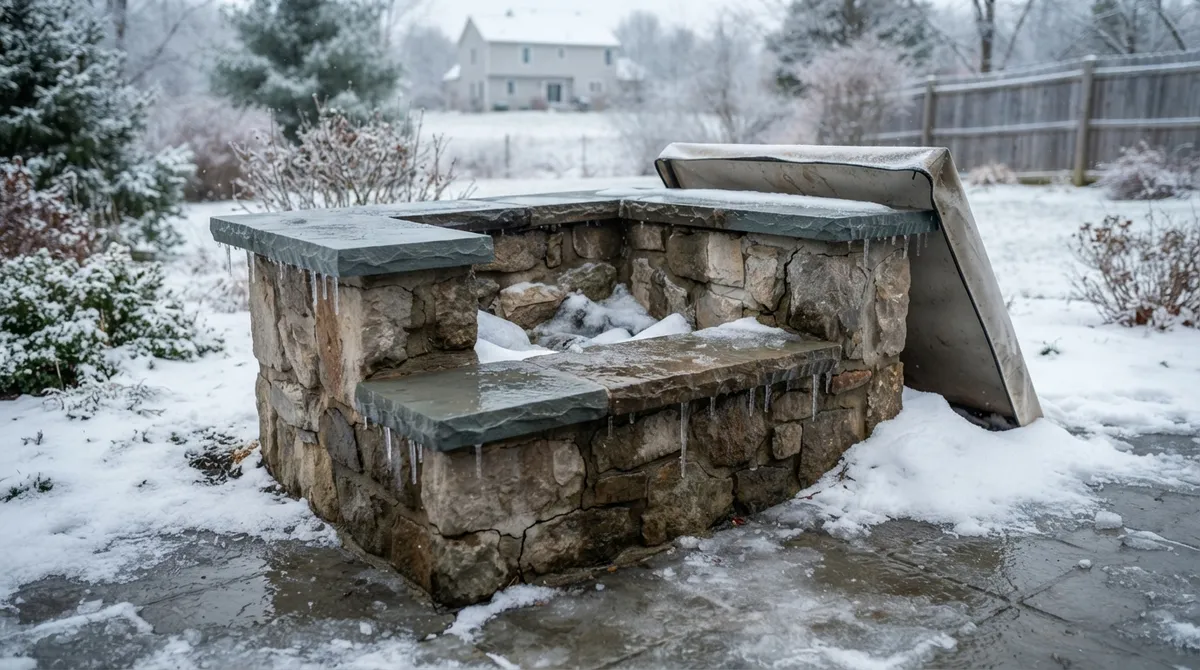
When that water freezes, it expands. That pushes against the masonry from the inside. Do this enough times over a Chicago winter, and you may see problems like these:
- Cracking in stones, bricks, or caps
- Spalling, where the face of a stone or brick flakes or pops off
- Open mortar joints that let even more water in
- Loose capstones or wall units that shift or wobble
Our region sees plenty of temperature swings. A sunny afternoon can melt the snow, and by night everything freezes again. That’s why a little prevention goes a long way here.
If you’re still in the planning stage, it helps to know that design and installation choices matter too. Proper drainage and the right materials make winter care much easier. Our guide on custom fire pit installation cost factors in 2026 explains what goes into a well-built pit.
Your Winter Maintenance Checklist at a Glance
Before we dive into details, here’s a quick look at the whole season. Think of it as your cheat sheet.
| When | What to Do | Why It Matters |
|---|---|---|
| Late fall (before the first hard freeze) | Let the pit cool, clear ash and debris, inspect masonry and mortar, check drainage | Catches small problems before freezing weather makes them bigger |
| Before the first snow | Add a fitted, breathable cover (when completely cool and dry); winterize gas parts if you have them | Reduces water, snow, and debris entering the pit |
| Mid-winter | Clear snow gently with nonmetal tools; skip de-icing salt; peek for pooling water | Protects the surface and joints from damage |
| Late winter or early spring | Remove cover, check for moisture, cracks, loose parts, and drainage; verify gas parts | Gets you ready for safe first use |
Step 1: Let It Cool and Clean It Out
Start with a fully cool fire pit. Hot embers can hide in ash for longer than you’d think, so be patient. If you had a fire recently, wait until everything is cold to the touch.
Once it’s cool, follow these steps:
- Remove cold ash. Ash holds moisture, and wet ash can stain or hurt masonry over time.
- Clear leaves, twigs, and other debris. Chicago autumns drop a lot of leaves, and they trap water against stone.
- Sweep the surrounding patio or pavers. Dirt and organic matter can hold moisture near the base.
- Check the drainage path. Water should be able to leave the firebox and move away from the structure instead of pooling.
That last step is a big one. Standing water is a masonry fire pit’s biggest winter enemy. If you notice water collecting in the bottom or around the base, it’s worth knowing why. Our article on 12 mistakes that cause water buildup in a fire pit can help you spot the usual culprits.
Step 2: Inspect Every Surface and Joint
Now for the detective work. Walk around your fire pit slowly and look closely. A flashlight can help you see hairline cracks, especially in the firebox.
What to Look For
- Cracks in stones, bricks, or capstones
- Mortar that is crumbling, sandy, or missing
- Open joints you can slip a fingernail into
- Loose stones that wiggle when you gently press them
- Flaking or peeling faces, which can signal spalling
- White, powdery residue (this can point to moisture moving through the masonry)
Small things can turn into big things quickly once freezing weather arrives. A tiny gap today can let in water, which freezes and widens the gap tomorrow.
A Quick Word on Repairs
Please resist the urge to patch the firebox with whatever is in your garage. Ordinary mortar and everyday sealants may not hold up to high heat. The inside of a fire pit needs materials made for high-temperature masonry.
If you see significant damage, such as wide cracks, shifting walls, or lots of missing mortar, it’s smart to have it assessed. A landscaping or masonry professional can recommend the right repair and the right materials. You can also find qualified hardscape pros through the ICPI Certified Installer program, which is a handy resource for homeowners comparing contractors.
Step 3: Choose and Use the Right Cover
A good cover can make winter care much simpler. It helps keep rain, snow, and debris out of the firebox. But there are a few rules to follow so the cover helps instead of hurts.
Cover Do’s and Don’ts
- Do cover only when the pit is completely cool and dry.
- Do choose a fitted, weather-resistant cover made for outdoor use.
- Do follow both the fire pit and cover manufacturers’ instructions.
- Don’t use a cover that traps moisture inside.
- Don’t let water pool on top of the cover, where it can sag, freeze, and drip in at the edges.
If you want help choosing one, we put together a handy walkthrough on how to choose fire pit covers for winter protection. And if you’re curious about the bigger picture, our post on how to protect a fire pit from snow and rain covers extra tips for Chicago-area weather.
Step 4: Handle Snow and Ice the Gentle Way
Snow will happen. That’s okay! How you deal with it matters more than whether you do.
Clearing Snow Safely
If you need to brush off snow, grab a soft broom or a plastic shovel. Metal tools can scratch, chip, or knock loose stone and mortar. Move slowly, and don’t strike or chip at ice. If ice has formed, let it melt naturally when you can.
Skip the De-Icing Salt
This one is important. Do not use de-icing salts on or near your masonry fire pit. Salt can damage masonry surfaces and joints, and it can leave stains and residue behind. Salt tracked or splashed from nearby walkways can cause trouble too, so be mindful of where you spread it.
If you need traction on a nearby patio, ask a landscaping pro about masonry-friendly options. Your pavers and your fire pit will both thank you. If you have a paver patio around your pit, our guide on paver patio costs, design, and care shares more cold-weather care ideas.
Step 5: Winterize Gas Fire Pit Components
Do you have a gas-fired fire pit built into your masonry? You’ll want a few extra steps. The most important rule is simple: follow your appliance manual. Every model is a little different.
In general, you can expect to do things like these:
- Shut off the gas at the valve or source your manual specifies.
- Clear debris from the burner area, including leaves, dirt, and spider webs.
- Protect components as the manufacturer directs, which may include covering the burner or control parts.
- Store propane cylinders outdoors in line with the cylinder instructions and local fire codes. Never keep them in a house, garage, or basement.
If you’re not comfortable working around gas lines or burners, don’t guess. A qualified professional can handle it safely. At Serenity Landscape Group, we install and care for outdoor fire features across the greater Chicago area, and we’re always happy to point you in the right direction.
Common Winter Mistakes to Avoid
Even careful homeowners slip up now and then. Here are the big ones to dodge:
- Covering a damp or warm pit. That traps moisture and heat in the wrong places.
- Ignoring small cracks. A hairline crack in October can become a real problem by March.
- Using salt. We said it twice for a reason.
- Hacking at ice with metal tools. It’s tempting, but it can chip your masonry.
- Skipping the drainage check. Pooling water is a freeze-thaw magnet.
- Using the wrong repair materials. The firebox needs high-temperature masonry products.
When to Call a Landscaping or Masonry Pro
You can handle a lot on your own: cleaning, covering, and gentle snow removal. But some jobs are better left to experienced hands.
Consider calling a professional if you notice:
- Cracks wider than a hairline, especially in the firebox or capstones
- Stones or caps that move when touched
- Large areas of missing or crumbling mortar
- Chunks of masonry flaking off (spalling)
- Water that keeps pooling in or around the pit
- Anything related to gas lines, burners, or propane connections
The earlier you catch these issues, the simpler and more affordable the fix tends to be. Also, a fall visit is ideal for planning repairs before the ground freezes. If you want a head start, our fall fire pit inspection checklist pairs nicely with this guide.
Tips for Different Property Types
Every property has its own quirks. Here’s how winter fire pit care can look for different folks around Chicagoland.
Suburban Homeowners
You likely have a larger patio setup and maybe an HOA to consider. Keep the area tidy and free of leaves, and ask your landscaper about drainage around the pit. A well-graded patio base makes a big difference over many winters.
Urban Condo and Rooftop Owners
Smaller spaces mean less room for error. Make sure any rooftop or patio feature drains well, and double-check local rules about fire features and fuel storage. Fire-safety guidance commonly suggests keeping fire pits at least 10 feet from buildings and combustible materials, but local codes and product instructions may require different clearances. It’s smart to confirm current local requirements, such as guidance from the Illinois State Fire Marshal.
Commercial Properties and Small Businesses
If you manage a restaurant patio, office courtyard, or retail space, a fire feature is a wonderful draw. It’s also a liability if it’s neglected. A simple seasonal service plan keeps masonry safe, tidy, and inviting. Our team also offers commercial landscaping services that can include seasonal care for hardscape features.
Getting Ready for Spring Use
When the weather warms and you’re itching for that first cozy fire, don’t just grab the matches. Take a few minutes to check things over.
- Remove the cover and let the pit air out.
- Check for moisture. Look for damp spots, standing water, or wet ash.
- Look for new cracks or loose parts in the firebox, caps, and mortar joints.
- Clear debris from the pit and the surrounding patio.
- Confirm drainage is open and working.
- Verify gas components according to the manufacturer’s instructions, if you have a gas pit.
- Check local fire restrictions before lighting up.
Once you’re good to go, remember the golden rule: never leave a fire unattended. Keep a way to extinguish it nearby, and follow clearance guidance for your area.
Thinking about adding or upgrading a fire feature for next season? Winter is actually a great time to plan. Our friendly guide on planning a fire pit project for spring can help you get a head start. You can also browse our fire pit services for inspiration.
Make Winter Care Part of Your Yearly Routine
Here’s the big takeaway. A masonry fire pit doesn’t need much, but it does need consistent care. Clean it, check it, cover it, and keep the water and salt away. Do that, and your fire pit can stay beautiful and sturdy for many seasons.
If you’d rather have an expert in your corner, we’re here to help. For more than 20 years, Serenity Landscape Group has helped homeowners and businesses across the greater Chicago area build and care for stunning outdoor spaces. Whether you need an inspection, a repair recommendation, or a brand-new fire feature, we’d love to chat. Get a Free Estimate today, or call us at (630) 359-5139 to talk through your project. Your future cozy fires will be glad you did.
For more ideas on keeping your outdoor investments in great shape, check out resources from Landscape Illinois, a respected voice for landscaping professionals across the state.
FAQs
Q: How do you winterize a masonry fire pit?
A: Start by letting the pit cool completely, then clear out ash and debris and check that water can drain away. Inspect the masonry and mortar joints for cracks or loose parts, and add a fitted, weather-resistant cover once everything is cool and dry. It’s a simple routine that goes a long way!
Q: Should I cover a masonry fire pit in winter?
A: Yes, a good cover can help keep rain, snow, and debris out of your fire pit. Just make sure the pit is completely cool and dry first, and pick a cover that doesn’t trap moisture or let water pool on top. Always follow the fire pit and cover manufacturers’ instructions.
Q: Can freeze-thaw cycles crack a brick or stone fire pit?
A: They sure can. Water that gets into masonry or mortar joints expands when it freezes, which can lead to cracks, flaking, and loose stones over time. Keeping water out and fixing small gaps early is the best way to protect your pit.
Q: Can I use de-icing salt around a masonry fire pit?
A: It’s best to skip it. De-icing salts can damage masonry surfaces and joints, so clear snow gently with a soft broom or plastic shovel instead. If you need traction nearby, ask a landscaping pro about masonry-friendly options.
Q: How do I winterize a gas fire pit built into masonry?
A: Follow your appliance manual first, since every model differs. In general, you’ll shut off the gas at the specified valve, clear debris from the burner area, and protect components as directed. Store any propane cylinders outdoors according to local fire codes, never in a home, garage, or basement.