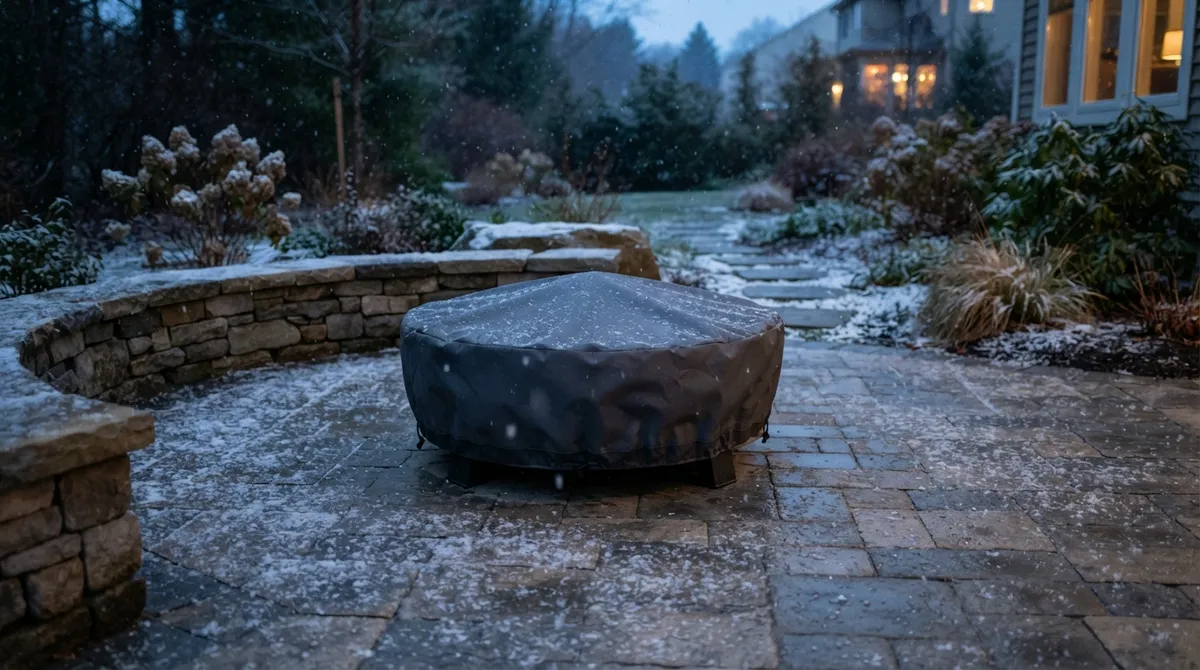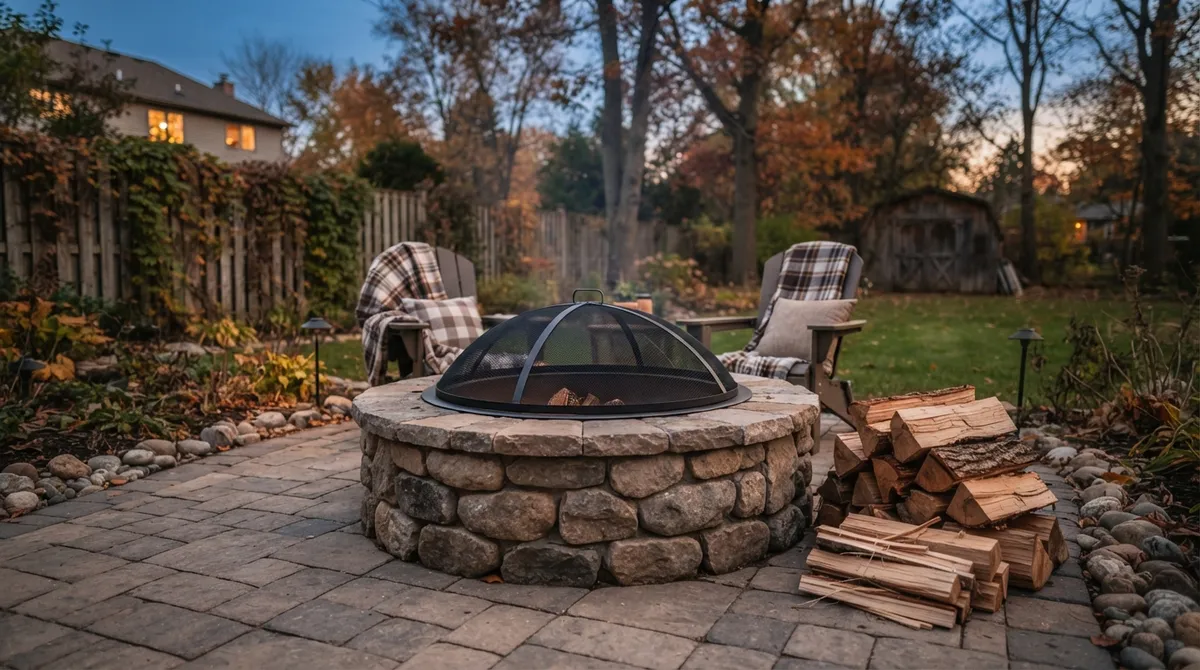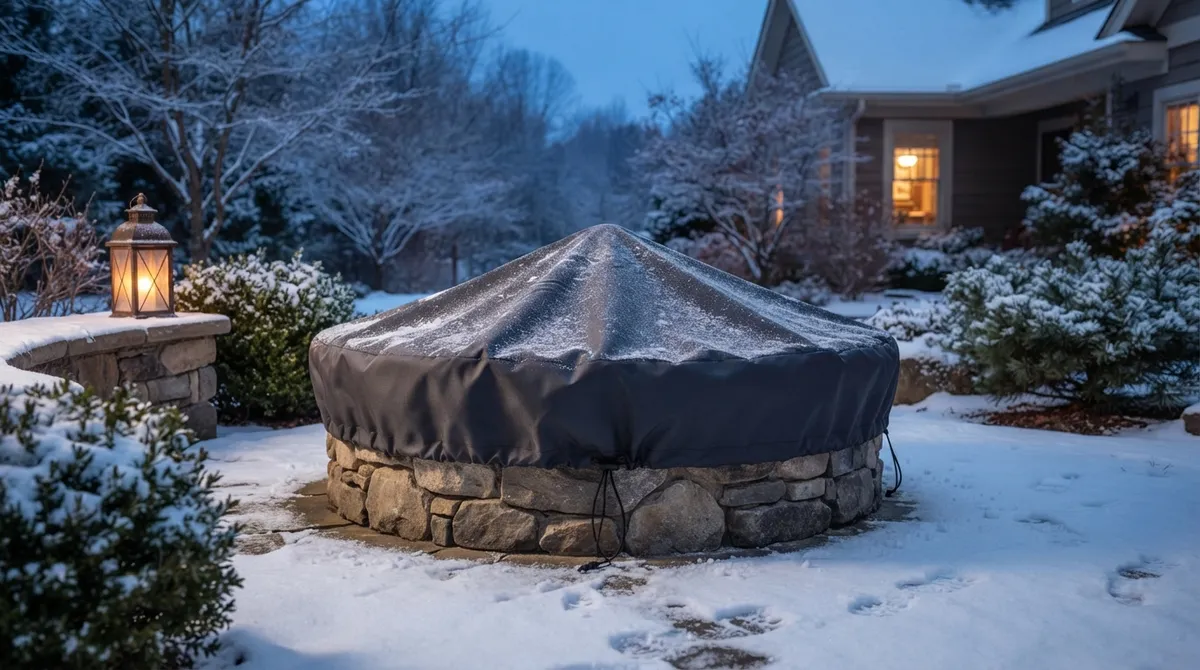
Key Takeaways
-
Let a fire pit cool completely and dry every surface before covering it, since trapped heat is a safety hazard and trapped moisture encourages rust and mildew.
-
Measure the widest point, height including lids or screens, and shape, then round up slightly if between sizes so the cover fits snugly without straining or sagging.
-
Choose a cover with water-resistant backing, UV resistance, and secure straps or a drawcord, and add vents only if your manufacturer's instructions allow them.
-
After big storms, brush off heavy snow and clear standing water, since excess weight can stretch or tear the fabric.
-
Create a slight peak or add a support under sagging spots so water slides off instead of pooling on the cover.
Picture this: it’s a crisp November morning in the Chicago suburbs. You step outside with your coffee and glance at the backyard fire pit where you spent so many cozy evenings this fall. Now it’s sitting there, collecting wet leaves, a dusting of early snow, and who knows what else. Sound familiar? Don’t worry, you’re in good company.
Chicago winters are no joke. Freeze-thaw cycles, wet snow, and icy winds can be hard on any outdoor feature. The good news is that fire pit covers for winter protection are one of the easiest and most affordable ways to keep your fire feature looking great until spring.
In this friendly guide, we’ll walk you through how to pick the right cover, how to measure for a perfect fit, and how to prep your fire pit before you cover it. We’ll also share tips for keeping it protected all season long. Let’s get your fire pit ready for winter!
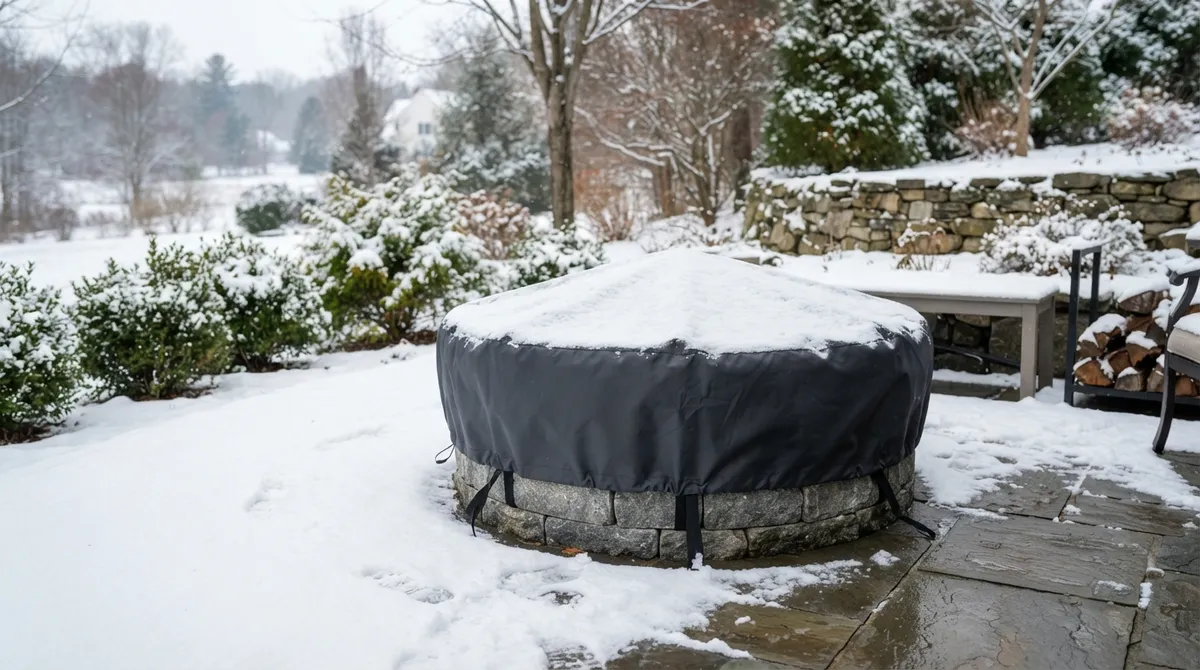
Why Fire Pit Covers for Winter Protection Matter
A fitted, weather-resistant cover keeps rain, snow, leaves, and debris out of your fire pit. That matters because moisture is the main enemy. Water that sits in a fire bowl or on a surface can contribute to rust, corrosion, staining, and damage to the finish.
Here’s what a good winter cover can help you do:
- Keep snow and rain out of the fire bowl
- Reduce rust and corrosion on metal parts
- Block leaves, twigs, and dirt from piling up
- Protect finishes and surfaces from staining
- Make spring startup much easier
Think of it like a winter coat for your backyard. It won’t do everything on its own, but paired with a little prep and a few quick check-ins, it goes a long way.
Do You Really Need a Cover?
It depends on your fire pit type and where you live. A steel or cast iron fire bowl is especially sensitive to moisture. Stone and masonry features are tougher, but water can still seep in and freeze. Always check your product manual first, since the manufacturer knows the materials best. If you have a built-in gas system or you’re not sure about winterization, it’s smart to ask a qualified professional.
Step 1: Know Your Fire Pit Type
Before you shop, take a moment to identify what you have. Different fire pits have different needs, and the right cover depends on the shape, size, and materials.
| Fire Pit Type | Winter Concerns | Cover Style to Consider |
|---|---|---|
| Portable steel or cast iron bowl | Rust and trapped moisture | Fitted cover with secure straps; indoor storage if the manual allows |
| Built-in paver or stone fire pit | Water pooling and freeze-thaw cycles | Custom-fit or flat-top cover that sheds water |
| Gas fire table | Moisture near burners and controls | Fitted cover with ventilation; follow manufacturer winterization steps |
| Wood-burning fire pit with spark screen | Ash and debris buildup | Cover sized for the pit plus screen height |
If you’re planning a new fire feature, you might love our guide on 12 fire pits that transform backyards in 2026 for fresh ideas.
Step 2: Measure for the Perfect Fit
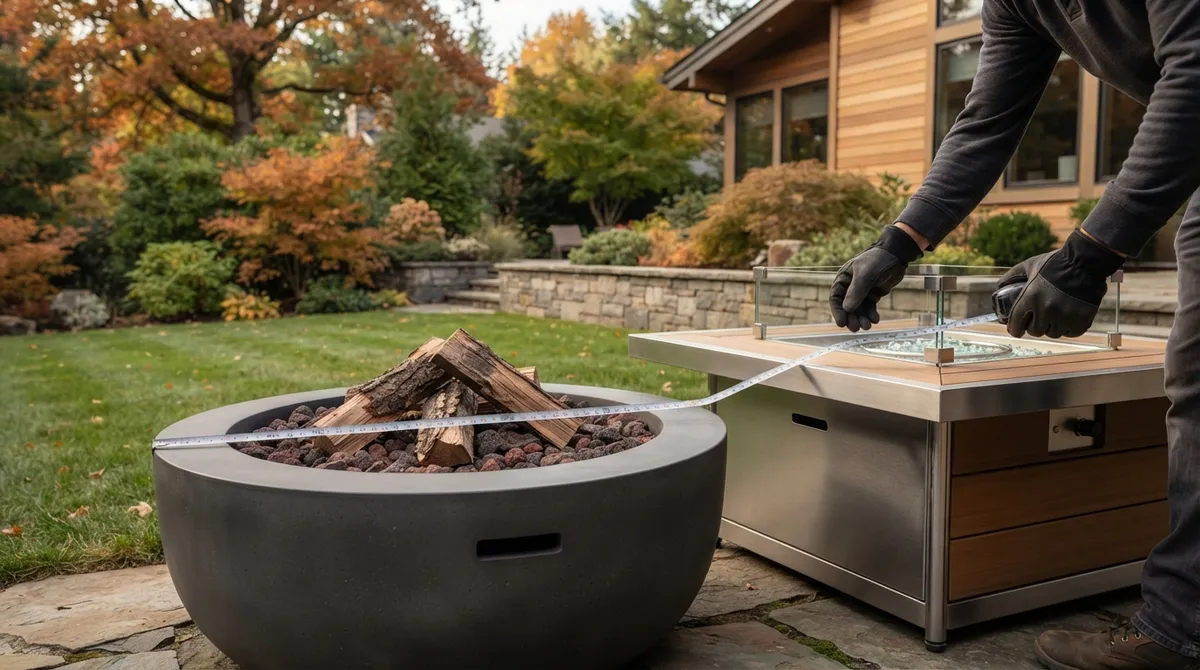
A cover that’s too loose will flap in the wind, collect water, and let moisture sneak in. One that’s too tight can rip at the seams. Getting accurate measurements is the secret to a happy match.
- Measure the widest point. For round fire pits, measure the diameter across the widest part. For square or rectangular ones, measure length and width.
- Measure the height. Include any raised lids, screens, or decorative elements that stick up.
- Note the shape. Round, square, rectangular, and oval pits each need a matching cover shape.
- Check the manufacturer’s fit guidance. Many covers list the exact dimensions they fit. Compare your numbers to theirs.
- Round up slightly if you’re between sizes. A little extra room is better than a cover that strains at the edges.
Write your measurements down and keep them handy. You’ll be glad you did when it’s time to replace the cover in a few years.
Step 3: Choose the Right Material and Features
Not all covers are made equal. Since Chicago winters bring snow, ice, wind, and sometimes surprising thaws, you want something sturdy. Here’s what to look for in fire pit covers for winter protection:
- Durable outdoor fabric. Heavy-duty polyester or similar material is common and holds up well to the elements.
- Water-resistant protection. A water-resistant coating or backing helps keep moisture out.
- UV resistance. Winter sun can still fade fabric, especially when it reflects off snow.
- Secure straps or a drawcord. Windy days can send a loose cover flying across the yard.
- Ventilation features. Small vents help air move under the cover, which can limit condensation. Just make sure vents are compatible with your fire pit manufacturer’s instructions.
Fabric Cover vs. Hard Cover
| Feature | Fabric Cover | Hard Cover (Lid) |
|---|---|---|
| Weight | Light and easy to handle | Heavier, may need two hands |
| Snow shedding | Works best with a supported or sloped design | Often flat, so snow can sit on top |
| Ventilation | Vents are common | Varies by product |
| Storage | Folds up small | Needs more storage space |
Both can work well. Pick what suits your fire pit, your budget, and how much effort you want to put in during the season.
Step 4: Prep Your Fire Pit Before Covering
This step is the one people skip most often, and it’s honestly the most important. A cover can’t protect a dirty or damp fire pit. In fact, trapping moisture or ash under a cover can cause more problems than leaving it open.
The Winter Prep Checklist
- Let it cool completely. Never cover a fire pit that’s still warm. Trapped heat is a safety hazard, and it can damage the cover.
- Remove ashes and debris. Scoop out ashes, partially burned wood, and any leftover bits. Dispose of ashes safely in a metal container.
- Clean as directed. Follow your manufacturer’s cleaning instructions for your specific materials.
- Dry it thoroughly. Let every surface air dry completely. Moisture sealed under a cover can encourage rust and mildew.
- Inspect for damage. Look for rust spots, cracks, loose parts, or worn finishes. Handle small repairs now so they don’t grow over winter.
- Check the cover too. Look for tears, weak seams, or broken straps before you put it on.
For a deeper look at what to check, our fall fire pit inspection checklist is a handy companion.
Step 5: Put the Cover On and Secure It
Once your fire pit is cool, clean, and dry, it’s time for the fun part. Here’s how to cover it the right way:
- Lay the cover over the fire pit, centering it so the edges hang evenly.
- Pull down the sides so the cover sits snugly without being stretched too tight.
- Fasten the straps, buckles, or drawcord to keep it secure in wind.
- Check that vents, if your cover has them, are open and not blocked.
- Step back and look for low spots where water or snow might collect.
If you notice a sagging spot, you can add a support underneath, like an upside-down bucket or a purpose-made support. A slight peak helps water slide off instead of pooling.
Step 6: Keep an Eye on It All Winter
Here’s a little secret: covering your fire pit isn’t a set-it-and-forget-it task. After big storms, take a quick peek. It only takes a minute and can save you a headache later.
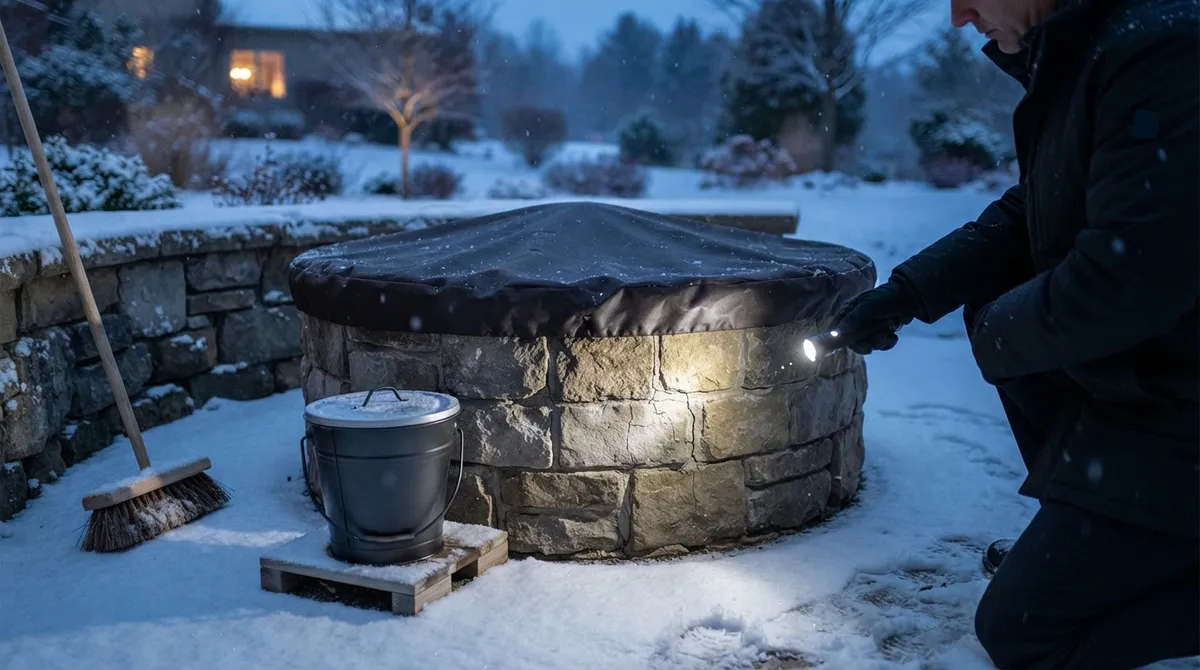
- Brush off heavy snow. Wet Chicago snow gets heavy fast. A soft broom works well and won’t snag the fabric.
- Clear standing water. Pooled water or ice adds weight and can stretch or damage the cover.
- Check the straps. Wind can loosen them, so tighten as needed.
- Look underneath once in a while. On a mild, dry day, lift the cover briefly to check for condensation, mildew, or rust.
This simple routine, maybe once or twice a month and after major storms, keeps small problems from sneaking up on you.
Cover It, Store It, or Both?
A common question we hear is whether to leave the fire pit outside or store it indoors. The answer depends on the type of fire pit.
- Portable fire pits: If the manual allows and you have a dry garage or shed, storing the unit indoors is a great option. You can still cover it to keep dust off.
- Built-in fire pits: These stay put, so a well-fitted cover is your main defense.
- Gas fire features: Follow the manufacturer’s winterization guidelines. If you’re unsure, ask a qualified professional to help.
When in doubt, check the product manual. It always has the final say for your specific model.
Common Winter Cover Mistakes to Avoid
We’ve seen a few repeat mistakes over the years, and they’re easy to dodge once you know about them:
- Covering a warm fire pit. Always wait until it’s fully cool.
- Skipping the cleanup. Leftover ashes and moisture under a cover can cause rust and staining.
- Buying the wrong size. A loose cover collects water, and a tight one tears.
- Ignoring pooled snow and water. Excess weight can damage fabric.
- Forgetting ventilation. Trapped moisture can lead to mildew.
Related to that last one, take a look at 12 mistakes that cause water buildup in a fire pit for even more tips on keeping moisture away.
How Your Landscape Setup Affects Winter Protection
The way your fire pit is built and where it sits can change how well it handles winter. Good drainage, a stable base, and quality materials all help. A fire pit installed on a properly built paver patio, for example, tends to handle freeze-thaw cycles better than one placed on uneven ground. If you’re curious about how the surrounding space plays a role, our post on fire pit paver patio ideas shows how thoughtful design supports a fire feature for the long haul.
Planning ahead can also save money. If you’re thinking about adding a fire feature next year, you may want to read about custom fire pit installation cost factors in 2026 so you can budget with confidence.
It also helps to get advice from trusted industry sources. Organizations like Landscape Illinois offer helpful resources for homeowners across the state, and the ICPI Certified Installer program is a good place to learn what quality hardscape installation looks like.
Protecting the Whole Outdoor Space
Your fire pit probably isn’t the only feature that needs winter love. Pergolas, pavilions, and patio furniture all appreciate a little attention before the snow flies. If you have a wood structure nearby, our guide on how to protect your wood pergola this winter is a great next read. Tackling everything at once makes your spring reopening so much smoother.
At Serenity Landscape Group, we’ve spent more than two decades helping Chicago-area homeowners and businesses design outdoor spaces that look great and hold up through every season. Whether you manage a suburban backyard, a city rooftop, or a commercial patio, a little winter care helps your investment shine year after year.
Ready for Spring? Make Startup Simple
When the snow melts and the first warm weekend arrives, you’ll be happy you took the time to cover things properly. Here’s a quick spring startup list:
- Remove the cover and shake off any dirt or debris.
- Inspect the fire pit for rust, cracks, or loose parts.
- Wipe down surfaces and let everything dry.
- Check gas lines or connections (for gas models) following the manufacturer’s directions.
- Clean and store the cover in a dry place if you’re not using it.
Then grab a blanket, some friends, and enjoy that first fire of the season!
Wrapping It Up
Choosing fire pit covers for winter protection really comes down to a few simple steps: know your fire pit, measure carefully, pick a durable and fitted cover, prep the pit properly, and check in during the season. Do those things, and your fire pit will be ready to go when spring rolls around.
If you’d like a hand with winter prep, fire pit design, or a full outdoor makeover, we’d love to chat. Get a Free Estimate from our team, or call us at (630) 359-5139 to talk about your project. We can’t wait to help you create an outdoor space you’ll love in every season.
FAQs
Q: Do I need to cover my outdoor fire pit in winter?
A: In most cases, yes, a cover is a smart idea. It keeps rain, snow, and debris out and helps reduce rust and staining. Always check your manufacturer’s manual, since some fire pits have specific winter care instructions.
Q: Can I cover a fire pit while it is still warm?
A: Please don’t! Always let your fire pit cool completely before covering it. Trapped heat is a safety hazard, and it can also damage the cover itself.
Q: How can I prevent condensation or rust under a fire pit cover?
A: Make sure the fire pit is clean and completely dry before you cover it. Choose a cover with vents if your manufacturer allows it, and lift the cover on mild days to check for moisture. A little airflow goes a long way.
Q: How often should I remove snow from a covered fire pit?
A: A quick check after each big storm is a great habit. Brush off heavy snow and clear any standing water so the extra weight doesn’t stretch or damage the cover.
Q: Should I store my fire pit indoors or leave it outside over winter?
A: It depends on the type. Portable fire pits can often be stored in a dry garage or shed if the manual allows. Built-in fire pits stay outside, so a well-fitted cover is your best bet, and gas models should follow the manufacturer’s winterization steps.