Key Takeaways
-
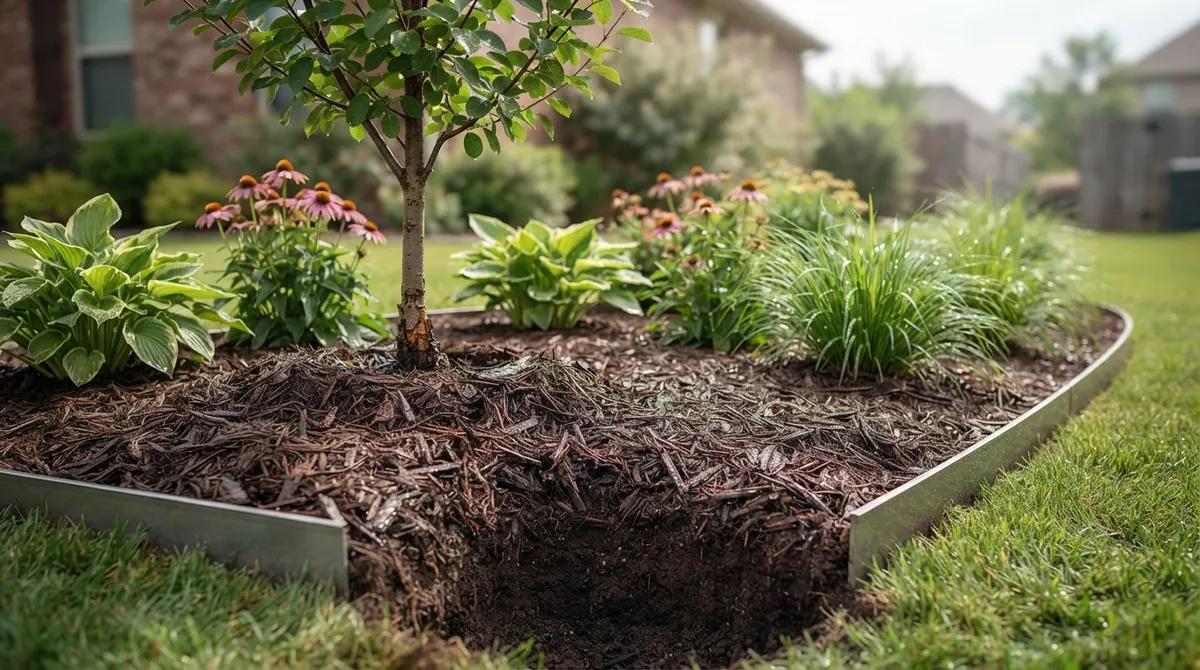
Leave several inches of clearance around tree trunks and plant stems to prevent moisture traps that cause rot, pests, and disease.
-
Apply mulch at 2-4 inches deep for established beds; use the formula (square feet × depth in inches ÷ 324) to calculate exact cubic yards needed and avoid waste.
-
Remove old compacted mulch, weeds, and debris before installation, and verify drainage works properly to prevent water pooling and root rot.
-
Choose mulch material based on your goals: organic types like shredded hardwood improve soil over time, while inorganic options like stone last longer but don't feed plants.
-
Refresh mulch annually and maintain clean bed edging to preserve weed suppression, moisture retention, and professional appearance throughout the year.
-
Install mulch during spring or fall when soil is workable and avoid extreme heat or heavy rain forecasts to ensure even settling and prevent costly redo work.
Let’s be honest: mulch feels simple. You buy some bags, dump them in the flower beds, and call it a day, right? Not quite. We’ve spent over two decades watching well-meaning homeowners and property managers make the same mulch installation mistakes over and over again, and those small errors often lead to sick plants, wasted money, and beds that look tired by midsummer. The good news is that every single mistake on this list is completely avoidable once you know what to look for.
Whether you’re a suburban homeowner trying to meet HOA standards, a condo owner with a tiny rooftop garden, or a property manager overseeing several commercial sites, proper mulch installation matters more than most people realize. It protects your soil, feeds your plants, and makes your whole landscape look polished. This guide walks through the most common missteps so you can skip the guesswork and get it right the first time.
1. Skipping Bed Prep Before Mulch Installation
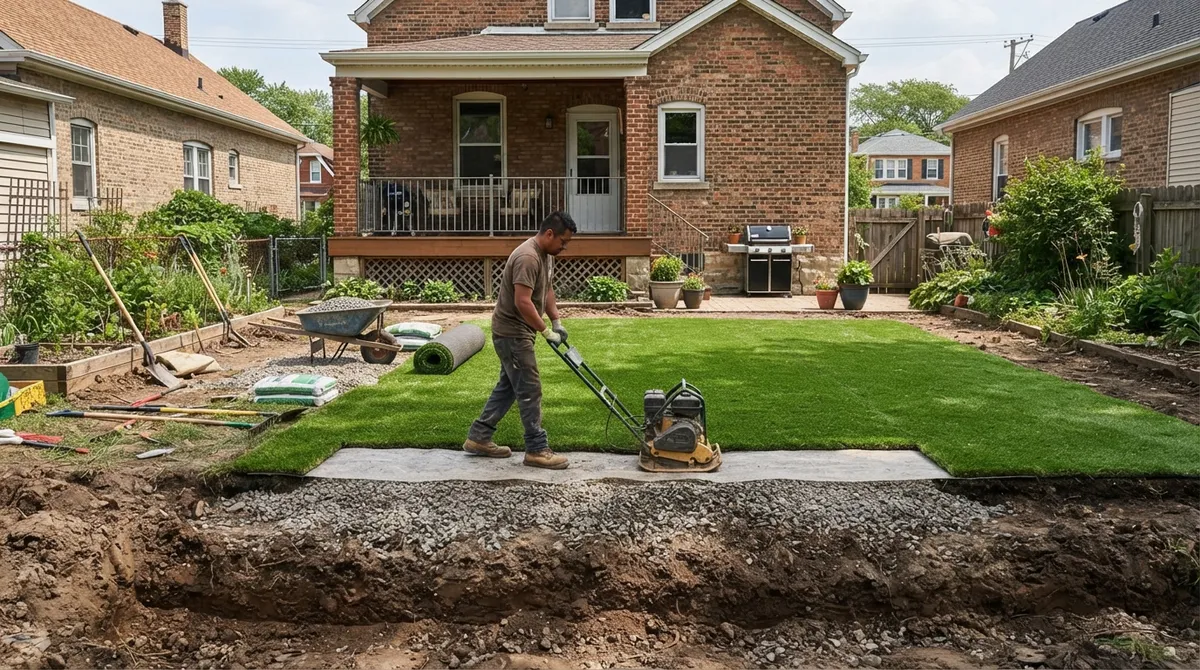
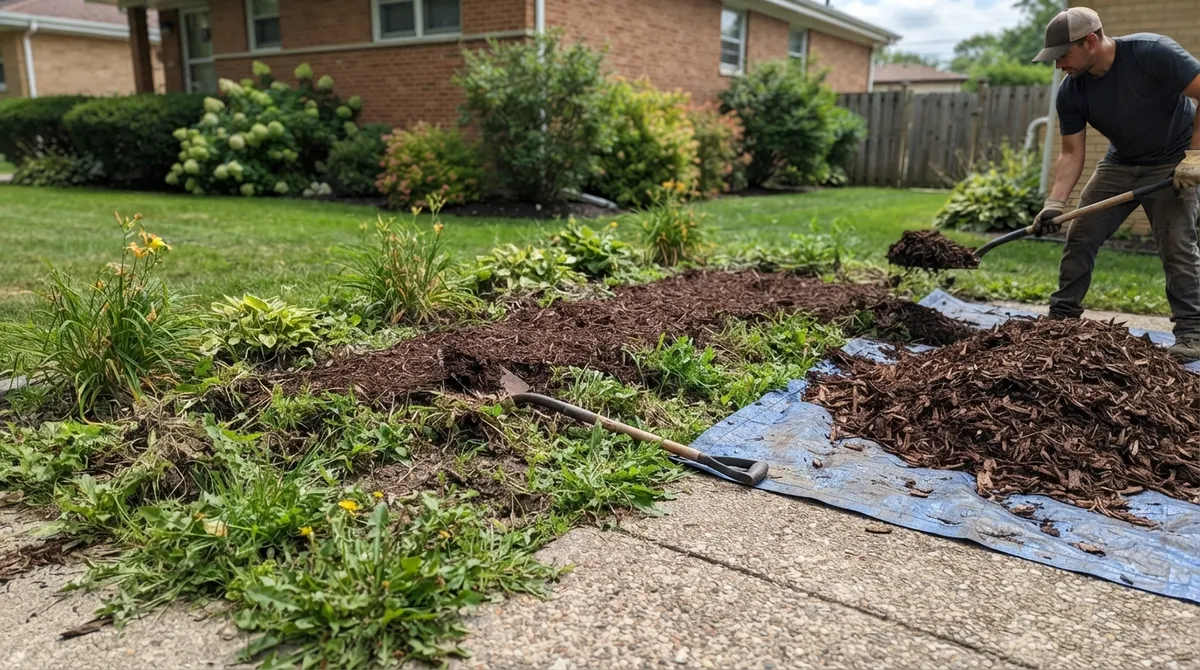
One of the biggest mulch installation mistakes is spreading fresh material over weeds, debris, and compacted soil. This traps problems underneath instead of solving them. A proper job always starts with clearing out weeds, raking away old leaves, and checking that the soil drains well.
Skipping this step is like painting over a dirty wall. It might look fine for a week, but the underlying issues resurface fast. Our softscapes team always inspects beds thoroughly before laying down a single scoop of mulch.
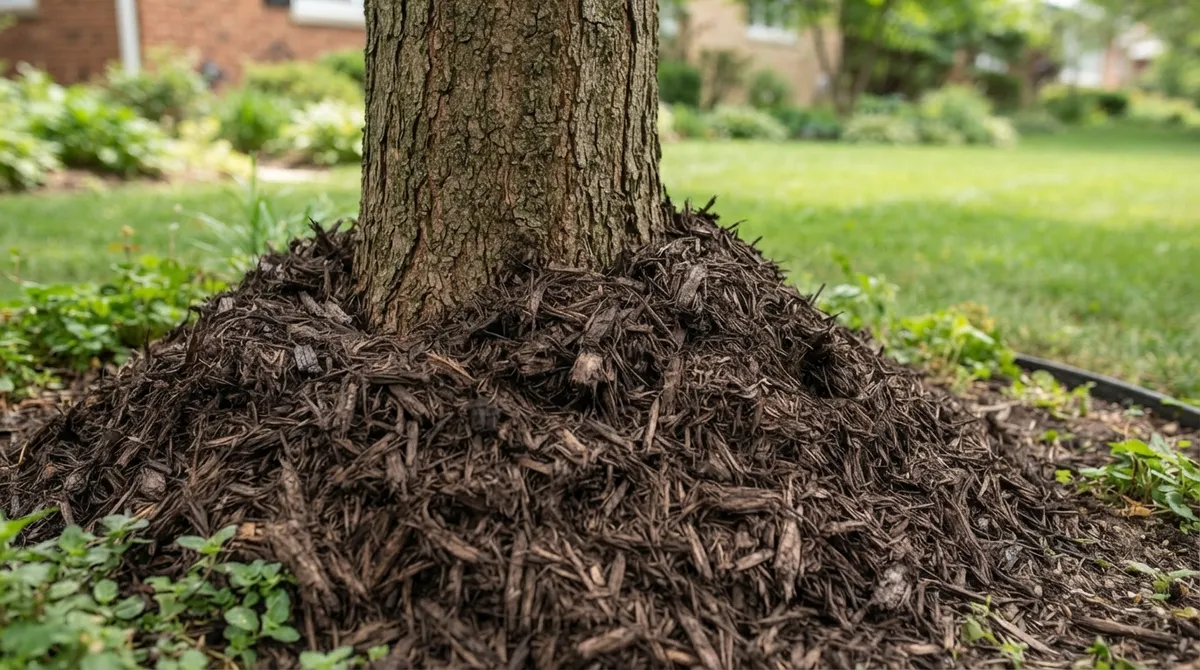
2. Piling Mulch Against Tree Trunks and Stems
You’ve probably seen it: a volcano-shaped mound of mulch stacked right against a tree trunk. This is one of the most damaging mulch installation mistakes homeowners make, often without realizing it. Piled mulch traps moisture against bark, which invites rot, pests, and disease.
Professional installers always leave a gap of several inches around trunks and plant crowns. Think of it like giving your tree a little breathing room to stay healthy for years to come.
3. Guessing Instead of Calculating Mulch Quantity
Ordering too little mulch means a patchy, uneven look. Ordering too much wastes money and leaves you with leftover piles nobody wants. The fix is simple math, not guesswork.
Here’s the formula: cubic yards needed equals square feet of bed area times desired depth in inches, divided by 324. For a quick reference, use this handy chart:
| Mulch Depth | Coverage per Cubic Yard |
|---|---|
| 2 inches | Approximately 162 square feet |
| 3 inches | Approximately 108 square feet |
| 4 inches | Approximately 81 square feet |
This chart takes the guesswork out of planning, whether you’re mulching a small condo planter or a sprawling commercial property.
4. Applying Mulch Too Thick or Too Thin
More is not always better. A layer that’s too thick can suffocate roots and trap excess moisture, while a layer too thin won’t suppress weeds or hold in soil moisture. Most established beds do best with about 2 to 4 inches of mulch.
Finely textured mulch is the exception. Because it compacts easily, it should generally stay closer to 1 to 2 inches to avoid blocking air and water from reaching the soil.
5. Choosing the Wrong Mulch Material for the Job
Not all mulch works the same way, and choosing blindly is a common mulch installation mistake. Some materials feed your soil as they break down, while others are built purely for long-lasting coverage. Here’s a quick breakdown to help you decide:
| Mulch Type | Best For | Key Benefit |
|---|---|---|
| Shredded hardwood | Flower beds, shrub borders | Improves soil over time |
| Pine straw | Acid-loving plants | Lightweight, easy to spread |
| Compost blends | Vegetable gardens | Boosts fertility fast |
| Rubber mulch | Playgrounds, high-traffic zones | Long lasting, low maintenance |
| Decorative stone | Modern, low-water landscapes | Virtually no decomposition |
Organic mulches like shredded wood and compost improve soil health as they break down. Inorganic choices like stone and rubber last longer but don’t feed your plants. If you’re unsure which fits your property, our design process includes guidance on picking the right material for your space and climate.
6. Forgetting to Remove Old, Compacted Mulch
Layering fresh mulch directly over old, matted mulch is a mistake that quietly builds up over the years. Old material can compact into a dense layer that blocks water and air from reaching plant roots. Eventually, you end up with several inches of dead, useless buildup.
Removing old mulch before a refresh isn’t always necessary every single year, but it should happen periodically. This keeps your beds breathing and looking fresh instead of crusty and gray.
7. Ignoring Bed Edging Before Installation
Mulch without clean edging tends to spill onto lawns, sidewalks, and driveways within weeks. This is a small detail that makes a huge visual difference. Crisp edges give your beds a professional, finished look that holds up through wind and rain.
For commercial properties especially, sloppy edges can hurt curb appeal fast. If your business relies on first impressions, clean bed lines paired with quality paver pathways can transform how customers perceive your space.
8. Installing Mulch at the Wrong Time of Year
Timing matters more than people think. Mulching during extreme heat, right before heavy rain, or when the ground is frozen can all lead to poor results. Spring and fall are generally the most reliable seasons for mulch installation in the Chicago area.
Mulching when soil is workable and no major storms are forecast helps the material settle evenly and stay put. This small planning step can save you from a redo just weeks later.
9. Assuming Mulch Eliminates All Weeds
Mulch is fantastic at suppressing new weed seedlings, but it won’t kill off stubborn perennial weeds or invasive roots already established in your beds. Believing otherwise is one of the more frustrating mulch installation mistakes because it leads to disappointment down the road.
For lasting weed control, combine proper mulch depth with pre-installation weeding and, when needed, ongoing maintenance. According to Landscape Illinois, integrated weed management paired with proper mulching produces the best long-term results for Midwest landscapes.
10. Overlooking Drainage Issues Before Mulching
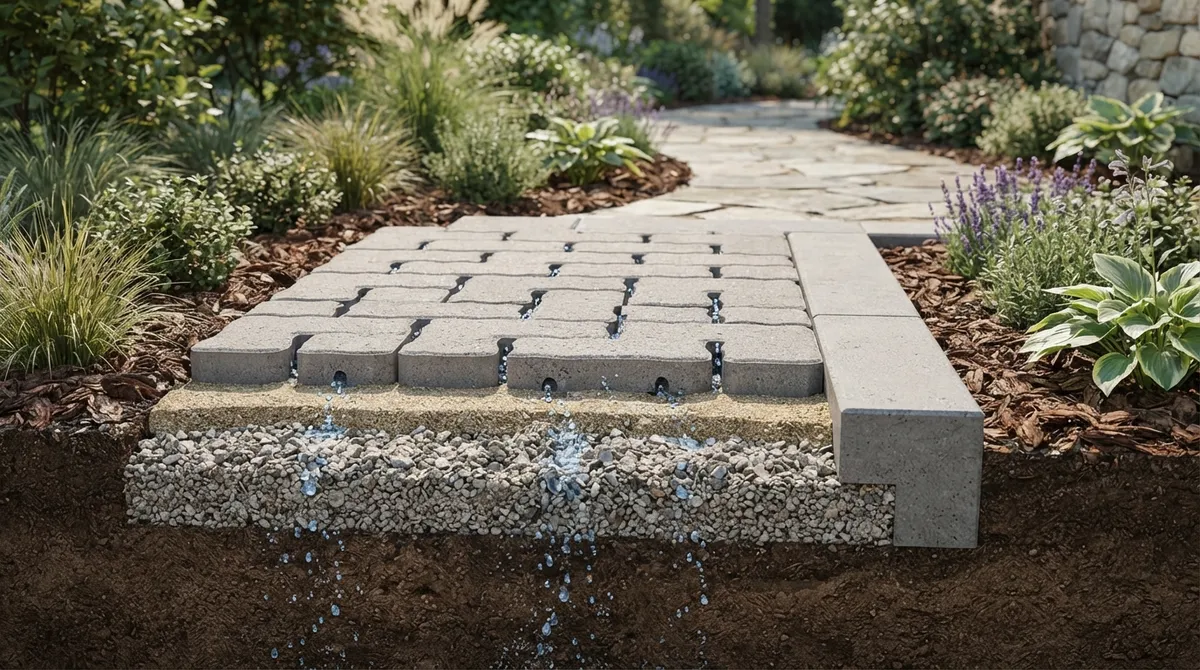
If water already pools in certain areas of your yard, mulch alone won’t fix it. In fact, mulch on top of poor drainage can trap moisture and encourage root rot. A thorough inspection before installation should always include checking how water moves through your beds.
Properties with persistent drainage problems may benefit from additional solutions, such as regrading or French drains, before mulch goes down. Addressing this first protects your investment in the long run.
11. DIY Installation Without the Right Tools or Knowledge
We get it, DIY projects are satisfying. But mulch installation involves more than shoveling and spreading. Calculating quantities, prepping beds, and maintaining proper depth all take experience to get right consistently.
Here’s a simple step-by-step overview of what proper professional installation typically looks like:
- Remove weeds, debris, and old compacted mulch
- Edge the bed for clean, defined borders
- Check and correct any drainage concerns
- Calculate the correct mulch quantity for the space
- Deliver and spread mulch evenly at the proper depth
- Leave clearance around trunks and plant stems
- Clean up walkways and hard surfaces
Skipping steps or rushing through them is where most DIY mulch jobs go wrong. If your project feels bigger than a weekend task, it might be time to get a free estimate from a team that handles this daily.
12. Not Budgeting Realistically for Mulch Installation
Sticker shock happens when homeowners don’t understand what goes into pricing. According to Angi, average mulch delivery and installation costs around $120, with typical projects ranging from $75 to $325. Larger properties or premium materials can push costs well over $800.
Other 2026 industry estimates place installed mulch at roughly $50 to $150 per cubic yard, while full residential projects often land between $250 and $1,350 depending on size and complexity. Labor alone can run $25 to $60 per cubic yard, or about $35 to $65 per hour. Knowing these ranges ahead of time helps you plan a realistic budget instead of guessing.
13. Neglecting Seasonal Mulch Refreshes
Mulch breaks down over time, especially organic types. Skipping regular refreshes means your beds gradually lose their protective, weed-suppressing layer. Most properties benefit from a refresh once a year, though this can vary based on material and climate exposure.
Commercial properties in particular benefit from scheduled seasonal care to maintain curb appeal year-round. Our commercial lawn maintenance programs include mulch refreshes as part of a complete outdoor care plan, so nothing falls through the cracks.
Why Professional Mulch Installation Pays Off
Here’s a quick list of what you gain when you leave mulch installation to experienced professionals:
- Correct material selection based on your soil and plants
- Accurate quantity calculations, so you never overpay or run short
- Proper depth and trunk clearance to protect plant health
- Clean edging and finished appearance that boosts curb appeal
- Timing aligned with seasonal best practices
- Ongoing maintenance plans for long-term results
Whether you’re managing a single residential yard or several commercial sites, working with a certified installer matters. Organizations like the ICPI Certified Installer program set standards that reflect real craftsmanship and reliability across the hardscaping and landscaping industry.
Bringing It All Together
Mulch installation looks simple from the outside, but as you can see, there’s real skill involved in doing it right. From bed prep and material selection to depth control and seasonal timing, every step affects how healthy and beautiful your landscape looks. Avoiding these thirteen mistakes puts you miles ahead of the average DIY approach.
At Serenity Landscape Group, we’ve spent over 20 years helping Chicagoland homeowners, builders, and business owners create outdoor spaces they genuinely love. Our full range of services, from retaining walls to fire pits and pergolas, means we can handle your entire landscape vision under one roof. Take a look at our gallery of completed projects to see what’s possible for your property.
Ready to give your beds the fresh, healthy look they deserve? Get a free estimate today, or feel free to call us at (630) 359-5139 to talk through your project with our friendly team.
FAQs
Q: How much does professional mulch installation cost?
A: On average, you’re looking at around $120 for delivery and installation, with most projects falling between $75 and $325. Larger properties or premium materials can push costs higher, so it’s always worth getting a personalized estimate for your specific space.
Q: How many cubic yards of mulch do I need for my beds?
A: A simple formula helps here: multiply your bed’s square footage by the desired depth in inches, then divide by 324. For example, a 3-inch layer covers about 108 square feet per cubic yard, so a little math goes a long way in avoiding waste.
Q: How far should mulch stay from tree trunks?
A: You’ll want to leave a gap of several inches around every trunk and plant stem. Piling mulch right against the bark traps moisture and invites rot, pests, and disease, so that little breathing room really does protect your plants.
Q: Is organic or inorganic mulch better for my landscape?
A: It really depends on your goals! Organic mulch like shredded hardwood improves soil health as it breaks down, while inorganic options like stone or rubber last longer without feeding the soil. Many of our clients actually mix both across different areas of their property.
Q: How often should mulch be refreshed?
A: Most landscapes look and perform best with a fresh layer once a year, though this can shift depending on material type and weather exposure. Regular refreshes keep weeds down and your beds looking sharp through every season.