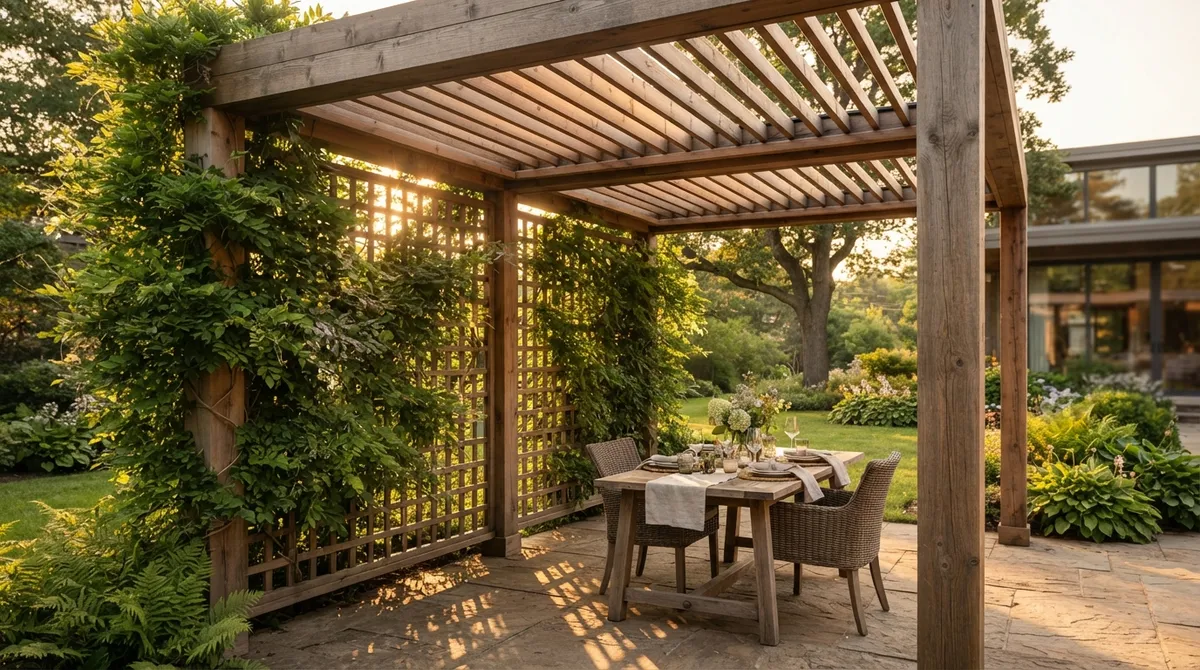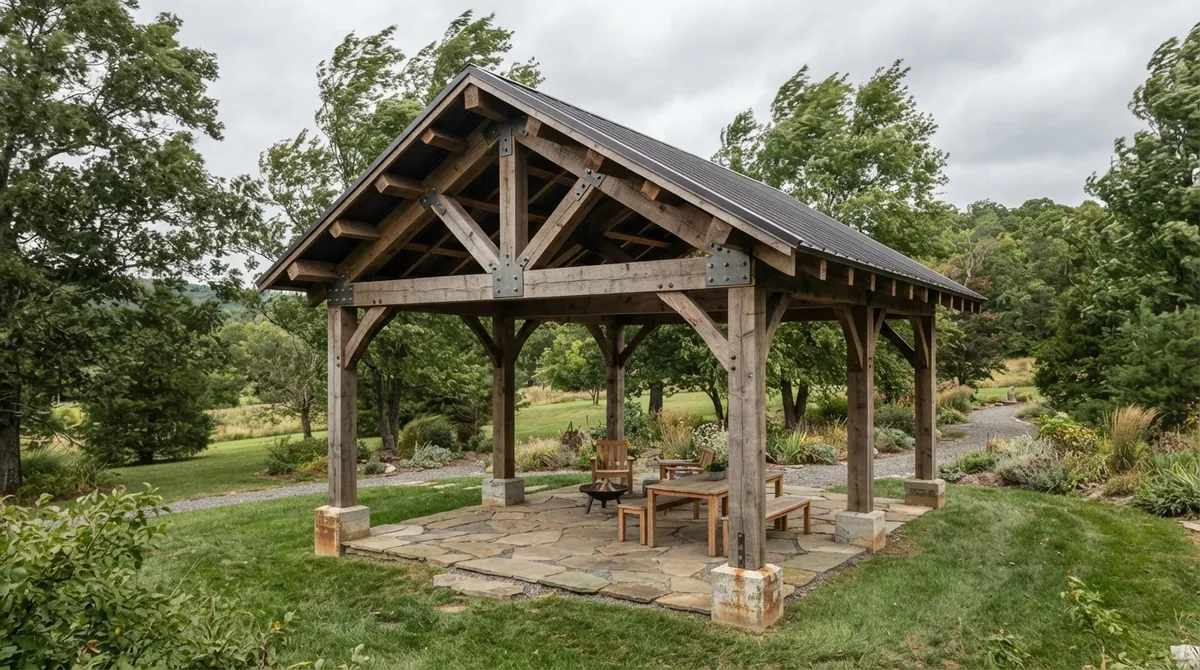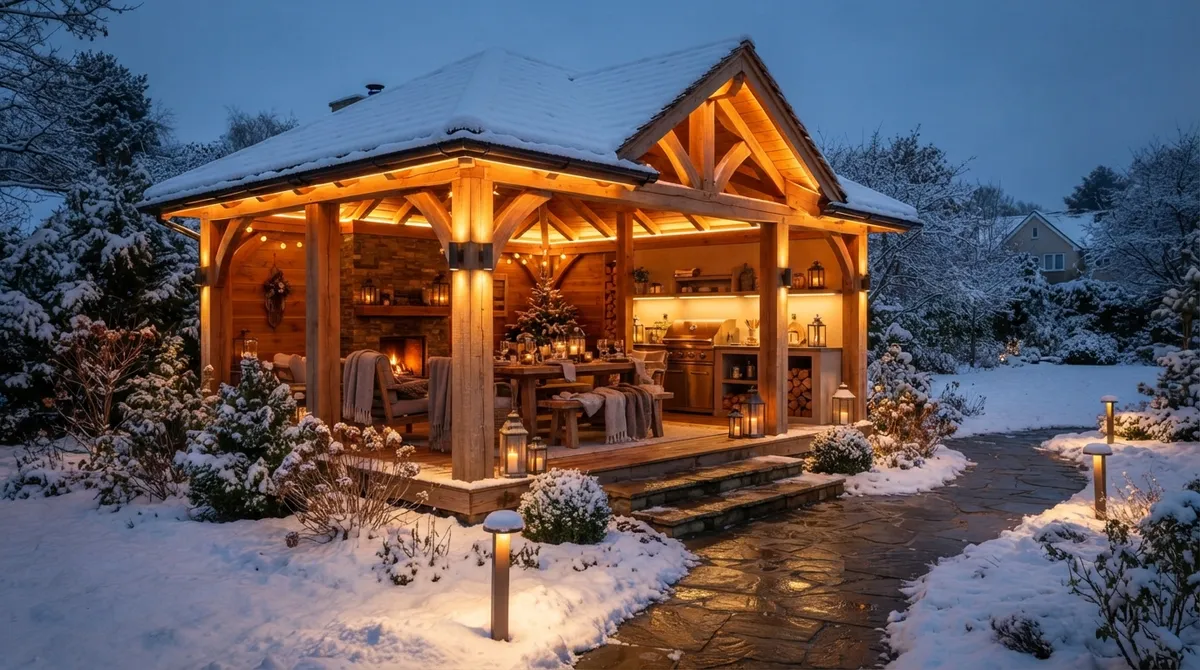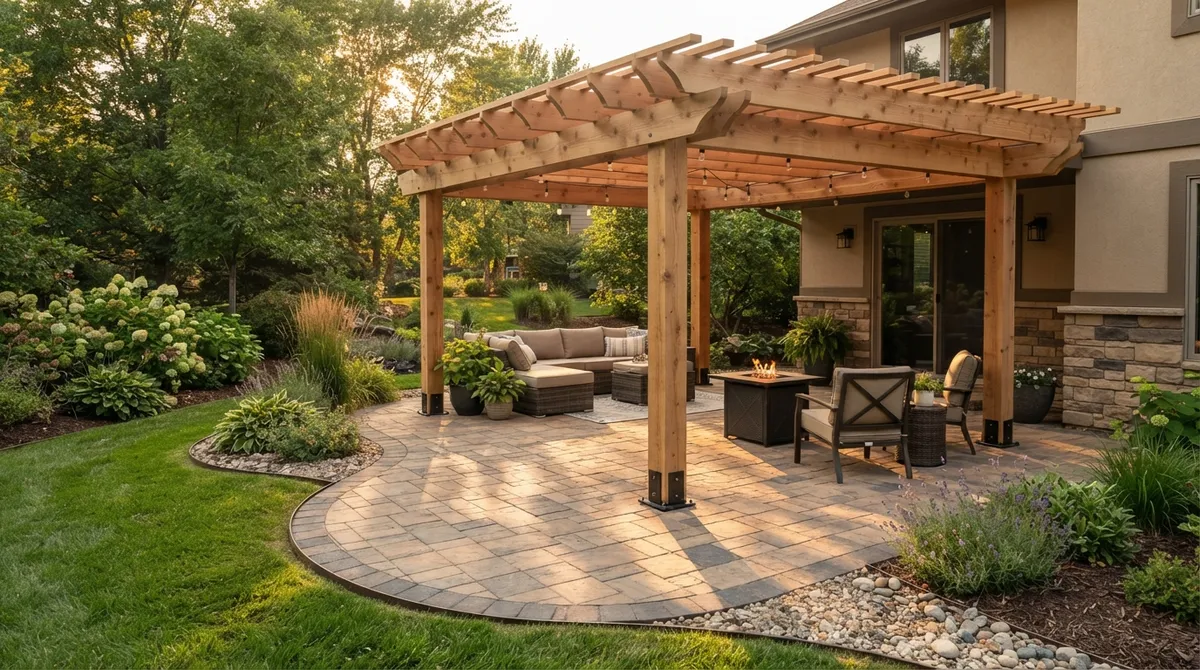
Key Takeaways
-
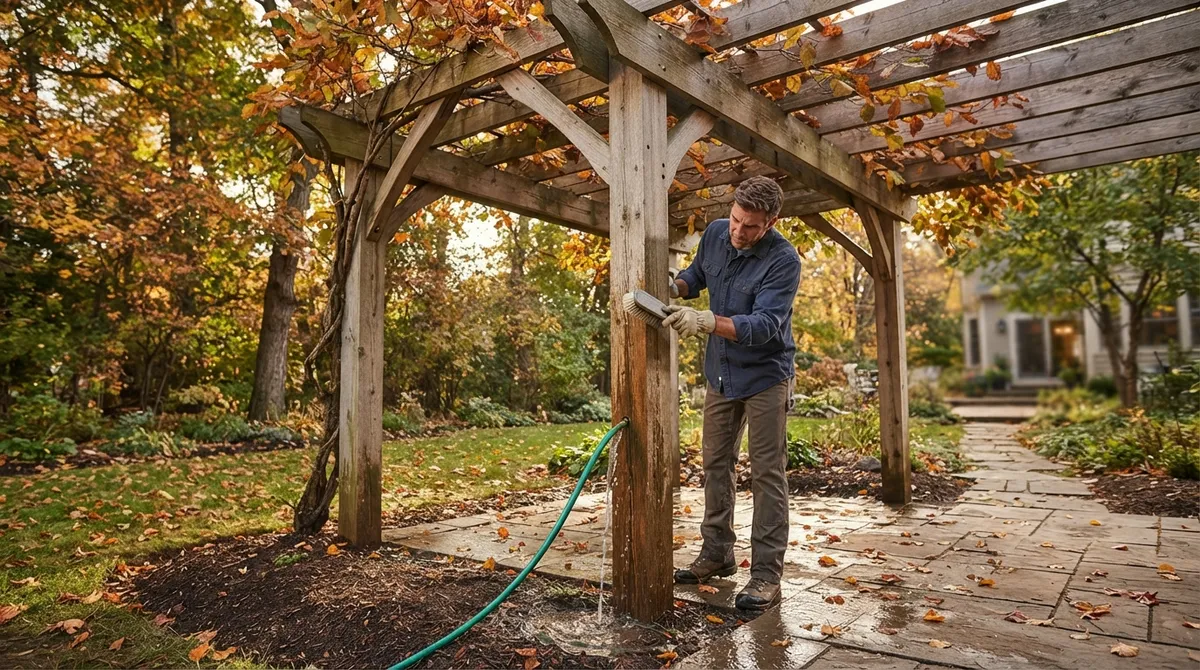
Work from the top down when cleaning: sweep or blow off leaves and twigs first, then wash beams, posts, and bases, so dirty water doesn't streak clean areas.
-
Skip the pressure washer unless the manufacturer approves it; high pressure can raise wood grain, strip finishes, and force water into joints. Use a garden hose and soft brush instead.
-
Let the pergola dry fully for a day or two before any stain or sealer, since trapped moisture under a new finish can cause peeling or mold.
-
Check posts for lean or movement, beams for sagging, and wood for soft spots by pressing gently with a screwdriver tip; these signs of rot or structural trouble need a professional.
-
Make sure water drains away from each post base, and fix pooling or washed-out soil before winter to prevent freeze-and-thaw damage.
-
Match your method to the material: never apply wood stain or sealer to aluminum, vinyl, or composite, and use approved touch-up products for chipped coatings on those surfaces.
There is something special about a pergola on a crisp October afternoon. The leaves turn gold, the air smells like woodsmoke, and your outdoor space feels like a cozy hideaway. But before winter rolls in across the Chicago area, your pergola needs a little love. Fall cleaning for pergola beams and posts is one of the simplest ways to protect your investment through freezing temperatures, heavy snow, and wet spring thaws.
Leaves, twigs, and pollen may look harmless. But when they sit on beams and slats, they trap moisture and stain surfaces. That moisture can lead to rot, mildew, and peeling finishes. A little time now saves you from bigger repairs later.
In this friendly guide, you’ll find 15 easy steps to clean and check your pergola this fall. We’ll cover wood, aluminum, vinyl, and composite structures. We’ll also explain when it’s smart to call a pro. Grab a soft brush and a cup of something warm, and let’s get started.
Why Fall Is the Perfect Time to Clean Your Pergola
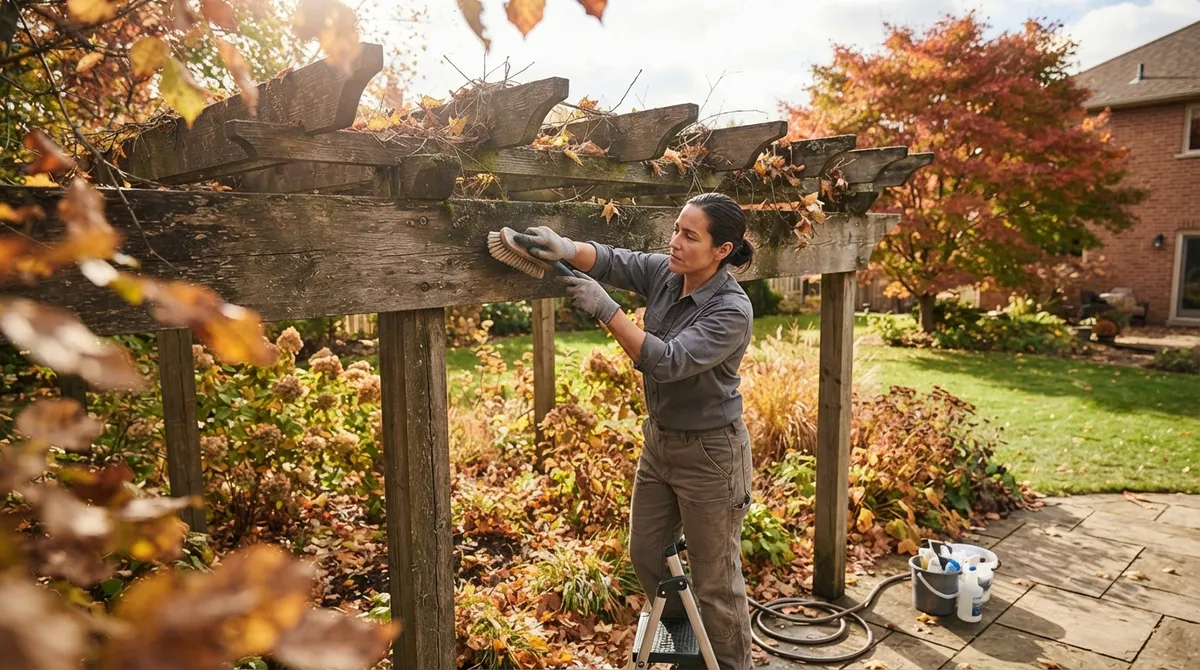
Fall sits right between summer use and winter weather. Your pergola has spent months in the sun, rain, and humidity. Now it faces a very different season.
Cleaning now removes the organic debris that holds water against your structure. It also gives you a chance to spot small problems before snow and ice make them worse. Think of it as a seasonal check-up for your outdoor living space.
If you love your pergola, you may also enjoy our guide to 13 stunning pergola designs to transform your outdoor space in 2026. It shows how much value a well-kept pergola can add to your yard.
Before You Start: Gather Your Supplies
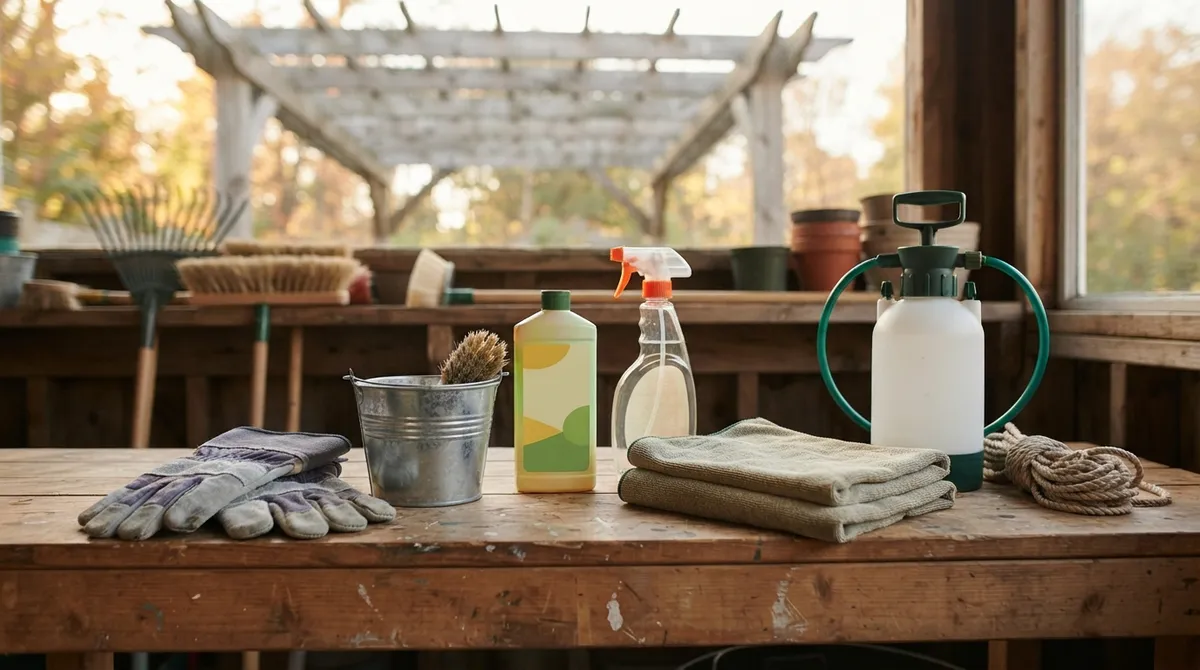
You do not need fancy gear for fall cleaning for pergola beams and posts. Most of what you need is already in your garage.
- A sturdy step ladder (only if you can reach safely)
- A soft-bristle brush or cloth
- A garden hose with a gentle spray nozzle
- A bucket and mild cleaner approved by your pergola maker
- Work gloves and safety glasses
- A small flashlight for checking joints
- A leaf blower or handheld broom
Always check the manufacturer’s care guide first. Different materials need different products, and the wrong cleaner can dull a finish or void a warranty.
15 Fall Cleaning Steps for Pergola Beams and Posts
1. Start With a Slow Walk-Around Inspection
Before you grab a brush, walk around the whole structure. Look at every beam, post, brace, and joint from the ground. Note anything that looks loose, cracked, leaning, or stained. This gives you a plan and keeps you from scrubbing over a problem you should have flagged.
2. Clear Furniture, Planters, and Decor
Move cushions, tables, and potted plants out of the way. This gives you room to work and lets you see the base of each post clearly. It also protects your furniture from drips and cleaner.
3. Remove Loose Leaves and Twigs From the Top
Always work from the top down. Gently sweep or blow leaves and twigs off the roof slats and beams. Use a soft broom or a leaf blower on a low setting. Skip sharp tools that could scratch the surface.
4. Check Roof Channels, Gutters, and Drain Outlets
If your pergola has channels or gutters, clear any debris you can reach. Pull leaves out by hand rather than pushing them deeper into openings. Clogged outlets cause water to spill over and pool near the posts. That can erode soil and weaken the base over time.
5. Look for Vines and Overgrown Plants
Climbing plants are lovely, but they can hold moisture against wood and hide damage. Trim back any vines that cling tightly to beams or posts. This is a good moment to cut back dead growth too. Our softscapes team can help you pick plants that look great without harming your structure.
6. Mix a Gentle Cleaning Solution
For most pergolas, warm water and a small amount of mild soap or manufacturer-approved cleaner is plenty. Avoid harsh chemicals, bleach, and abrasive powders unless the manufacturer says they are safe. Gentle is almost always better.
7. Wash Beams From the Top Down
Dip your soft brush or cloth in the solution and scrub the beams in the direction of the grain on wood. Work in small sections. Starting high keeps dirty water from streaking clean areas below.
8. Scrub the Posts and Post Bases
Posts collect splashes, soil, and algae, especially near the ground. Give them a thorough but gentle scrub. Pay extra attention to the bottom few inches, where moisture likes to hide.
9. Rinse Thoroughly With Low-Pressure Water
Rinse every surface with a garden hose, again from the top down. Soap left behind can attract dirt and leave a film. A gentle spray is all you need.
10. Skip the Pressure Washer (Mostly)
It is tempting to blast away grime with a pressure washer. But high pressure can raise wood grain, strip finishes, and force water into joints. Unless your manufacturer approves it, stick with a hose and a soft brush. If you want a deeper clean, ask a professional to handle it safely.
11. Let Everything Dry Completely
Give your pergola a full day or two to dry before you do anything else. Wood especially needs to be dry before you apply any stain or sealer. Trapped moisture under a new finish can cause peeling or mold.
12. Inspect Joints, Fasteners, and Hardware
Once dry, check every visible bolt, bracket, and screw. Look for rust, looseness, or gaps. Tighten what you can safely reach, and make a note of anything that looks damaged or corroded.
13. Check for Rot, Insects, and Finish Wear
On wood pergolas, press gently on suspicious spots with a screwdriver tip. Soft or spongy wood can signal decay. Look for tiny holes, sawdust piles, or discolored patches that may point to insects. Also watch for peeling or thinning stain and sealant.
14. Refinish Only When It’s Needed
If the wood is dry and the finish is worn, fall can be a good time for touch-ups, as long as temperatures allow the product to cure. Follow the label and your manufacturer’s advice. Do not apply wood stain or sealer to aluminum, vinyl, or composite. For chipped coatings on those materials, use an approved touch-up product instead.
15. Check Drainage Around the Base
Finally, look at the ground around each post. Water should flow away, not sit in puddles. If you see pooling or soil washing out, fix the grading before winter. Good drainage protects your posts from freeze-and-thaw damage.
Cleaning Tips by Pergola Material
Not every pergola is built the same way. Here is a quick comparison to help you match your cleaning method to your material.
| Material | Best Cleaning Method | What to Watch For | What to Avoid |
|---|---|---|---|
| Wood (cedar, pine, etc.) | Soft brush, water, mild soap | Rot, insects, peeling stain | High pressure, harsh chemicals |
| Aluminum | Soft cloth, water, approved cleaner | Chipped coating, loose hardware | Abrasive pads, wood sealer |
| Vinyl | Soft brush, mild soap, rinse | Cracks, seams, stains | Solvents, scouring powder |
| Composite | Soft brush, approved cleaner | Surface scratches, hardware | Stain or sealer, wire brushes |
A Simple Fall Cleaning Timeline
Spreading the work over a weekend makes it feel easy. Here is a friendly plan you can follow.
- Saturday morning: Inspect, clear furniture, and remove leaves and debris.
- Saturday afternoon: Wash and rinse beams, posts, and channels.
- Sunday: Let surfaces dry, then check hardware, drainage, and finish.
- Following week: Touch up wood finish if needed and weather allows.
Warning Signs That Need a Professional
Routine cleaning is a great do-it-yourself task. But some findings are bigger than a scrub brush can fix. Call a qualified repair professional if you notice any of these.
- A post that leans or shifts when you push it
- A beam that sags or looks bowed
- Loose, cracked, or corroded anchors at the base
- Widespread rot or soft, crumbling wood
- Electrical wiring, fans, or lights that look damaged
- Areas that are too high to reach safely from a ladder
Structural movement and electrical parts are not safe for guesswork. A trained specialist can assess the issue and recommend the right fix.
How Often Should You Clean and Inspect?
A good rule is to give your pergola a full cleaning and inspection once a year in fall. Add a lighter check in spring after the thaw. In leafy yards or shady spots, you may want to sweep debris off the top a few extra times during autumn.
For commercial properties, a regular schedule matters even more. Restaurants, shops, and office patios see heavy use and need to look sharp for customers. Pairing pergola care with your regular commercial lawn maintenance keeps everything on one easy calendar.
Protect Your Pergola Through the Chicago Winter
Our region brings freeze-and-thaw cycles, heavy snow, and strong winds. A clean, dry, well-drained pergola handles these conditions much better than one covered in damp debris.
After cleaning, store loose cushions and fabric shades indoors. Remove heavy planters that could trap water against posts. If you added lighting or sound equipment, check that the fixtures are secure and sealed. You can learn more about seasonal glow in our post on pergola lighting ideas for shorter autumn days.
The Landscape Illinois association is a helpful resource for homeowners who want to learn more about caring for outdoor structures and plantings in our climate.
Who Benefits Most From Fall Pergola Care?
Every pergola owner benefits, but the reasons can differ.
- Suburban homeowners: Keep your backyard looking sharp and protect a feature that boosts curb appeal and HOA standing.
- Urban condo owners: Small rooftop and patio pergolas get lots of exposure. Regular cleaning keeps them safe and stylish in tight spaces.
- Commercial property managers: A tidy structure improves first impressions and reduces liability from deteriorating hardware.
- New home builders: A well-maintained pergola helps finished outdoor features hold their value for buyers.
- Small business owners: Clean beams and posts support a welcoming patio that draws customers in.
Making Your Pergola Part of a Bigger Plan
A pergola works best when it connects with the rest of your outdoor space. A solid foundation matters too. A pergola set on well-laid pavers drains better and stays cleaner. If your yard slopes toward your posts, a retaining wall can help direct water away from the base.
Many families also tie a pergola into a seating area with a fire pit for crisp autumn evenings. Just keep a safe distance between flames and wood beams. For ideas on blending these features, see our guide on integrating a pergola with a paver patio.
When you want expert help, our pergolas and pavilions team can design, build, and care for these structures. Landscaping professionals can fold pergola cleaning and inspection into a fall property maintenance visit. And when the job calls for structural repair or electrical work, we are happy to point you to the right specialist.
Why Choose Serenity Landscape Group
For over two decades, Serenity Landscape Group has helped homes and businesses across the greater Chicago area turn outdoor spaces into places people love. We handle everything from design to installation to ongoing care, so your pergola and the landscape around it work together beautifully. You can see examples of our work in our gallery.
Conclusion
Fall cleaning for pergola beams and posts does not have to be a big chore. With a gentle brush, mild cleaner, and a little patience, you can clear away damaging debris, spot early trouble, and set your pergola up for a strong winter. Remember to work top to bottom, rinse well, let everything dry, and check drainage around the base.
And remember, you do not have to do it all alone. If you would like a hand with seasonal care, repairs, or a brand-new design, we would love to help. Get a free estimate today, or call us at (630) 359-5139 to chat with our friendly team.
FAQs
Q: How do you clean pergola beams and posts in the fall?
A: Start by sweeping off leaves and twigs from the top down. Then scrub gently with a soft brush, warm water, and a mild cleaner approved by your pergola’s maker, and rinse well with a low-pressure hose. Let everything dry fully before you do anything else.
Q: Can I pressure wash a pergola?
A: It’s best to skip it unless your manufacturer says it’s okay. High pressure can damage wood grain, strip finishes, and push water into joints. A garden hose and soft brush will do the job safely for most pergolas.
Q: What should I inspect on pergola posts and beams before winter?
A: Look for leaning posts, sagging beams, loose or rusty hardware, cracks, soft or rotting wood, and standing water near the base. If you spot structural movement or damaged anchors, call a qualified repair professional right away.
Q: How often should a pergola be cleaned and inspected?
A: Plan on a full cleaning and inspection once a year in fall, with a lighter check each spring. If your yard has lots of trees, sweep debris off the top a few extra times during autumn.
Q: When should a wood pergola be restained or resealed?
A: Refinish it when you see peeling, thinning, or worn stain, and only when the wood is fully dry. Follow the product label and your manufacturer’s guidance, and never apply wood stain or sealer to aluminum, vinyl, or composite materials.