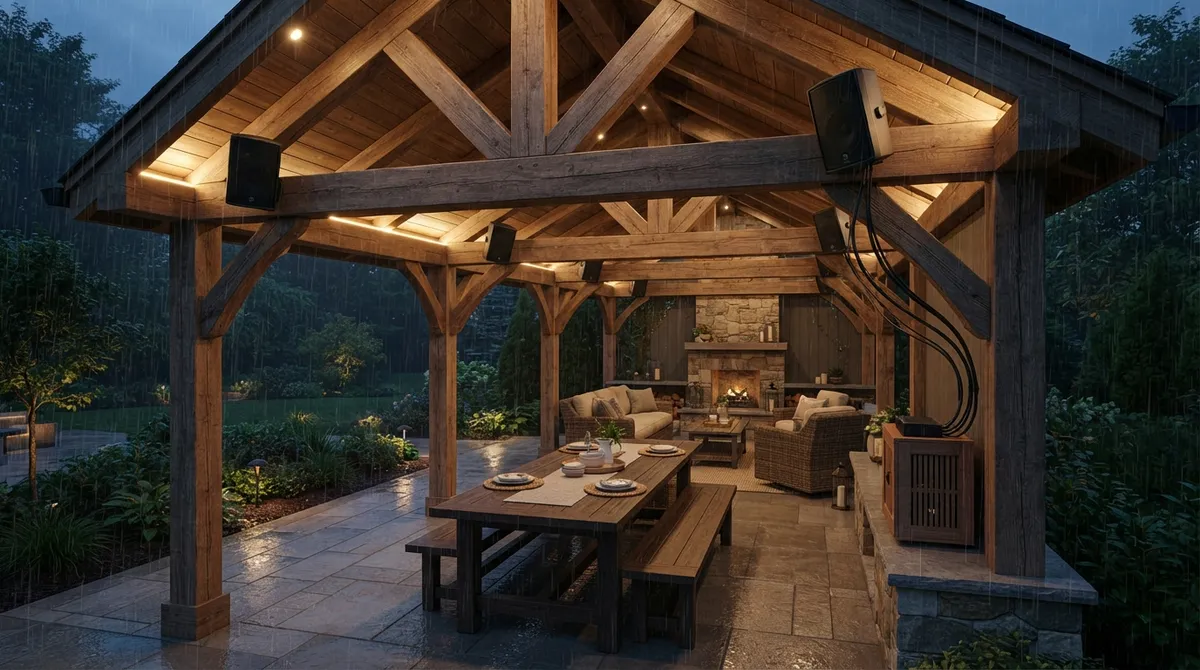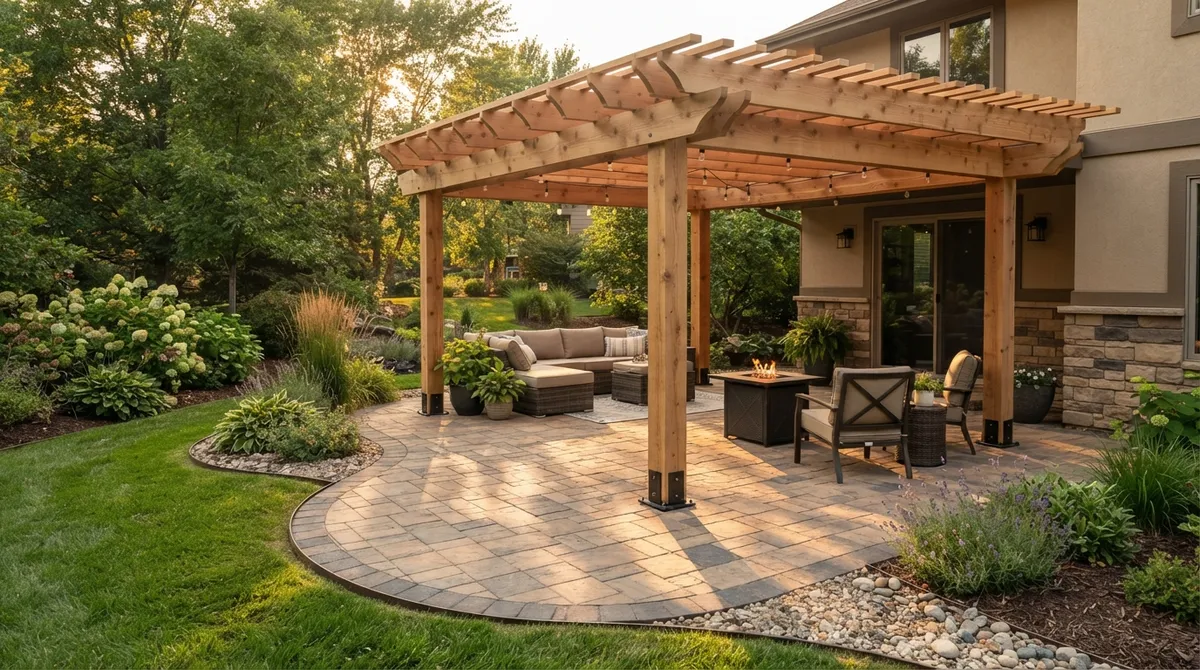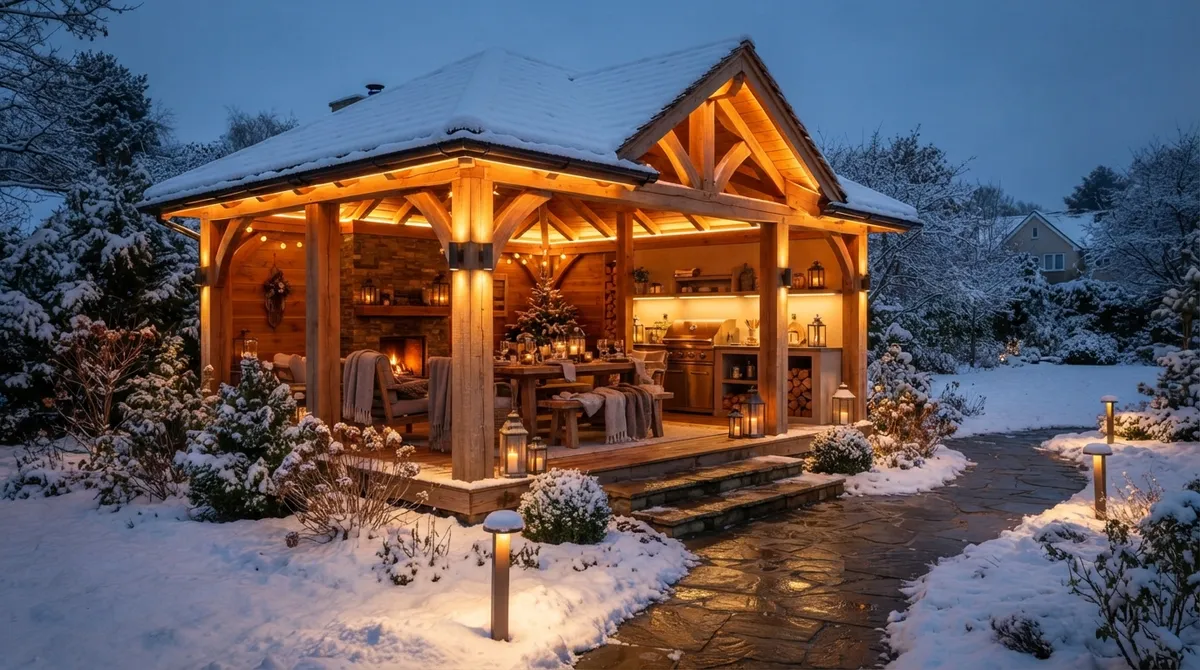
Key Takeaways
-
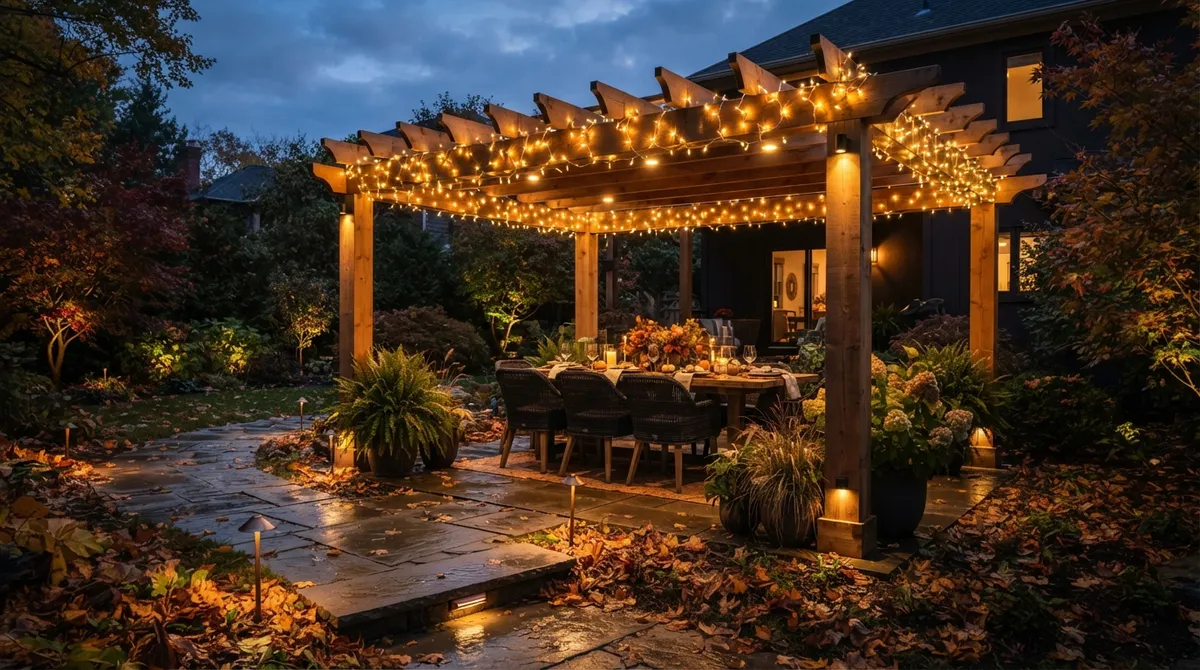
Use three layers of light: ambient for comfort, task lighting over cooking and dining zones, and accent lighting on posts, beams, and stone to add depth without glare.
-
Choose warm white LEDs in the 2700K to 3000K range, which feel cozy like candlelight and make snow look soft rather than harsh.
-
Match fixture ratings to location: exposed roof edges and open sides need wet-location listings, while solid-roof areas may suffice with damp-location ratings.
-
Shield fixtures and aim light down and inward to reduce glare off snow, then do a nighttime test walk to catch harsh spots before final installation.
-
Light every change in level on steps and paths, and mount fixtures above typical snow line so drifts and plow zones don't bury or damage them.
-
Hire a licensed electrician for circuits and GFCI-protected outdoor receptacles, and use compatible outdoor-rated dimmers and timers that switch lights on at dusk.
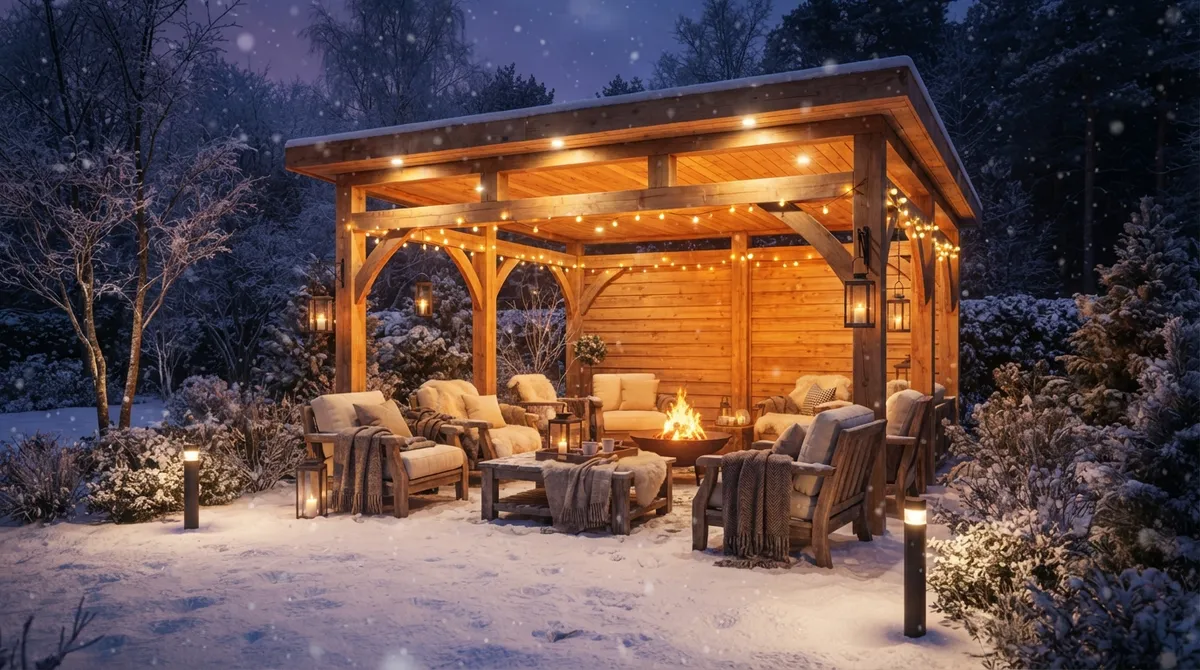
Picture this: it’s a crisp January evening in Chicagoland. Snow is drifting down, the sun set hours ago, and your backyard pavilion sits dark and lonely. Now picture it glowing with warm, soft light, a fire crackling nearby, and friends gathered around with hot cocoa. That’s the magic of great pavilion lighting for winter evenings.
Here in the Midwest, winter sunsets arrive before dinner. That means your outdoor space is dark for most of the day. The right lighting turns that darkness into an invitation. It also keeps steps, paths, and seating areas safe when snow and ice show up.
The good news? You don’t need to be an expert to get this right. In this guide, we’ll walk through how to layer your light, pick the right bulbs and fixtures, handle snow and cold, and avoid common mistakes. Let’s make your pavilion the cozy spot everyone wants to visit this season.
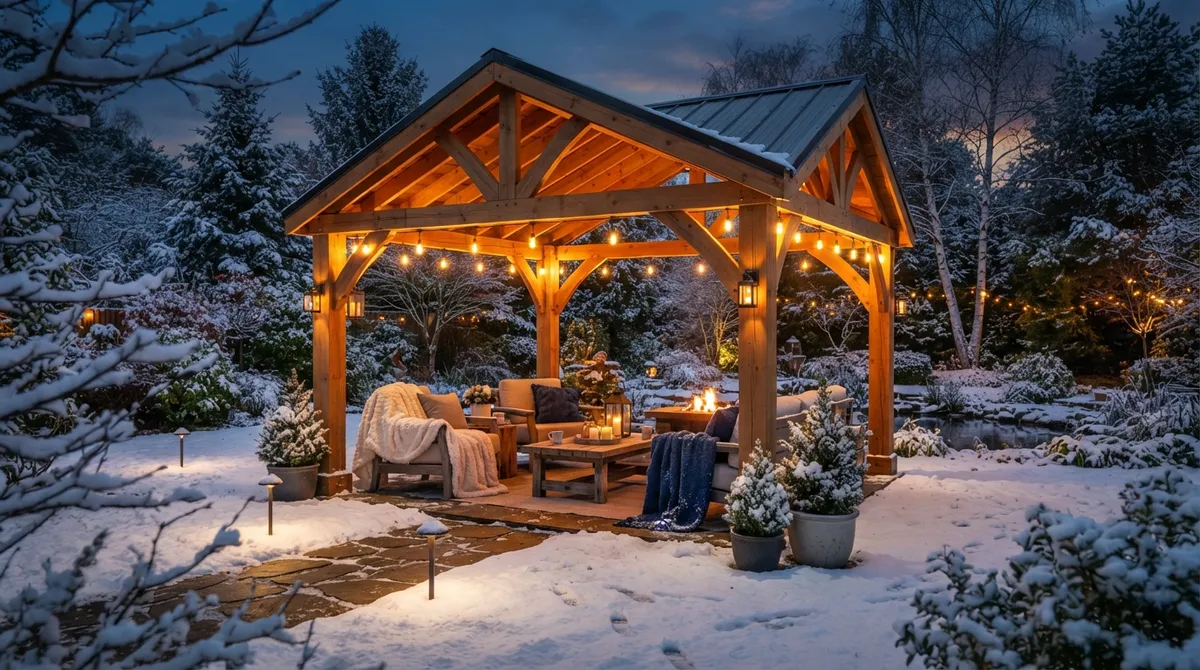
Why Does Winter Call for Different Pavilion Lighting?
Winter changes how we use outdoor spaces. Days are short, so your pavilion gets used mostly after dark. Snow reflects light, ice makes walkways slippery, and cold air makes everyone crave warmth.
Lighting that works in July may not work in January. Summer fixtures sometimes fade into the background because there’s still daylight and lush greenery. In winter, your lights do the heavy lifting. They set the mood, show the way, and keep people safe.
Here are a few winter-specific things to keep in mind:
- Early darkness: Your lights may run 14 or more hours a day in deep winter.
- Snow and ice: Fixtures face moisture, drifts, and freeze-thaw cycles.
- Reflected glare: Fresh snow bounces light back at people’s eyes.
- Cold temperatures: Not every fixture or control handles the cold well.
Planning for these things up front saves you money and headaches later.
How Should You Layer Light in a Winter Pavilion?
The best pavilions use three layers of light. Think of it like dressing for a Chicago winter: you wear layers, and each one does a different job.
Layer 1: Ambient Light for Comfort
Ambient light is the soft, general glow that makes the space feel welcoming. It’s what makes people sink into a chair and stay awhile. Think gentle downlights tucked into the roof, or warm string lights draped along the beams.
The goal is a relaxed glow, not a bright stage. If you can read a menu and see faces clearly, you’re in the sweet spot.
Layer 2: Task Light for Real Jobs
Task lighting is brighter and more focused. Use it where you actually do something: a dining table, an outdoor kitchen, a grill station, or a serving counter. Nobody wants to guess whether the burgers are cooked in the dark.
Place task lights so they shine on the work surface, not into anyone’s eyes. Shielded fixtures help a lot here.
Layer 3: Accent Light for Beauty
Accent lighting is the fun part. It highlights posts, beams, stone columns, planting beds, and the snowy landscape beyond. A little uplighting on a wooden beam or a soft glow on a stone wall adds depth and drama.
Keep accents subtle. You want them to say “wow” without shouting.
| Lighting Layer | Purpose | Where to Use It | Best Feel |
|---|---|---|---|
| Ambient | General comfort and mood | Roof, beams, overhead | Soft and warm |
| Task | Cooking, dining, reading | Tables, grill, counters | Brighter, focused |
| Accent | Beauty and depth | Posts, stone, plants | Subtle and dramatic |
What Color Temperature Works Best for Winter Evenings?
Color temperature is measured in Kelvin (K). Lower numbers look warmer and more golden. Higher numbers look cooler and bluer.
For a cozy pavilion, landscape lighting guidance commonly recommends warm white LEDs around 2700K to 3000K. This range feels like candlelight or a fireplace. It flatters skin, warms up stone and wood, and makes snow look soft instead of harsh.
Cooler, bluer light can feel stark in winter. It reflects off snow and creates a chilly, hospital-like look. That’s the opposite of what you want on a cold night.
A quick note: this range is a design guideline, not a code rule. If you love a slightly crisper look for a modern pavilion, you can go a bit higher. Just test it first.
Are LEDs a Good Choice for Cold Weather?
Yes, LEDs are a great fit for winter use. According to the U.S. Department of Energy’s outdoor area lighting fact sheet, LED fixtures can last 50,000 hours or more, compared with roughly 15,000 to 35,000 hours for older HID sources. Actual life depends on the product and how it’s used.
That long life matters when your lights run many hours each winter night. LEDs also use much less energy than older bulbs. The DOE notes that LED efficacy can reach 150 lumens per watt or more in specialized products, though that isn’t guaranteed for every outdoor fixture.
Still, not every LED product loves the cold. Check these items before you buy:
- Operating temperature range: Make sure the fixture and driver are rated for Chicago-level cold.
- Outdoor-rated drivers and transformers: These power the lights and need to handle moisture.
- Compatible dimmers and controls: Mismatched parts can cause flicker or early failure.
Always read the manufacturer’s specs. A cheap fixture that dies in February isn’t a bargain.
What Outdoor Rating Should Pavilion Lights Have?
This is a big one. Many people assume a covered pavilion keeps lights dry. In reality, wind-driven snow, humidity, and temperature swings still reach those fixtures.
Choose fixtures specifically listed for outdoor use. Look for a wet-location or damp-location rating on the label, and follow the manufacturer’s installation instructions. Exposed fixtures near the roof edge or open sides may need a wet rating. Fixtures under a solid roof may be fine with a damp rating, but always check.
Understanding IP Ratings
You’ll often see an “IP” rating on outdoor fixtures. It tells you how well the enclosure resists dust and water. For example, the DOE explains that IP65 means dust-tight and protected against water jets. That’s a solid choice for exposed spots.
| Location | What It Faces | What to Look For |
|---|---|---|
| Exposed roof edge or open sides | Snow, rain, wind-driven moisture | Wet-location listing, higher IP rating |
| Under a solid roof | Humidity, temperature swings | At least damp-location listing |
| Ground-level path and step lights | Snow, ice, salt, irrigation | Wet-location, durable housing |
| Outdoor receptacles | Weather and moisture | GFCI protection, weatherproof covers |
How Do You Avoid Glare on Snowy Nights?
Glare is the sneaky enemy of winter lighting. Snow acts like a giant mirror. A bare, bright bulb that looks fine in summer can feel blinding when it bounces off a white yard.
Here’s how to keep your light comfortable:
- Use shielded or recessed fixtures. Hide the light source so guests don’t stare into it.
- Aim lights down and in. Point them at the seating, table, and floor instead of out at the view.
- Add dimmers. Lower the brightness when you want a softer mood.
- Watch for spill light. Keep light from drifting into neighbors’ windows or yards.
- Do a nighttime test. Walk the space after dark and check for harsh spots.
That last step is gold. A nighttime mock-up or aiming session lets you check brightness, glare, shadows, and spill before you lock in the final layout. It’s much easier to adjust a fixture on test night than after everything is wired.
How Can You Light Pavilion Steps and Paths Safely in Winter?
Safety matters more than style when ice is involved. Steps and paths around your pavilion need clear, steady light so no one slips.
A few smart tips:
- Light every change in level. Step lights or low path lights reveal where the ground rises or drops.
- Mind the snow line. Fixtures mounted too low can get buried in drifts. Place them where typical snow buildup won’t hide them.
- Avoid plow and shovel zones. Don’t put delicate fixtures where snow clearing or roof runoff can smash or soak them.
- Keep it even. Avoid bright pools and dark gaps. Even light is easier on the eyes.
Solid, well-built hardscape also helps. Clean, level surfaces make lighting easier to plan. If you’re thinking about the surface around your pavilion, take a look at our guide to walkway paver design for ideas that look great and hold up in cold climates.
Can You Control and Dim Pavilion Lighting?
Absolutely, and you should. Controls make your lighting flexible. A brighter setting works for cooking and cleanup. A softer setting works for movie night or quiet chats by the fire.
Use dimmers or separate zones so you can shift the mood easily. For example:
- Zone 1: Overhead ambient lights
- Zone 2: Task lights over the table and grill
- Zone 3: Accent lights on posts and stone
- Zone 4: Step and path lights
Timers and smart controls also help in winter. Set your lights to turn on at dusk automatically. Since dusk comes so early, you’ll be glad you don’t have to remember. Just make sure every dimmer and control is compatible with your LED fixtures and rated for the location.
Want to see how lighting fits into a bigger plan? Our lighting and sound services blend both into one cohesive outdoor design.
What About Electrical Safety and GFCI Protection?
Let’s talk safety for a moment, because electricity and snow are not a casual mix. New hardwired circuits, load calculations, and code compliance should be handled by a licensed electrician. This isn’t a weekend DIY project.
In the United States, outdoor receptacles generally require GFCI protection, and receptacles in wet locations need suitable weatherproof covers. Rules for hardwired fixtures and exact installation details depend on the adopted electrical code and your local authority. Chicago and its suburbs may have their own requirements, so always check locally.
Here’s how the work usually splits:
- A landscape professional plans fixture placement around the pavilion structure, plants, paths, and views.
- A licensed electrician designs and installs the circuits and connections where required.
- The team tests everything after dark and fine-tunes aiming and brightness.
This teamwork keeps your project beautiful and safe. At Serenity Landscape Group, we coordinate the design side so your lighting works with your whole outdoor space, from pergolas and pavilions to patios and planting beds.
How Do You Keep Winter Lighting Easy to Maintain?
Good winter lighting should be low-fuss. A little planning keeps it that way.
- Keep fixtures reachable. You should be able to inspect them without a ladder marathon.
- Check seals and covers. Look for cracks or gaps that let moisture sneak in.
- Brush off snow and ice gently. Never chip ice off a fixture with a hard tool.
- Review wiring after storms. High winds and heavy snow can loosen connections.
- Inspect the structure too. Before heavy snow, our pavilion roof inspection steps help you spot issues early.
If you plan to add warmth to your gathering space, pairing lights with a fire feature is a winning combo. Check out our roundup of fire pits that transform backyards for inspiration that goes hand in hand with a glowing pavilion.
Ideas for Different Properties
Pavilion lighting isn’t one-size-fits-all. Here’s how different property owners can make it work.
Suburban Homeowners
Think of your pavilion as a winter living room. Warm ambient light, a dimmable dining zone, and soft accents on stone or timber make it feel like a true extension of your home. Keep light tidy so it meets HOA expectations and doesn’t spill onto neighbors.
Urban Condo Owners
On a rooftop or small patio, space is tight. Choose compact, low-profile fixtures and keep everything low-maintenance. Shielded lights help with glare and respect nearby units. Always follow your building’s rules and local requirements.
Commercial and Business Owners
For restaurants, shops, and offices, a glowing pavilion draws people in. Warm light, safe steps, and clear paths make guests feel welcome and cared for. Durable, outdoor-rated fixtures cut down on repair calls. Seasonal planting paired with lighting adds a branded, pedestrian-friendly feel that keeps customers coming back all winter.
New Home Builders
Turnkey outdoor features sell homes. A pavilion with thoughtful, pre-planned lighting gives buyers a ready-to-enjoy space. Coordinating lighting with the structure early saves time and avoids costly retrofits.
A Simple Step-by-Step Plan
Ready to get started? Here’s an easy path from idea to glow.
- Map how you use the space. Note where you’ll dine, cook, sit, and walk.
- Choose your three layers. Decide on ambient, task, and accent lighting.
- Pick warm, outdoor-rated LEDs. Aim for 2700K to 3000K and the right wet or damp rating.
- Plan zones and dimmers. Give yourself control over the mood.
- Hire a licensed electrician. Let them handle circuits, GFCI protection, and code details.
- Test after dark. Adjust aiming to cut glare and spill light.
- Enjoy and maintain. Check fixtures a few times each winter.
For a deeper look at the whole lighting process, our post on how to plan landscape lighting that wows after dark goes into even more detail. And if you want help picking the right structure first, see what pavilions are and how they can transform your outdoor space.
Looking for trusted local resources? The Landscape Illinois association is a helpful place to learn about professional landscape standards in our region. And if hardscape surfaces are part of your plan, the ICPI Certified Installer program is a good place to find certified paver pros. For more technical lighting details, the U.S. Department of Energy also shares guidance on LED lighting basics.
Make Your Pavilion the Warmest Spot on the Block
Great pavilion lighting for winter evenings comes down to a few simple ideas: layer your light, keep it warm, choose weather-ready fixtures, tame the glare, and light your steps safely. Add smart controls and a little nighttime testing, and you’ll have a space people can’t wait to visit when the snow flies.
You don’t have to figure it all out alone. We’ve spent over two decades helping Chicagoland families and businesses turn their outdoor spaces into places they love year-round. If you’re ready to bring a glow to your pavilion, get a free estimate or call us at (630) 359-5139. We’d love to help you create a winter evening escape you’ll enjoy for years.
FAQs
Q: What lighting works best for a pavilion in winter?
A: Layered lighting works best. Combine soft, warm ambient light for comfort, brighter task lights over dining or cooking areas, and gentle accent lights on posts, beams, and steps. Warm-white LEDs in the 2700K to 3000K range keep the space feeling cozy against cold, snowy surroundings.
Q: Are LED lights suitable for cold winter weather?
A: Yes, LEDs are a great fit for winter because they’re energy efficient and long-lasting. Just check the manufacturer’s operating-temperature range, and choose outdoor-rated drivers, transformers, and dimmers so everything keeps working when temperatures drop.
Q: What outdoor rating should pavilion lights have for snow and rain?
A: Choose fixtures listed for outdoor use with a wet-location or damp-location rating that matches where they’ll be installed. Exposed spots need wet-rated fixtures, and an IP65 rating, which is dust-tight and protected against water jets, is a solid choice for exposed areas. Always follow the manufacturer’s installation instructions.
Q: Do outdoor pavilion lights need GFCI protection?
A: In the United States, outdoor receptacles generally require GFCI protection and weatherproof covers in wet locations. Requirements for hardwired fixtures vary by local code, so it’s best to have a licensed electrician handle the installation and confirm what your area requires.
Q: How do I light a pavilion without creating glare?
A: Use shielded or recessed fixtures, aim lights down toward seating and work areas, and add dimmers to soften the brightness. Since snow reflects light, it also helps to do a nighttime test session to catch harsh spots and spill light before finalizing the layout.