Key Takeaways
-
Plan the pergola and patio as one project: decide post locations, finished patio height, door clearances, drainage routes, and utility lines before any digging begins.
-
Never rely on pavers to anchor a pergola. Give each post its own concrete footing beneath the patio and connect it with an approved post base or anchor.
-
Footing depth and size depend on local frost depth, soil, and wind loads, so follow manufacturer instructions and local code rather than generic dimensions.
-
Build the patio base in layers: prepared subgrade, compacted crushed stone, bedding layer, solid edge restraint, and joint material to prevent sinking and shifting around posts.
-
Slope the patio surface so rainwater and snowmelt flow away from the house and posts toward a lawn, drain, or planting bed to protect the base.
-
Run electrical conduit, lighting wiring, heater connections, and drainage sleeves under the patio before the base is built, since retrofitting later means lifting pavers.
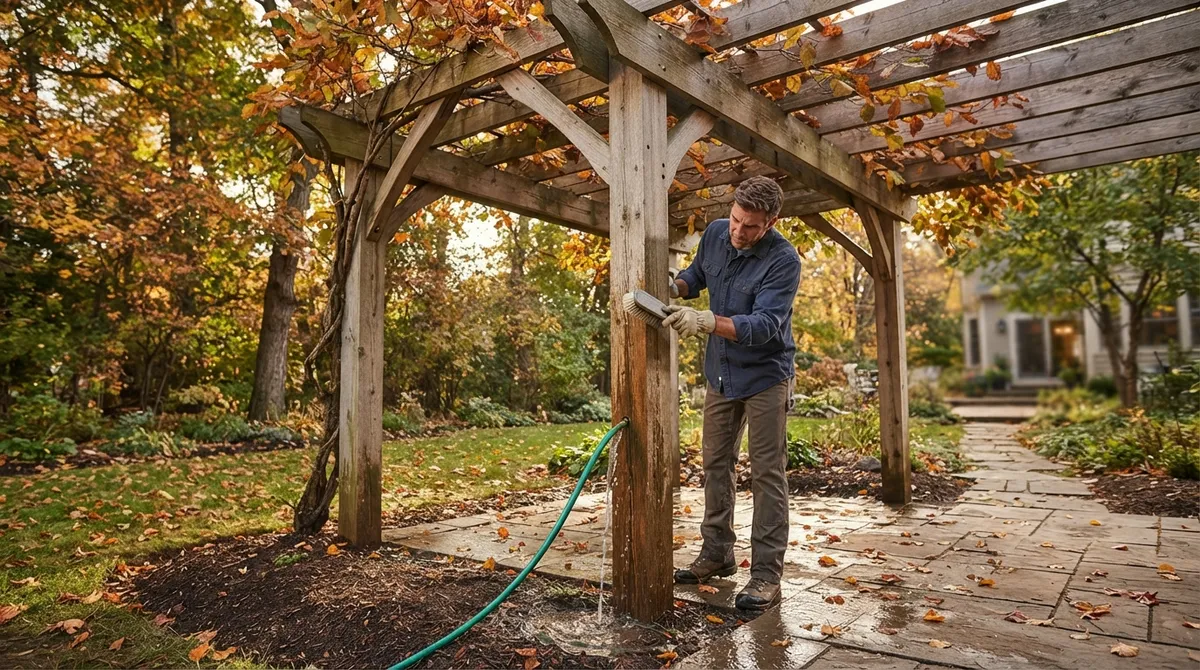
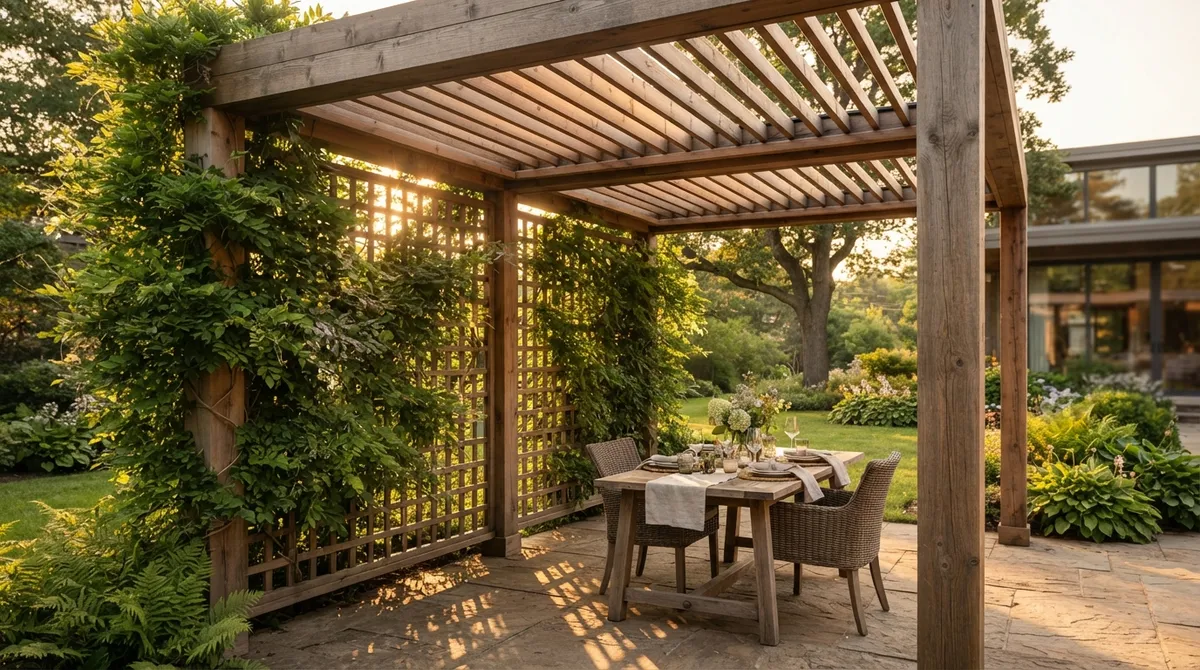
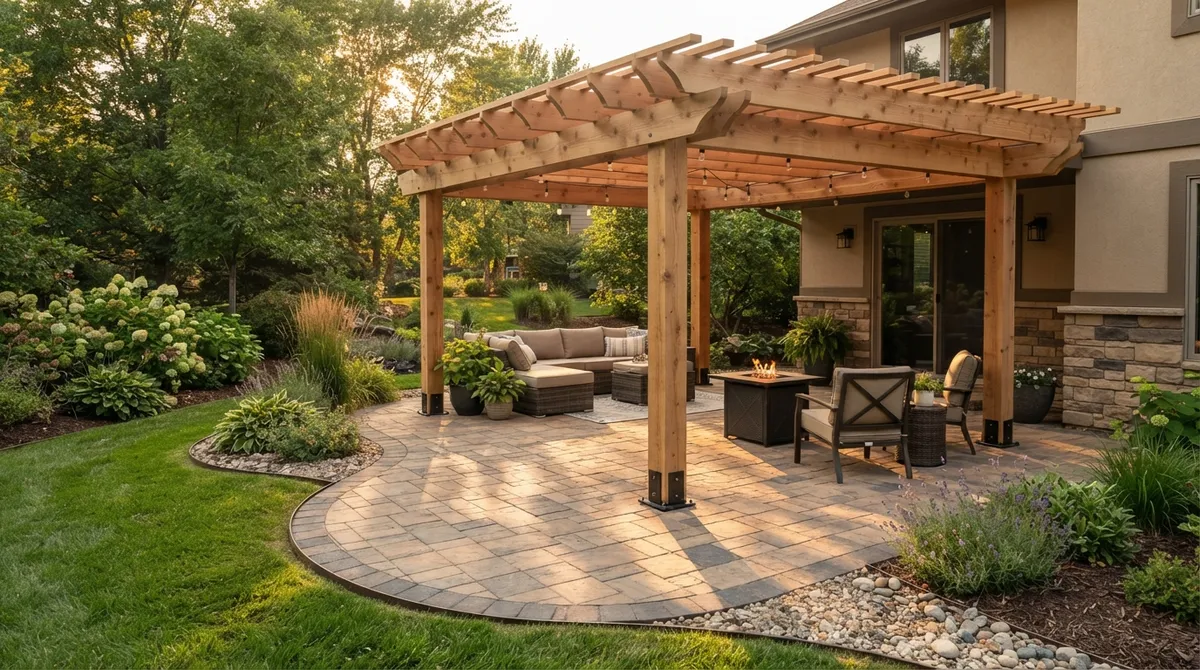
Picture this: it’s a warm evening in 2026, the string lights are glowing, and you’re sitting under a beautiful pergola on a patio you designed yourself. It feels like a vacation, right in your own backyard. That dream is very doable, but it takes smart planning. Integrating a pergola with a paver patio means more than setting a frame on top of stone. The posts, footings, drainage, and patio base all need to work together.
Here in the Chicago area, we deal with frost, heavy clay soil, and strong winds off the lake. Those things matter a lot when you build a lasting outdoor space. In this guide, we’ll walk you through 11 practical tips so your pergola and patio look great and hold up for years. Whether you live in a suburban home, a city condo with a courtyard, or you manage a commercial property, these ideas will help you plan with confidence. Let’s dig in!
1. Plan the Pergola and Patio as One Project
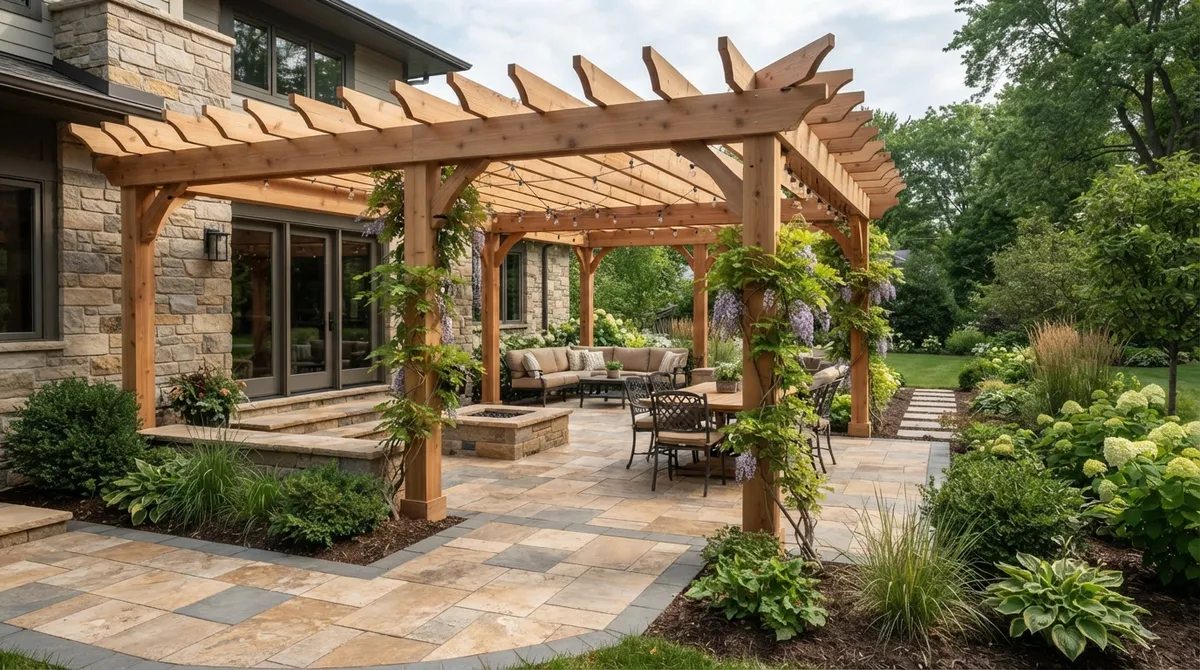
The biggest mistake we see is treating the pergola and patio as two separate jobs. When you plan them together, everything fits better and costs less to fix later.
Before anyone breaks ground, decide on these key details:
- The pergola footprint and where each post will land
- The finished patio height
- Door and step clearances from your home
- Drainage routes for rain and snowmelt
- Any utility lines that might be in the way
For a brand-new patio, the post foundations should go in before the paver base is built. If you already have a patio, don’t worry. A retrofit is still possible. Your installer simply lifts the pavers at each post location and works from there. Our design and installation process starts with exactly this kind of whole-project planning.
2. Never Rely on the Pavers to Hold Up the Pergola
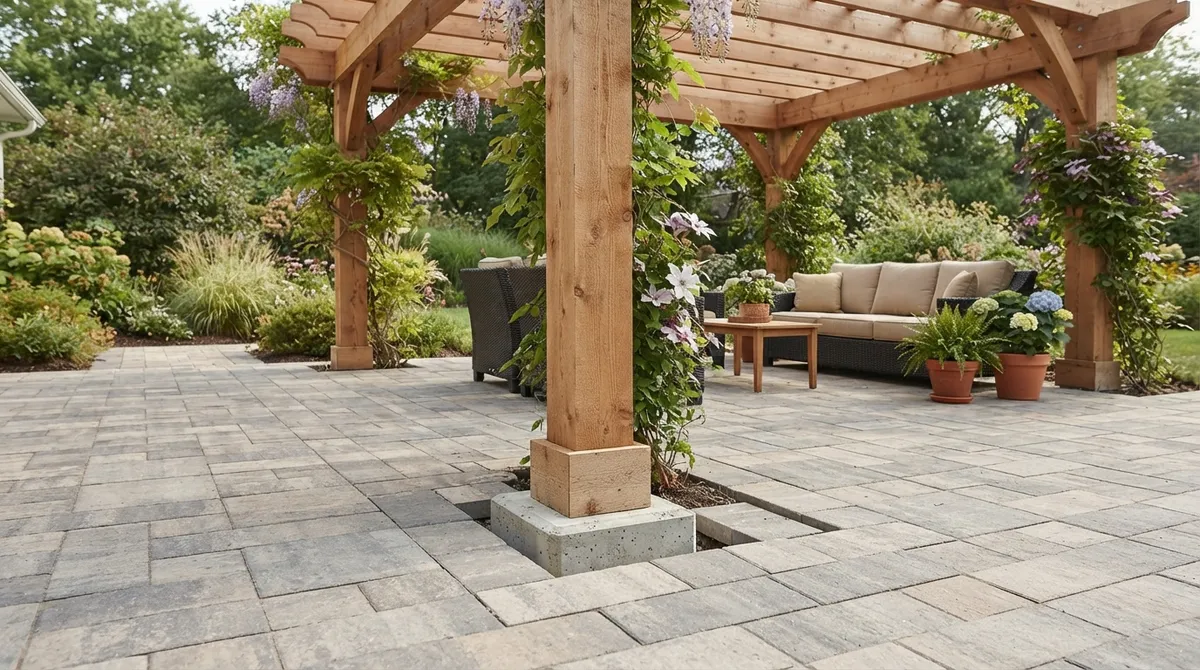
This one is important, so we’ll say it plainly. Ordinary pavers are not a structural anchor. They’re beautiful and tough, but they sit on a bed of sand and gravel. They aren’t built to resist the lift and sway a pergola can feel in a strong wind.
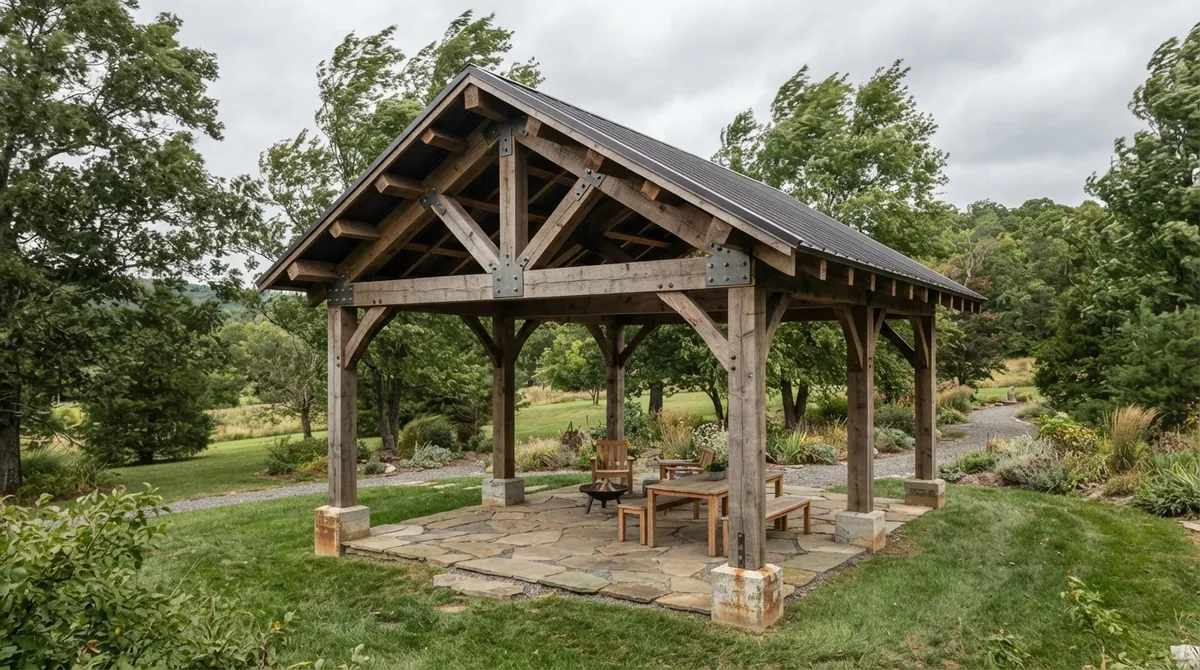
The better approach is to give each post its own concrete footing beneath the patio. The post then connects to that footing with an approved post base or anchor. The pavers are simply cut and fitted neatly around the post or bracket. Most manufacturers call for this setup, and it’s the safest way to go.
3. Get the Footings Right for Your Location
Footing size and depth aren’t one-size-fits-all. They depend on your soil, your local frost depth, the pergola’s design, and the wind loads in your area. Always follow the manufacturer’s instructions and your local building rules.
To show how much these numbers can vary, here are a few examples from published guides:
| Source Type | Example Guidance | Takeaway |
|---|---|---|
| Pergola installation guide | Minimum footing of 12 inches round or 10 inches square, dug to the local frost line | Guide-specific, not a universal code |
| Manufacturer guide (no freeze-thaw regions) | Minimum 36-inch footing depth | Warmer areas may use shallower footings |
| Linn County, Iowa guidance | 42-inch minimum post embedment | A local rule, not a nationwide one |
See how different those numbers are? That’s exactly why generic dimensions shouldn’t replace local engineering or code guidance. In the Chicago area, frost depth is a serious factor, so this step deserves extra care.
4. Build a Patio Base That Will Last
A pergola is only as steady as the patio beneath it. A durable paver patio depends on several layers working together:
- Subgrade preparation: Remove topsoil and soft spots so the ground is firm.
- Compacted base: Add crushed stone in layers and compact each one well.
- Bedding layer: Spread a smooth layer of bedding material for the pavers to rest on.
- Edge restraint: Install solid edging to keep the pavers from drifting apart.
- Joint material: Fill the gaps to lock the pavers in place.
Skipping any of these steps can lead to sinking, shifting, and uneven joints around your posts. If you want to learn more about getting a patio right, check out our guide on how to design a stunning paver patio for your yard.
5. Design the Drainage Around Every Post
Water is the quiet enemy of any outdoor build. If rain pools around a post, it can weaken the base over time. If it flows toward your house, you could have bigger problems.
Plan a gentle surface slope so water runs away from your home and away from the posts. Make sure it has somewhere to go, like a lawn area, a drain, or a planting bed. Good drainage also protects the patio base from washing out underneath. Chicago’s heavy spring rains and fast snowmelt make this step extra important.
6. Choose the Right Post Material and Hardware
The pergola material you pick affects how it connects to the patio. Wood, aluminum, vinyl, and fiberglass each have their own needs.
- Use exterior-rated, corrosion-resistant connectors and fasteners that suit your post material.
- Keep wood posts out of standing water by using the required post base separation.
- Follow the product’s instructions for how the post meets the ground or bracket.
Good hardware is a small cost that pays off for decades. If you’re still deciding on a style, our roundup of 13 stunning pergola designs is a fun place to get inspired.
7. Match the Paver Style to the Pergola Style
Now for the fun part! The look of your pavers and your pergola should feel like they belong together. A few easy pairings can make the whole space feel designed on purpose:
- Modern aluminum pergola: Clean, rectangular concrete pavers in cool gray tones
- Rustic cedar pergola: Warm natural-stone-look pavers in earthy browns and tans
- Classic white pergola: Traditional brick-style pavers in soft reds or charcoals
Think about patterns, too. A border around the pergola footprint can quietly define the space and draw the eye upward. You can browse real examples in our gallery of our work to see what feels right for you.
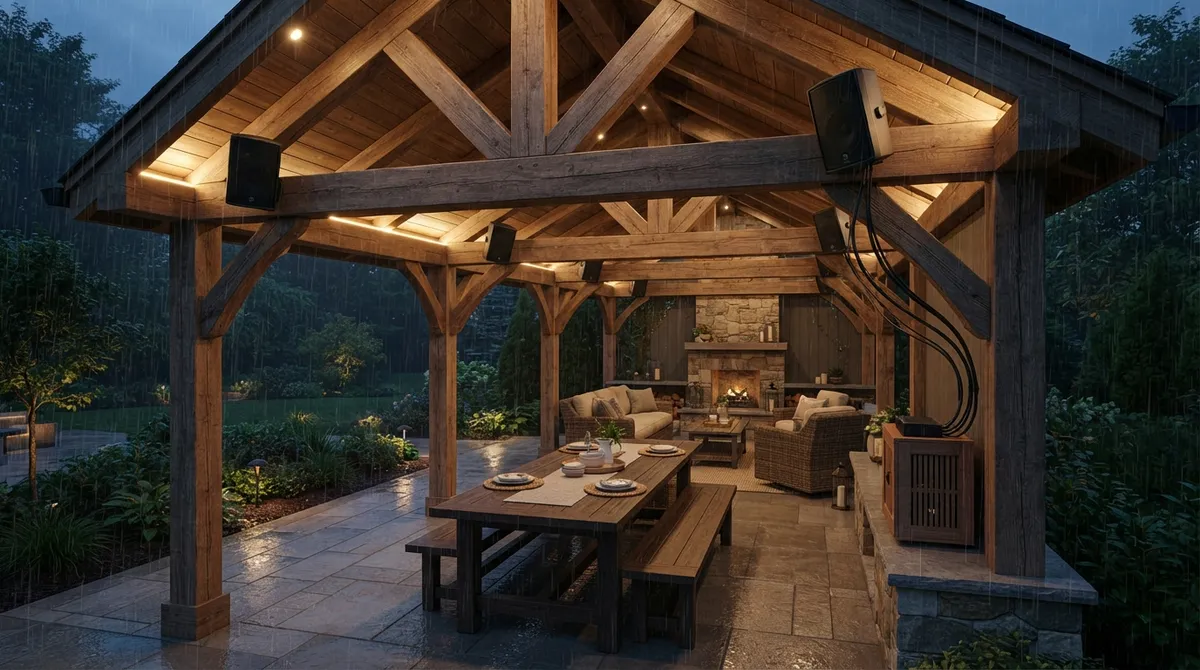
8. Plan Lighting, Electrical, and Utilities Early
This tip saves so many headaches. Features that are hard to add later should be planned before the paver base goes in. That includes:
- Electrical conduit for outlets and fans
- Lighting wiring for posts and beams
- Heater connections
- Drainage lines and sleeves under the patio
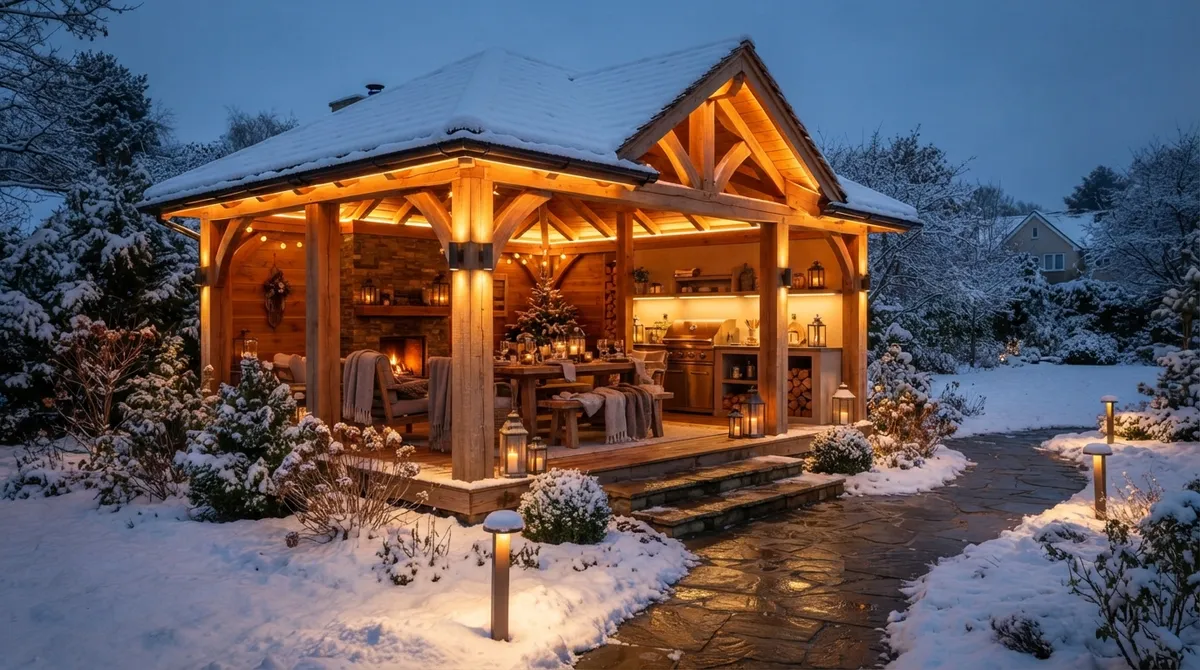
Running a sleeve under the patio now costs far less than tearing up pavers later. Keep in mind that electrical work and some structural connections may need qualified trades and permits. If you love the idea of evening ambiance, take a look at our lighting and sound options to plan ahead.
9. Check Permits, Setbacks, and Local Rules
Nobody loves paperwork, but a quick call can save you from costly changes. Permit rules differ from place to place. Some towns require a permit for a pergola of any size. Others look at size, how it attaches to your house, or where it sits on your lot.
It’s also smart to check on setbacks, easements, utility locations, and inspection requirements. Chicago and its suburbs each have their own rules, and HOAs may add more. A professional team can help you sort through all of this. For extra peace of mind, you can look for installers who follow standards from groups like the ICPI Certified Installer program.
10. Think About Comfort, Shade, and Function
A pergola should make your patio more enjoyable, not just prettier. Think about how you actually want to use the space.
- Dining: Leave enough room for a table and chairs to slide out comfortably.
- Lounging: Place the pergola where it blocks the afternoon sun.
- Entertaining: Consider adding a nearby fire pit for cozy gatherings.
- Privacy: Add climbing plants, curtains, or louvered panels.
Urban condo owners with small courtyards can still enjoy this. A smaller pergola over a compact paver area can create a cozy retreat while fitting local rules. Commercial and restaurant owners can use the same idea to create inviting seating zones that draw customers in.
11. Work With a Team That Does Both Jobs
When one crew builds the patio and another builds the pergola, details can slip through the cracks. A single team that handles both can line up the footings, the base, and the finished heights perfectly.
Here’s a quick look at the benefits of an all-in-one approach:
| Approach | Pros | Cons |
|---|---|---|
| One team for patio and pergola | Better coordination, one schedule, one point of contact | Requires choosing an experienced, well-rounded contractor |
| Separate contractors | May allow mixing specialists | Harder to coordinate footings, heights, and drainage |
| DIY pergola on existing patio | Lower upfront cost | Higher risk of anchoring and drainage mistakes |
At Serenity Landscape Group, we’ve spent over two decades creating outdoor spaces across the greater Chicago area. We handle pavers, pergolas and pavilions, and everything in between, so your whole vision comes together smoothly.
Is It Worth the Investment?
Many homeowners wonder if a patio and pergola pay off. A 2025 outdoor-living report citing National Association of Realtors data says a new patio costs an average of $10,500 and estimates about 95% cost recovery. Keep in mind that costs and resale value vary by market, project scope, and property.
Even beyond resale, think about the daily joy. A well-built patio and pergola gives you a spot for morning coffee, family dinners, and quiet evenings. That value is hard to put a price on. You can also avoid common pitfalls by reading our tips on hardscaping mistakes to avoid.
Ready to Bring It All Together?
Integrating a pergola with a paver patio is one of the most rewarding upgrades you can make to your outdoor space. When you plan the footings, base, drainage, and utilities together, you end up with a space that looks stunning and stays strong through every Chicago season.
We’d love to help you turn this idea into reality. Get a free estimate from our team, or call us at (630) 359-5139 to talk through your project. For more guidance on choosing a qualified team, you can also explore resources from Landscape Illinois. Let’s build a space you’ll love for years to come!
FAQs
Q: Can you install a pergola on a paver patio?
A: Yes, you can! The key is to anchor the pergola posts to proper concrete footings under the patio instead of just the pavers. The pavers are then cut and fitted neatly around each post or bracket.
Q: Do pergola posts need concrete footings beneath a paver patio?
A: In most cases, yes. Manufacturers commonly call for a separate concrete footing beneath each post, paired with an approved post base. Always check your pergola’s instructions and your local building rules, since footing depth varies by region and soil.
Q: Should the pergola or the paver patio be installed first?
A: For a new project, it’s best to set the post footings first and then build the paver base around them. If your patio is already in place, a pro can lift the pavers at each post location to add the footings, then reset the stones.
Q: Do I need a permit to build a pergola over a patio?
A: It depends on where you live. Some areas require a permit for pergolas of any size, while others look at size, attachment, or location. Check with your local building department, and ask about setbacks, easements, and HOA rules too.
Q: How should a paver patio drain around pergola posts?
A: Plan a gentle slope so water flows away from your home and away from the posts. Make sure runoff has a clear place to go, so it doesn’t pool at the base or wash out the patio underneath.