Key Takeaways
-
Choose speakers the manufacturer explicitly rates for outdoor installation, since indoor speakers can't handle humidity and sudden weather changes even under a roof.
-
Check the stated IP rating rather than trusting 'weather-resistant' labels: IPX4 suits sheltered spots, while IP55 or higher better fits exposed or windy pavilion sides.
-
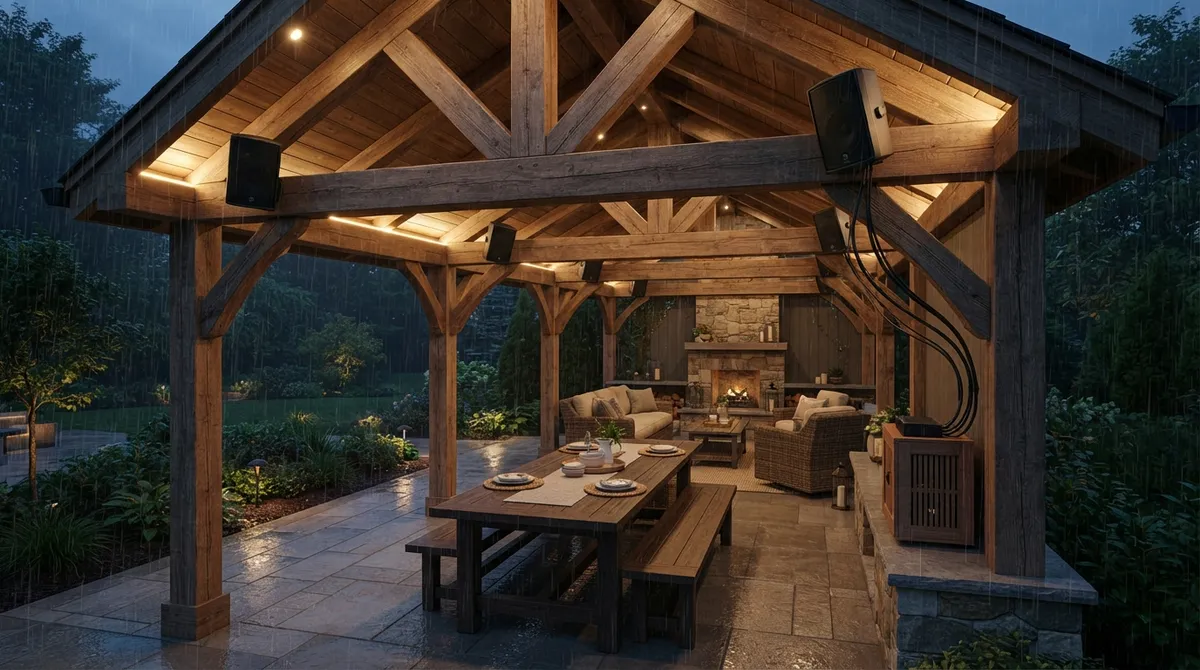
Aim speakers inward toward seating and dining areas, keep them out of walkways, and consider separate zones for cooking and lounge areas with different volume needs.
-
A single pair of outdoor speakers may cover roughly 200 to 400 square feet, but noise, mounting height, and speaker dispersion change that, so treat it as a starting point only.
-
Keep amplifiers in a dry, ventilated indoor spot, protect cable entries from water, and add a drip loop so rain can't run along cables into your equipment.
-
Plan wiring before paving or planting begins, and use a qualified electrician for any new line-voltage circuits, confirming local code and permit requirements first.
Picture this: it’s a warm Chicago-area evening, the grill is sizzling, and friends are gathered under your new pavilion. The roof keeps the sun off, the lights are glowing, and then you notice the music is coming from a phone speaker perched on a picnic table. It’s tinny, it’s uneven, and half your guests can’t hear it at all. We’ve all been there!
The good news is that outdoor sound systems for covered pavilions are easier to plan than most people think. A roof gives your equipment some shelter, but it doesn’t make it invincible. Wind-driven rain, humidity, dust, insects, and our famous Midwest temperature swings can still take a toll. That’s why smart planning matters.
In this friendly guide, we’ll walk you through eight sound system approaches and planning ideas that work well under a covered pavilion. Whether you’re a suburban homeowner, a restaurant owner, or a property manager, you’ll find ideas that fit your space, your budget, and your neighbors’ peace and quiet.
1. Start With Speakers Built for the Outdoors
The first rule of a good pavilion sound system is simple: choose speakers made for outdoor use. Indoor speakers may sound great in your living room, but they aren’t built to handle humidity or sudden weather changes.
Look for speakers that the manufacturer clearly states are designed for outdoor installation. Then follow the maker’s installation limits. A covered pavilion is a friendlier home for audio gear than an open yard, but it’s still outside.
Why a Roof Isn’t Enough
Under a pavilion roof, speakers avoid direct rain and harsh sun. But moisture still finds its way in during storms. Humidity lingers, dust settles, and insects love tucking into warm corners. Choosing a proper outdoor speaker from the start saves you headaches and money later.
2. Check the IP Rating, Not Just the Label
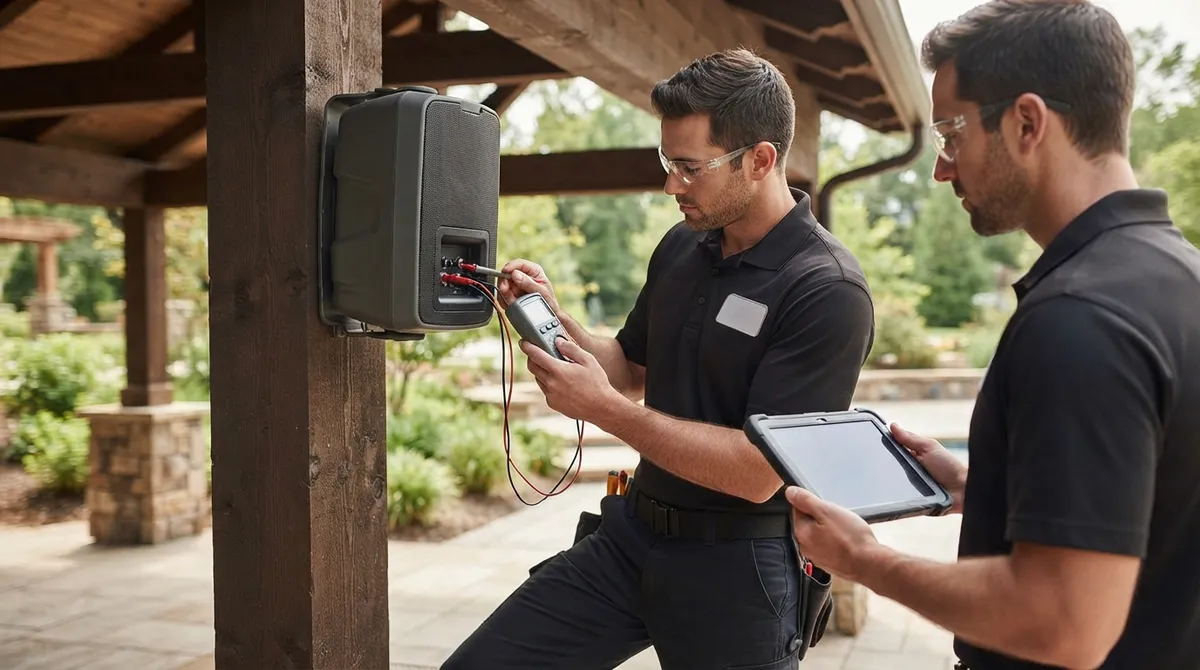
You’ll see words like “weather-resistant” on lots of product boxes. Those words sound nice, but they don’t tell the whole story. A better move is to check the product’s stated ingress-protection (IP) rating.
Here’s a quick look at what common ratings generally mean:
| IP Rating | General Meaning | Typical Pavilion Fit |
|---|---|---|
| IPX4 | Protected against splashing water | Often used in sheltered spaces |
| IP55 | Protected against dust and low-pressure water jets | Offers more protection for exposed pavilion sides |
| IP65 or higher | Stronger dust and water resistance | Good for open-sided or windy spots |
Keep in mind that the right rating depends on how exposed your pavilion really is. Always read the manufacturer’s documentation. An IP rating alone doesn’t prove a speaker will suit every climate or installation.
3. Plan Speaker Placement Around How You Use the Space
Before you pick a single speaker, think about how people actually use your pavilion. Is it mostly for dining? Do guests gather near the grill? Is there a cozy seating corner? Great sound starts with understanding where people sit, stand, and walk.
Here are a few simple placement ideas to consider:
- Aim inward. Point speakers toward seating and dining areas, not out toward the property line.
- Think about circulation. Keep speakers out of walkways and away from places where people might bump them.
- Match the layout. A compact pavilion may only need a stereo pair, while a larger or multi-use space may benefit from extra speakers.
- Consider separate zones. A cooking area and a lounge area may want different volume levels.
If you’re still sketching out your layout, our guide on how to plan a pavilion layout for outdoor dining in 2026 is a helpful place to begin.
4. Figure Out How Many Speakers You Really Need
A common question we hear is, “How many speakers do I need?” The honest answer is that it depends. One general consumer guide estimates that a single pair of outdoor speakers may cover roughly 200 to 400 square feet (This Old House, guide updated 2026). Treat that as a rough starting point rather than a promise.
Coverage changes based on speaker dispersion, mounting height, background noise, and how loud you like your music. A pavilion beside a busy road or a splashing water feature may need more help than a quiet backyard retreat.
A Simple Way to Think About It
- Measure the pavilion’s footprint in square feet.
- Note where people gather most often.
- Decide whether you want one shared zone or separate zones.
- Pick speakers that match your space, then fine-tune placement with a professional.
Smaller pavilions often sound wonderful with a well-placed stereo pair. Larger pavilions, like those at restaurants or event spaces, may do better with several smaller speakers spread out evenly. That keeps the sound smooth without cranking the volume in any one spot.
5. Mount Speakers Securely and at the Right Height
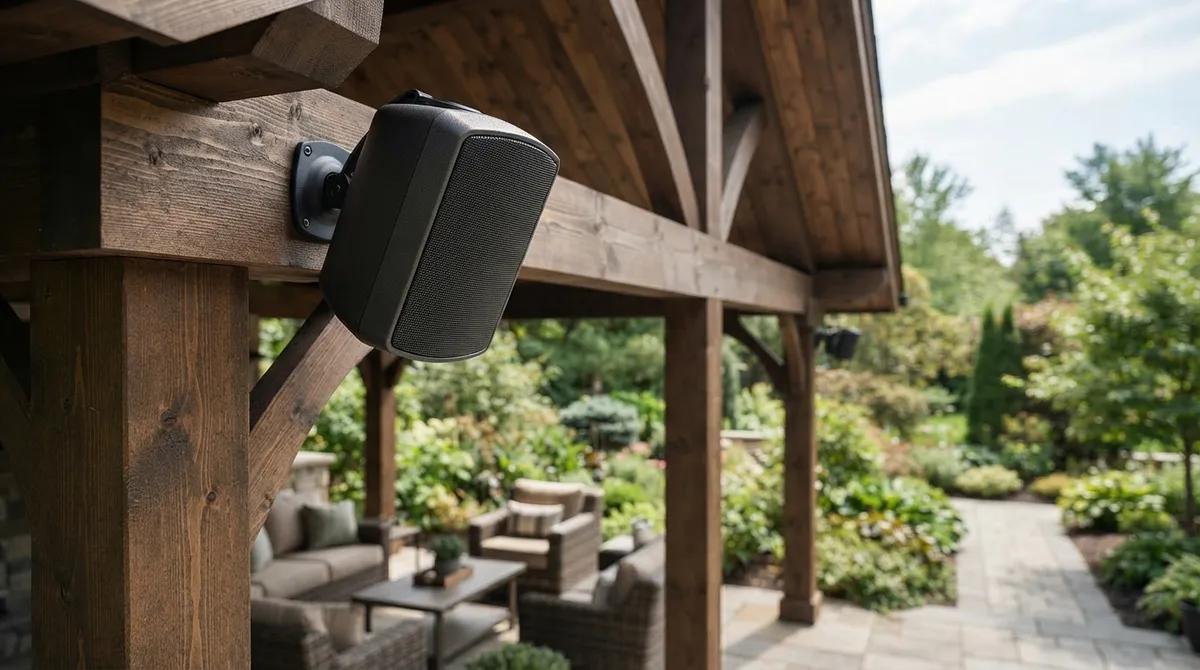
A speaker that’s mounted poorly can sag, rattle, or even fall. Always attach speakers to suitable framing or structural supports, not just decorative finish materials. Pavilion beams and posts can be great anchor points when the hardware matches the speaker’s instructions.
Many guides suggest mounting wall speakers roughly 8 to 10 feet high and angling them slightly toward the listening area (This Old House, guide updated 2026). That’s a handy starting point, but pavilion dimensions matter. Ceiling height, speaker spread, and seating layout should guide your final decision.
A few friendly mounting tips:
- Use hardware that suits the material you’re mounting to.
- Angle speakers slightly downward toward guests.
- Leave room for airflow and future service.
- Avoid placing speakers where they’d blast one person at close range.
This is where building the pavilion and planning the audio together really pays off. When framing is open, adding solid mounting points is simple. If you’re curious about the structures themselves, explore our pergolas and pavilions services or read about what pavilions are and how they transform your outdoor space.
6. Protect Your Amplifier and Wiring
Speakers get most of the attention, but the gear behind them matters just as much. Whenever possible, keep amplifiers and other electronics in a dry, ventilated indoor spot, like a garage, utility room, or house closet. Heat and moisture are not friends to electronics.
For any outdoor connections, use components and enclosures rated for the exposure. Protect cable entries from water, and arrange wiring so rain can’t run along the cable and into your equipment. A little drip loop can go a long way.
Cable Routing Basics
The best time to plan your wiring is before construction or landscaping begins. Once pavers are set and plants are in, running new cable gets messy and expensive. Here’s what good planning looks like:
- Choose speaker cable and installation methods suited to the location.
- Protect wiring from physical damage, like shovels, mowers, and trimmers.
- Keep low-voltage speaker wiring separated from line-voltage wiring, as required by local codes and product instructions.
- Leave access points so future repairs don’t mean tearing things up.
Our team coordinates these details with paving, lighting, and planting so your cables stay hidden and protected. Take a look at how pavers and underground conduit planning can work together.
7. Choose the Right Way to Stream Your Music
Now for the fun part: how do you actually play your tunes? You have a few friendly options, and each one has a personality of its own.
| Connection Type | Best For | Things to Keep in Mind |
|---|---|---|
| Bluetooth | Simple, quick setups and casual listening | Range can be limited, and walls or distance may cause dropouts |
| Wi-Fi | Multi-zone audio and whole-home music apps | Needs a strong network signal reaching the pavilion |
| Wired | Reliable, consistent sound | Needs planned cable routes and a source or amplifier |
Many homeowners love Wi-Fi systems because they allow separate zones, like one for the pavilion and another for the patio. Restaurant and small business owners often prefer wired or hybrid setups because they’re steady and dependable during busy hours.
No matter which you choose, test your Wi-Fi signal at the pavilion before you buy. A great speaker can’t help if the signal keeps dropping. Our lighting and sound team can help you pick a setup that fits how you really use your space.
8. Respect Your Neighbors With Smart Design
Great pavilion sound should make your gatherings better, not annoy the folks next door. This is especially important in tight suburban neighborhoods and city condo settings, where sound travels farther than you might expect.
Here are a few easy ways to keep the peace:
- Aim sound toward guests and away from neighboring windows and patios.
- Use more speakers at lower volume instead of one loud speaker.
- Add landscaping. Dense plantings, walls, and fencing can soften and absorb sound. Our softscapes design can help.
- Check local rules. Many towns and HOAs have noise guidelines worth knowing about.
Smart landscape design and smart audio design truly go hand in hand. Thoughtful plant layers and well-aimed speakers create a cozy, private feeling that everyone appreciates.
Don’t Forget Electrical Requirements and Permits
Here’s a friendly reminder that deserves its own spotlight. Electrical rules vary by city and town, and they also depend on the type of work. Running low-voltage speaker wire is different from adding new line-voltage circuits or outlets.
If your project includes new receptacles, lighting circuits, or powered equipment, a qualified electrician should handle the line-voltage work. Always confirm local code and permit requirements before you start. It’s far easier to plan this early than to fix problems later.
You can also learn more about professional landscaping standards through Landscape Illinois, an industry resource for our region.
Bring Sound, Light, and Landscape Together
The most beautiful pavilions feel like one complete experience. The audio, the lighting, the pavers, the plants, and the structure all work together. When we plan these elements side by side, wiring stays hidden, drainage works properly, and maintenance stays simple.
We’d also encourage you to think about how sound pairs with other features. A crackling fire pit, glowing lights, and soft background music can turn an ordinary evening into something special. If you need inspiration, our outdoor sound systems guide and gallery of our work are full of ideas.
For hardscape installations that support your audio plans, it also helps to work with trained professionals. The ICPI Certified Installer program is a good reference for quality paver work that sits beneath your pavilion.
Ready to Enjoy Better Sound Under Your Pavilion?
Great outdoor audio doesn’t happen by accident. It starts with choosing the right speakers, planning wiring early, mounting everything securely, and keeping your neighbors in mind. When it’s all done right, your pavilion becomes the favorite spot for dinners, celebrations, and lazy Sunday afternoons.
At Serenity Landscape Group, we’ve spent over two decades transforming outdoor spaces across the greater Chicago area. We’d love to help you plan a pavilion that looks beautiful and sounds amazing. Get a free estimate today, or call us at (630) 359-5139 to start your project. We can’t wait to hear what you have in mind!
FAQs
Q: What outdoor speakers are best for a covered pavilion?
A: Look for speakers the manufacturer clearly rates for outdoor use, and check the stated IP rating instead of relying on words like “weather-resistant.” The right choice depends on how exposed your pavilion is, so follow the maker’s installation guidance.
Q: How many speakers do I need for a pavilion?
A: One consumer guide estimates a pair of outdoor speakers may cover about 200 to 400 square feet, but that’s only a rough guide. Smaller pavilions often sound great with a stereo pair, while larger or multi-use spaces may do better with extra speakers or separate zones.
Q: Where should speakers be placed in a covered pavilion?
A: Aim speakers toward seating, dining, and cooking areas instead of toward neighbors. A common starting point is mounting about 8 to 10 feet high and angling slightly downward, then adjusting for your ceiling height and layout.
Q: Do outdoor pavilion speakers need professional installation or an electrical permit?
A: Low-voltage speaker wiring is often simpler, but electrical rules vary by location. If your project adds new line-voltage circuits or outlets, use a qualified electrician and confirm local code and permit requirements before you begin.