Key Takeaways
-
Build your fire pit on higher, dry ground: walk the yard during or after a storm to see where water flows and pools, and avoid low spots and downspout or sprinkler paths.
-
Grade the surrounding surface to slope gently away from the pit and your home, but never push runoff toward foundations or neighboring yards.
-
Test your soil drainage by filling a dug hole with water; if it stays full for hours, you need a stronger drainage plan, since clay soil drains slowly.
-
Don't rely on a gravel-filled hole alone: drainage only works if water has a real exit route, such as a drain opening, routed drain line, or connected outlet.
-
For gas fire pits, keep weep holes and ventilation openings clear, use only manufacturer-approved burner media at the specified depth, and never operate the unit until fully dry and inspected.
-
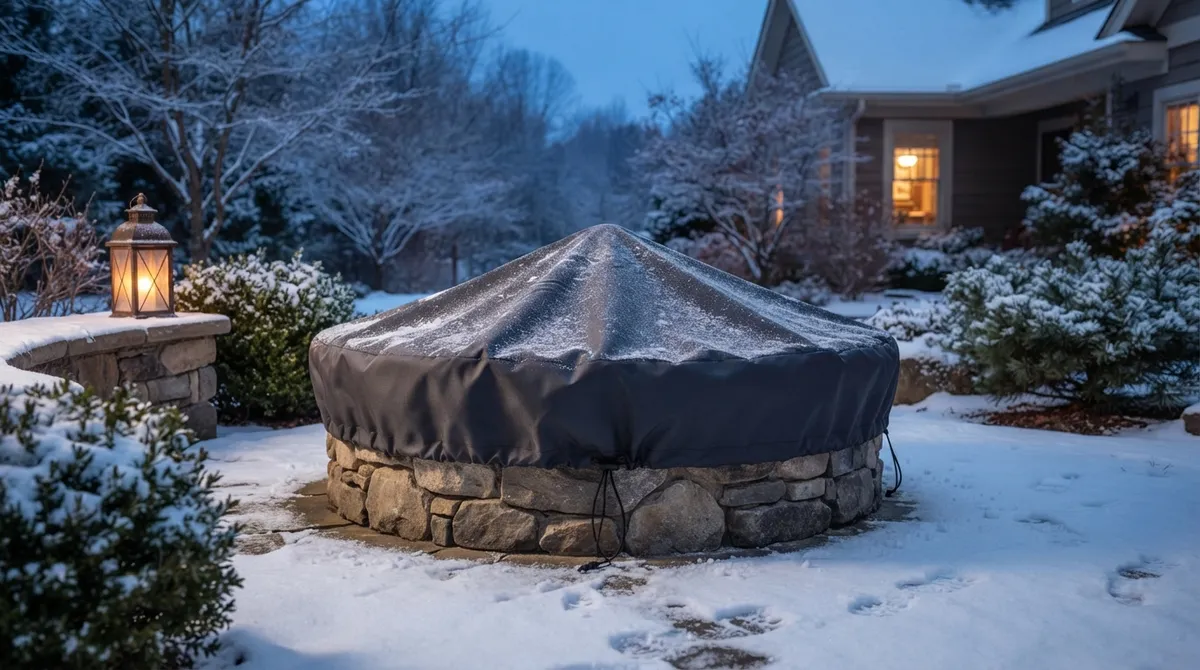
Treat a fitted cover as a bonus layer of protection, not a cure-all: keep required vents open, let the pit cool completely before covering, and pair it with proper grading and drainage.
There’s nothing quite like gathering around a crackling fire on a cool Chicago evening. But there’s also nothing quite like walking out to your backyard and finding your fire pit filled with a soggy mess of rainwater, leaves, and mud. We’ve all been there, and it’s frustrating!
The good news? Preventing water buildup in a fire pit is very doable. Most problems come from a handful of common mistakes, and nearly all of them can be avoided with smart planning from the start. Here in the Chicago area, we deal with heavy spring rain, freeze-thaw cycles, and clay-heavy soil that holds water like a sponge. That makes drainage even more important.
In this friendly guide, we’ll walk you through 12 mistakes that lead to standing water, plus simple fixes for each one. Whether you’re planning a new build or trying to rescue an existing pit, you’ll find practical tips you can use right away. Let’s keep your fire pit dry and ready for s’mores!
Why Water Buildup in a Fire Pit Is a Bigger Deal Than You Think
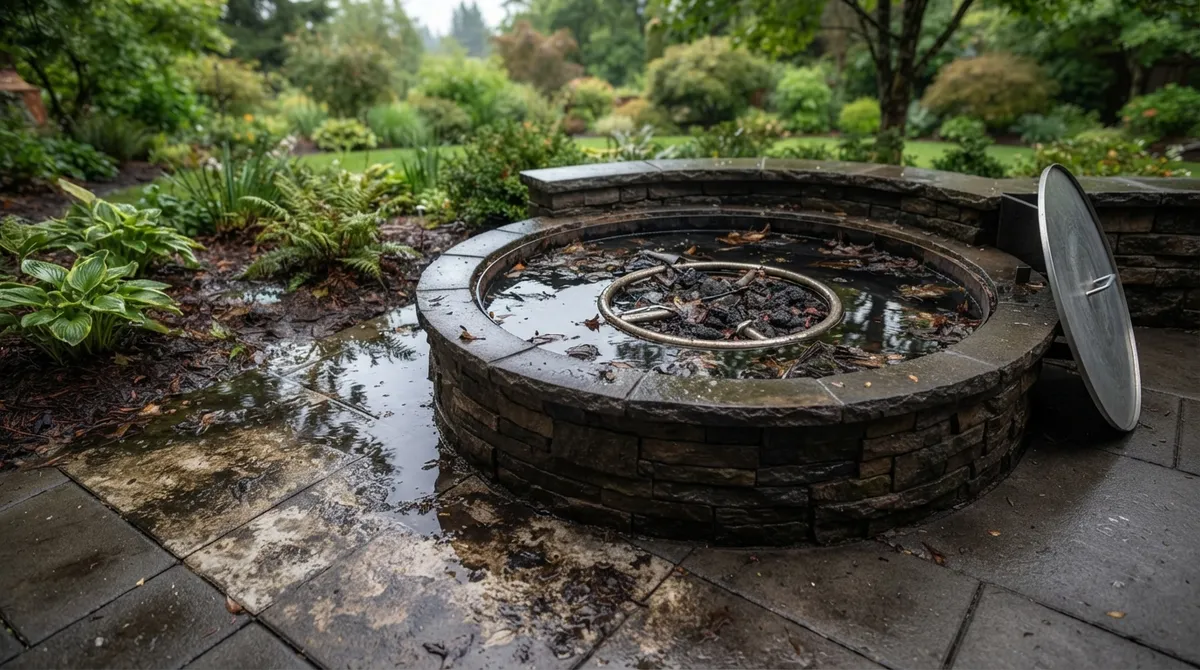
A little rainwater might seem harmless. But water that sits in a fire pit can cause real trouble over time. It can rust metal bowls, loosen mortar, stain stone, and breed mosquitoes. In gas models, water can reach burner parts and controls, which is a safety concern.
Chicago’s freeze-thaw cycle adds another layer. Water that soaks into masonry and then freezes can crack and shift materials. That’s why preventing water buildup in a fire pit is about more than looks. It protects your investment and keeps your space safe.
Water management works best when you think at two levels: the landscape around the fire pit and the fire pit itself. Let’s look at the mistakes that trip people up on both fronts.
Site and Landscape Mistakes
1. Building in a Low Spot
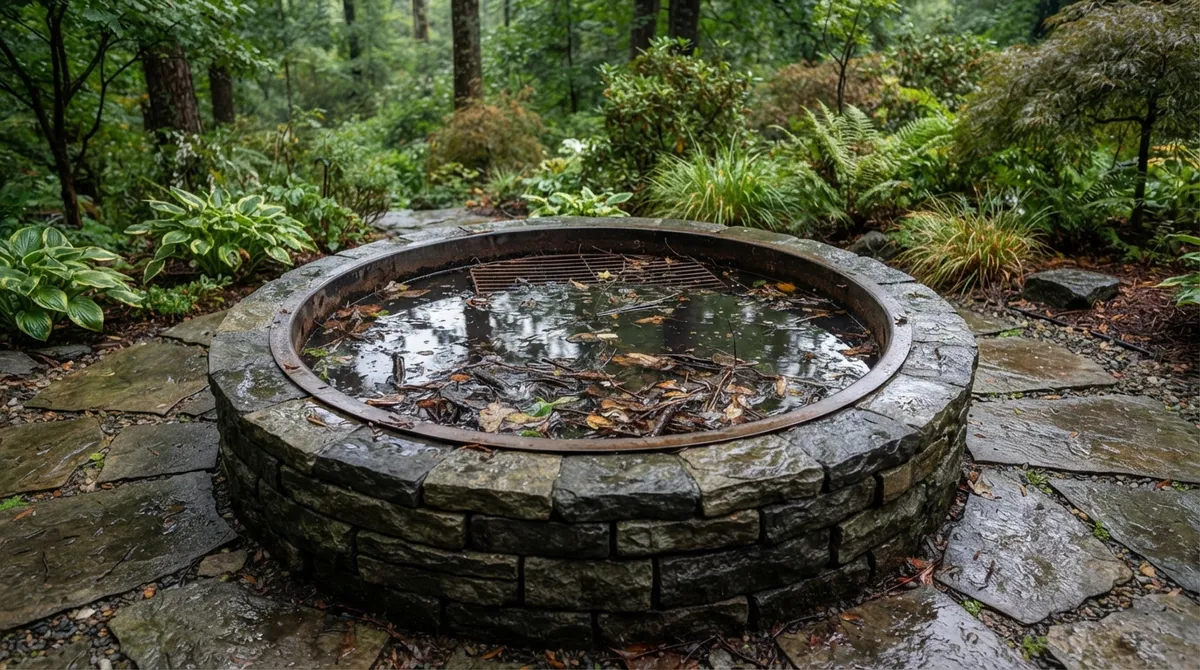
This is the big one. Water naturally flows downhill and settles in low areas. If your fire pit sits in a dip, it becomes a collection point every time it rains.
Before you pick a location, walk your yard during or right after a storm. Watch where water travels and where it pools. Choose a spot that stays dry, even if it isn’t your first choice. Your future self will thank you.
2. Ignoring Existing Runoff Paths
Downspouts, sump pump discharge, and irrigation heads can all send water toward your fire pit area without you noticing. Even a small stream during a storm can fill a pit fast.
Map out where your roof water and sprinkler water go. Then place your fire pit well away from those paths. If you can’t avoid them, reroute the water first. Our guide on dry well installation shows one smart way to move water out of trouble spots.
3. Skipping Proper Grading Around the Pit
A flat patio might look great, but a completely flat surface holds water. The ground around your fire pit should slope gently away from it and away from your home. The right slope depends on your surface, soil, and local requirements, so it’s smart to have a pro check it.
Just be careful not to solve one problem by creating another. Water that drains off your patio shouldn’t end up flooding a neighbor’s yard or pooling by your foundation. Grading should lead water to a safe place to go.
4. Sending Runoff Toward the House or Neighbors
Fixing drainage by pushing water toward your home is a costly error. Water near foundations can lead to basement leaks and structural damage. It can also cause issues with neighbors and local rules.
Always plan a clear exit route for water, such as a drain, a swale, or a properly built dry well. This is where professional landscape design really pays off.
5. Forgetting About Soil Type
Much of the Chicago area has heavy clay soil. Clay drains slowly, so water lingers. If you build on clay without a good drainage plan, you may end up with a soggy base under your pit.
A simple test can help. Dig a small hole, fill it with water, and see how long it takes to drain. If it’s still full hours later, you’ll want extra drainage help in the design.
Construction and Base Mistakes
6. Using the Wrong Base Material
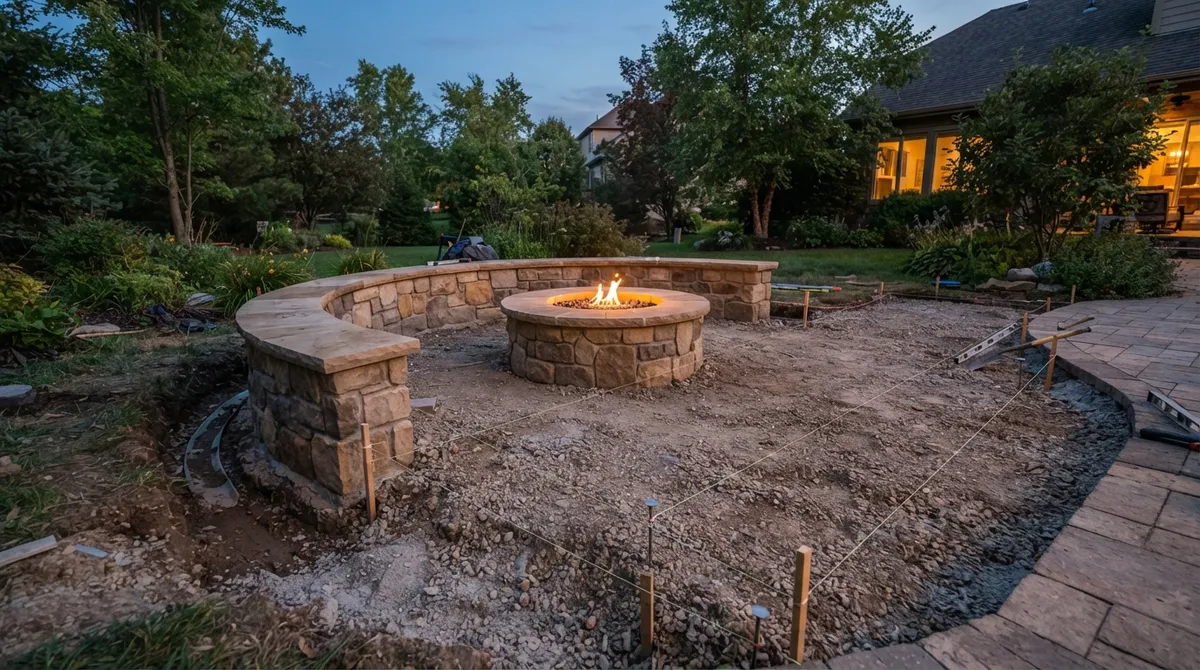
A fire pit sitting on bare dirt or poorly compacted soil is asking for trouble. Water soaks in, softens the ground, and causes settling and shifting.
A properly built base uses compacted, free-draining aggregate. This gives water a path to move through instead of sitting in place. If you’re building on pavers, the base matters just as much. Learn more in our post on best base materials, which covers many of the same drainage principles.
7. Assuming a Gravel Hole Fixes Everything
You may have heard that digging a hole and filling it with gravel is all you need. Not quite! A gravel-filled pocket can work in the right soil, but in clay it can turn into a bathtub that holds water instead of releasing it.
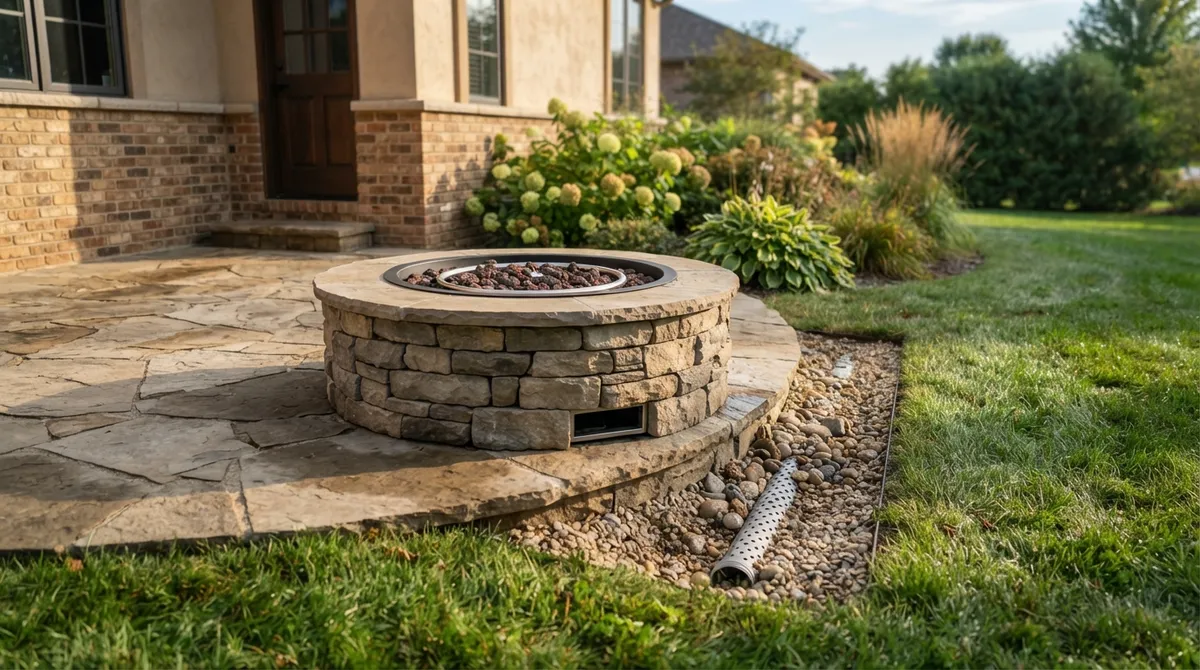
Drainage only works if the water has somewhere to go. Depending on your site, you may need a drain opening, a properly routed drain line, or a gravel layer that connects to a real outlet. Check where the water will discharge before you build.
8. Leaving Out Drainage in a Built-In Pit
Many built-in wood-burning pits have no way for water to escape. Rain falls in, and it stays there. A suitable drainage path beneath or within the enclosure makes a huge difference.
This might mean a gravel drainage layer, a drain opening, or a routed drain, depending on the design and soil. It’s one of the first things we discuss when planning a custom pit. You can read more about planning in our guide to custom fire pit installation cost factors.
9. Building the Surround Without Considering Pavers and Joints
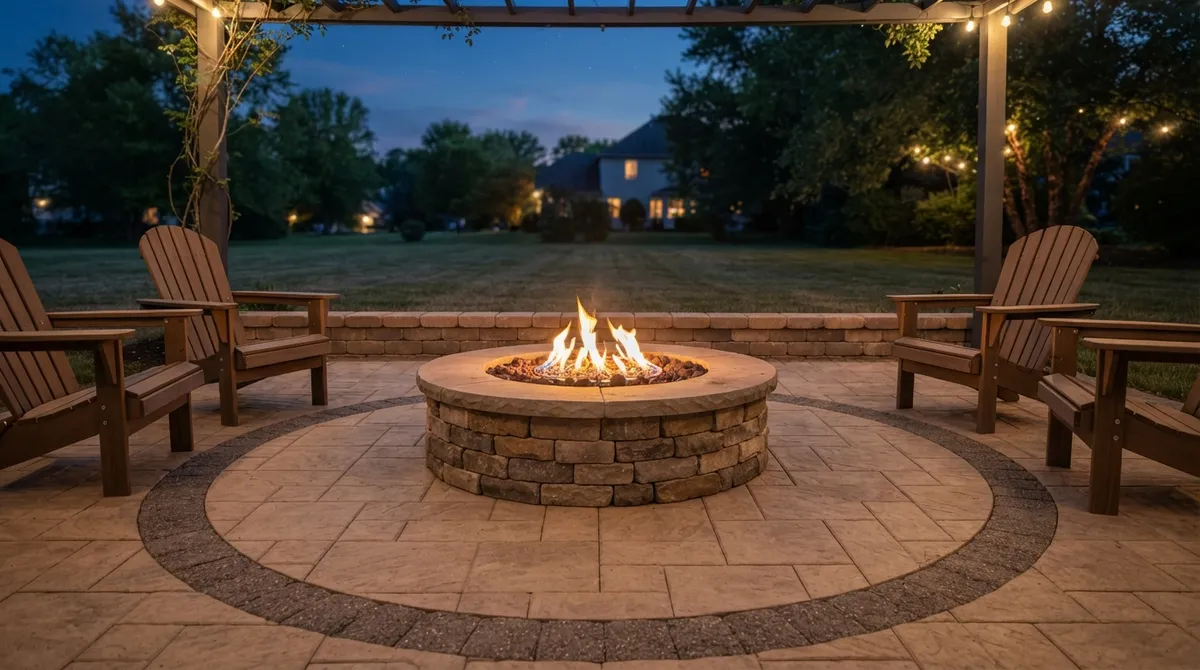
Pavers around a fire pit need proper slope and a solid base too. Poorly installed pavers can sink, tilt toward the pit, and funnel water right into it.
A professional installation keeps the surface level where it should be and sloped where it counts. Take a peek at our ideas for fire pit paver patios to see how good design handles water and style together.
Gas Fire Pit Mistakes
10. Blocking Weep Holes and Vents
Gas fire pits have small weep holes in the burner pan that let moisture escape. They also need ventilation openings. Covering these with burner media, dust, or debris can trap water inside.
Always follow the manufacturer’s instructions for drainage, ventilation, and installation height. Don’t fill restricted spaces with gravel unless the manual says it’s okay. And keep those openings clear!
11. Using the Wrong Burner Media
The glass, lava rock, or ceramic pieces on top of your burner matter more than you’d think. Unapproved media or the wrong depth can hold water, block drainage, and interfere with how the burner works.
Use only the media approved for your specific appliance, in the amount and depth listed. Dust and sand can also clog weep holes, so inspect and clean them as directed.
Cover and Maintenance Mistakes
12. Relying on a Cover Alone (or Using It Wrong)
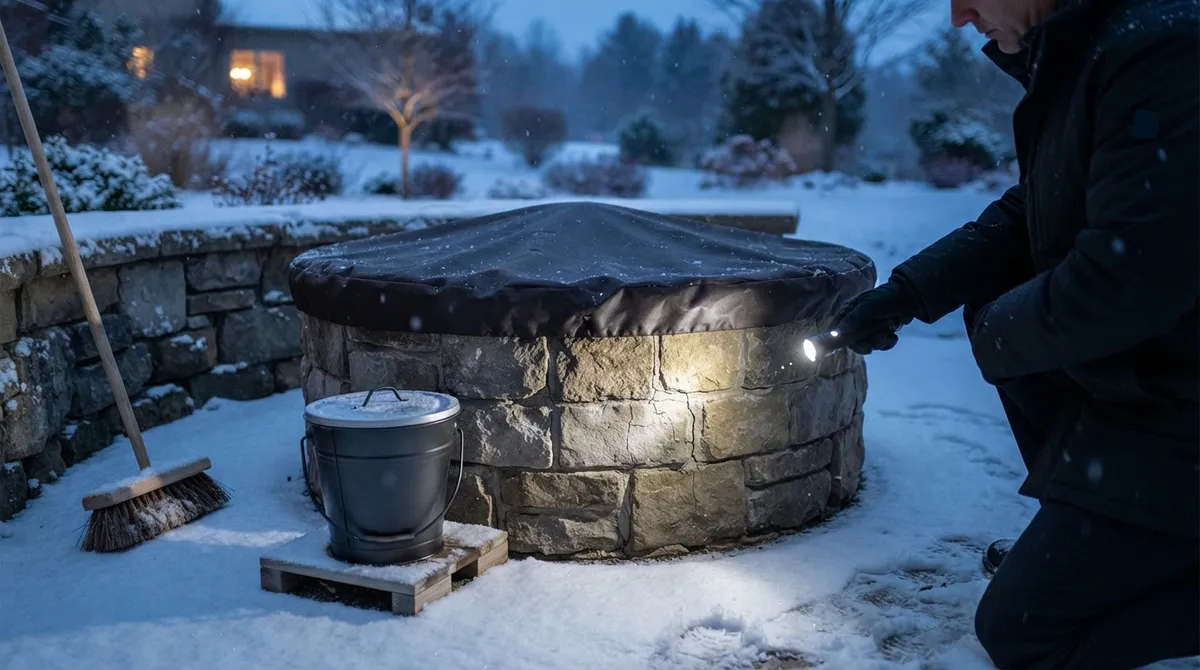
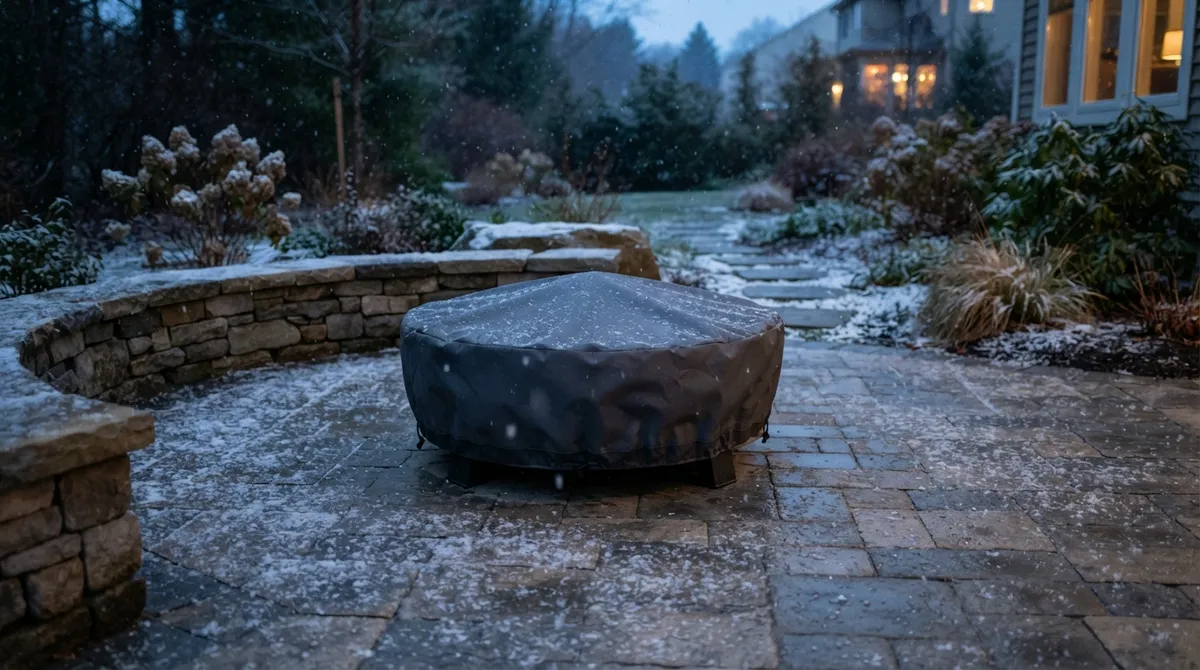
A fitted cover is a wonderful helper. It keeps out rain and debris when your pit is cool and not in use. But it can’t replace good grading and drainage. If water gets in anyway, a cover can even trap moisture against finishes.
Use a cover as a bonus, not a cure-all. Keep required vents open, make sure the pit is completely cool before covering, and follow the appliance instructions.
Quick Comparison: Common Problems and Smart Fixes
| Problem | Why It Happens | Smart Fix |
|---|---|---|
| Pit in a low spot | Water naturally collects there | Relocate or regrade the area |
| Flat patio surface | No slope to move water away | Add gentle slope away from pit and home |
| Clay soil | Slow natural drainage | Use a free-draining base and a real outlet |
| No drain in built-in pit | Rain has nowhere to go | Add a drainage path suited to the site |
| Blocked weep holes (gas) | Debris or media blocks openings | Keep openings clear per the manual |
| Cover used alone | Doesn’t fix ground-level water | Pair with proper grading and drainage |
Step-by-Step: How to Plan a Dry Fire Pit Area
If you’re starting from scratch, this simple process helps you avoid most of the mistakes above:
- Watch your yard in the rain. Note where water flows and pools.
- Pick a higher, drier location. Stay clear of downspouts and sprinkler zones.
- Test your soil drainage. Know whether you’re dealing with clay or sandy soil.
- Plan the slope. Make sure the surface leads water away from the pit and your home.
- Build a solid, free-draining base. Use compacted aggregate suited to your site.
- Add drainage to the pit design. Include a path for water to exit.
- Follow manufacturer rules for gas models. Keep weep holes and vents clear.
- Add a cover as a final layer of protection. It helps, but it isn’t the whole plan.
What to Do After Heavy Rain
Even a well-built fire pit can see a little water during a big storm. Here’s how to handle it with care:
- Wood-burning pits: Let the pit dry out fully before lighting it. Scoop out standing water and soggy ash if you can.
- Gas pits: Do not operate the fire pit until it has dried and been checked as directed by the manufacturer.
- If water remains around the burner, controls, or electrical parts: Call a qualified professional to inspect it before use.
- Check weep holes and vents: Clear away leaves, dust, or debris that could block drainage.
Keep Up With Simple Maintenance
A little regular care goes a long way. Make a habit of checking your drainage openings, clearing debris, and looking at the ground around your pit for signs of settling or pooling. Spring and fall are great times for a quick check-up.
Good upkeep also helps the rest of your yard stay in shape. If you want a plan that covers it all, our post on building a garden maintenance plan is a great place to start.
For extra peace of mind, working with trained pros makes a difference. Groups like Landscape Illinois and the ICPI Certified Installer program help homeowners find qualified experts who understand proper base and drainage practices.
Let’s Build a Fire Pit That Stays Dry
Preventing water buildup in a fire pit comes down to planning, grading, drainage, and a little ongoing care. Avoid these 12 mistakes, and you’ll spend far more time enjoying your fire and far less time scooping out rainwater.
At Serenity Landscape Group, we’ve spent over two decades helping Chicago-area homeowners and businesses build outdoor spaces that look beautiful and work well in every season. If you’d like a fire pit designed with smart drainage from the start, get a free estimate or call us at (630) 359-5139. We’d love to help you create a cozy gathering spot you can count on, rain or shine!
FAQs
Q: How do you keep rainwater from collecting in a fire pit?
A: Start with good site planning. Build on higher ground, slope the surrounding patio away from the pit, and add a drainage path inside or beneath built-in designs. A fitted cover helps with direct rain, but it works best alongside proper grading and drainage.
Q: Does a built-in fire pit need drainage holes?
A: Yes, in most cases it needs some kind of drainage path. Depending on your soil and design, that could be a gravel layer, a drain opening, or a routed drain. For gas models, always follow the manufacturer’s instructions for weep holes and ventilation.
Q: Can you use a cover to prevent water from getting into a fire pit?
A: A cover is a great helper, but it shouldn’t be your only plan. It keeps out rain and debris when the pit is cool and not in use, yet it can’t fix pooling water at ground level. Keep any required vents open and follow your appliance instructions.
Q: How do you handle a gas fire pit after rain?
A: Don’t use it until it has fully dried and been checked as the manufacturer directs. Clear the weep holes and vents of debris. If water remains near the burner, controls, or electrical parts, have a qualified professional inspect it first.
Q: Why is water pooling around my fire pit?
A: Common causes include a low-lying location, a flat or poorly graded patio, slow-draining clay soil, or runoff from downspouts and sprinklers. A professional site check can pinpoint the cause and suggest the right fix, like regrading or adding a drainage outlet.