Key Takeaways
-
Keep your fire pit at least 10 feet from anything that can burn, including your house, fence, deck, shed, and overhanging branches, and check your manual for any stricter clearance requirements.
-
Never use a damaged fire pit: cracks in the bowl, warping, holes, or an unstable base can fail during use, so stop using it until it is assessed or repaired.
-
Before lighting, check local rules and burn bans, and skip the fire on windy or dry days because wind can carry embers far beyond your safe zone.
-
Gas fire pits should never be repaired by homeowners; if you smell gas or notice delayed ignition or an uneven flame, shut off the supply if safe and call a qualified technician.
-
Wood-burning pits need a snug, undamaged spark screen and clean, dry, seasoned hardwood aged at least six months; never use gasoline or lighter fluid to start or relight a fire.
-
Fully extinguish the fire and let ashes cool for hours before placing them in a metal container with a tight-fitting lid stored away from anything combustible.
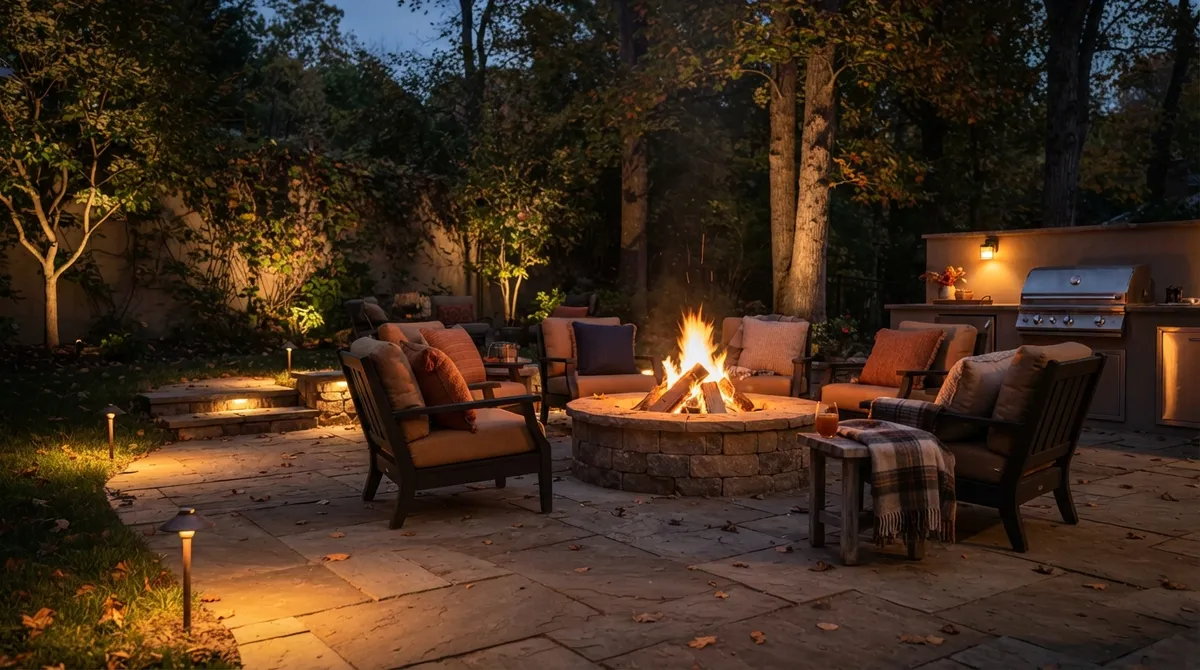
There is nothing quite like a crisp October evening by the fire. The leaves are crunching, the air smells like woodsmoke, and everyone is wrapped in a blanket with a warm drink. But before you light that first autumn fire, your fire pit deserves a little attention. A fall fire pit inspection checklist helps you catch problems early and keep everyone safe.
Here in the Chicago area, summer storms, falling leaves, and sudden temperature swings can all change the condition of your outdoor fire feature. Your pit may have shifted, collected debris, or picked up some rust since your last use. The good news? A thorough check only takes about 30 minutes.
In this friendly guide, we will walk you through every step. You will learn how to check clearances, inspect the pit itself, handle wood-burning and gas units, and know when to call a professional. Let’s get your fire pit ready for the coziest season of the year!
Why a Fall Fire Pit Inspection Matters
Fall is prime fire pit season. It is also the season when dry leaves, needles, and brush pile up all over your yard. That is a risky combination if your pit is not ready.
A quick inspection protects your family, your guests, and your property. It also helps your fire feature last longer. Small cracks or loose bolts are easy fixes today, but they can become big, expensive problems later.
Here is what a good fall check helps you do:
- Prevent fires: Clear away anything that can catch a stray spark.
- Spot damage early: Find cracks, rust, and loose parts before they get worse.
- Protect your investment: Regular care extends the life of your fire feature.
- Enjoy peace of mind: You can relax by the fire instead of worrying.
If you are still planning a fire feature, our custom fire pit installation cost factors in 2026 guide is a great place to start.
Step 1: Check Local Rules and Your Manual First
Before you do anything else, look up the rules. Fire pit requirements vary a lot from town to town. Some Chicago suburbs have strict rules about open flames, distances, and burn days. Condo associations and HOAs may add their own limits too.
Here is what to review:
- Local fire department or village rules. Check your municipality’s website or call the non-emergency line.
- Current burn bans. Dry weather can trigger a ban with little notice.
- Your fire pit’s manual. It lists the exact clearances and cleaning steps for your model.
- HOA or building rules. Condo and rooftop owners should confirm what is allowed.
Keep in mind that general advice, including ours, never replaces local code or the manufacturer’s instructions. When the two disagree, follow the stricter rule.
Step 2: Clear the Area Around Your Fire Pit
This is the step most people skip, and it matters the most. Autumn drops a lot of fuel in your yard. Leaves, pine needles, dry grass, and loose mulch can all ignite from a drifting ember.
Follow the 10-Foot Rule
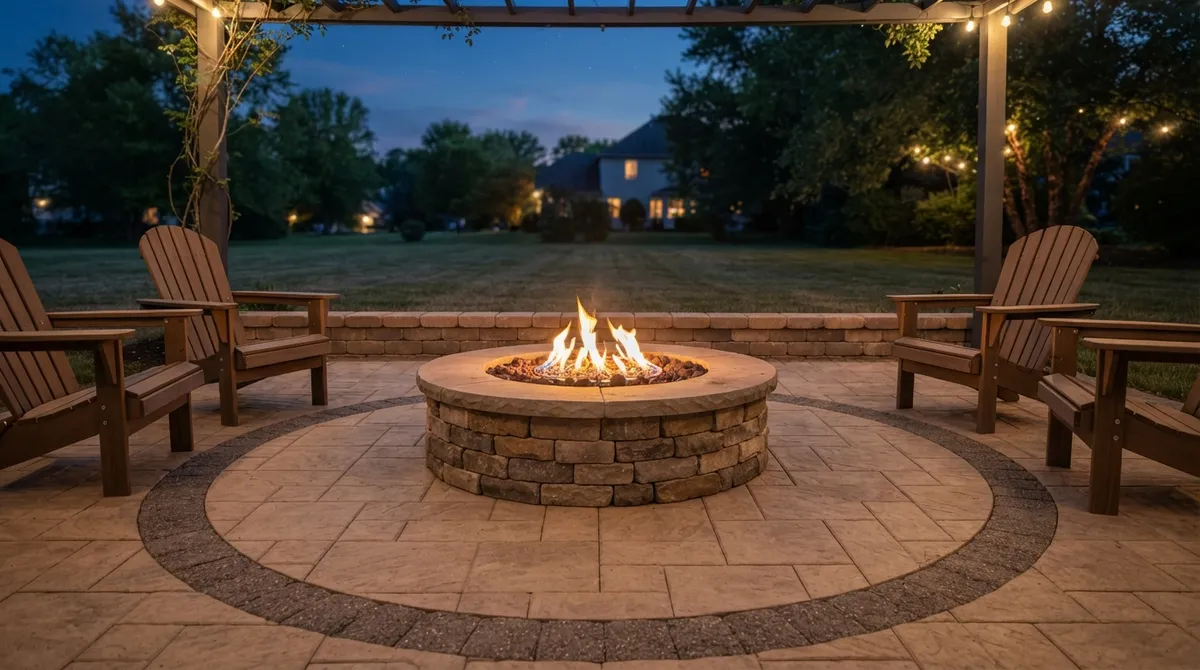
The National Fire Protection Association (NFPA) recommends keeping a fire pit at least 10 feet away from anything that can burn. That includes your house, deck, fence, shed, and overhanging tree branches. Some local codes or product listings require even more space, so check your manual.
Walk the area and look up, not just down. Branches that have grown over the summer may now hang over your pit. Eaves and rooflines count too.
Clean Up Combustible Debris
Grab a rake and clear a wide zone around the pit. Remove these items:
- Fallen leaves and pine needles
- Dry grass clippings
- Loose, dry mulch
- Stray twigs and brush
- Seasonal decorations like dried corn stalks or hay bales
Next, check what has crept closer over the summer. Patio furniture, stored firewood, and planters tend to drift toward the fire over time. Move everything back to a safe distance. Also clear any trip hazards from walkways and seating areas, because people walk around in the dark by a fire.
Step 3: Confirm a Stable, Level, Noncombustible Base
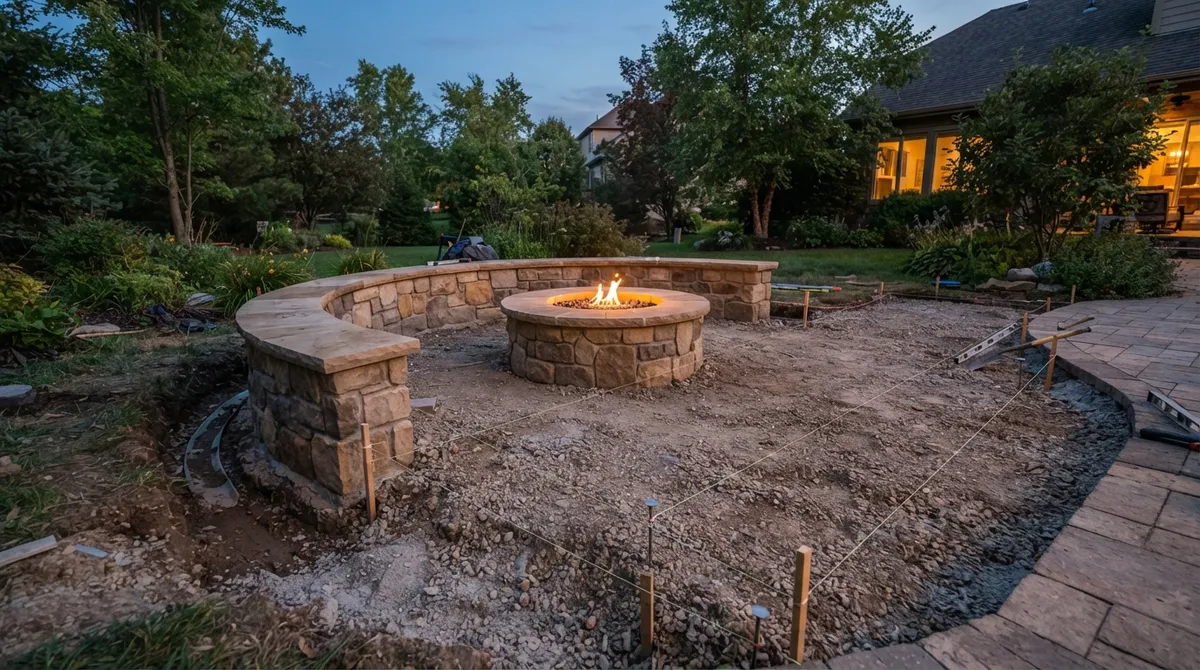
Your fire pit should sit on level ground or a level, noncombustible surface. Think pavers, stone, brick, or concrete. Never place a pit on a wood deck, dry grass, or other flammable surface unless the unit is specifically rated for it.
Chicago’s freeze-thaw cycles can shift the ground. Over time, your base may settle or heave. Check for these warning signs:
- Wobbling or rocking when you touch the pit
- Gaps or cracks in the surrounding pavers
- Sunken areas where water collects
- Tilting that makes the bowl sit unevenly
If your patio has sunk or shifted, it may be time for a repair. Our guide on fire pit paver patio ideas shows how a solid paver base creates a safe, stylish foundation. If you have questions about installation standards, the ICPI Certified Installer program is a helpful resource for finding qualified hardscape pros.
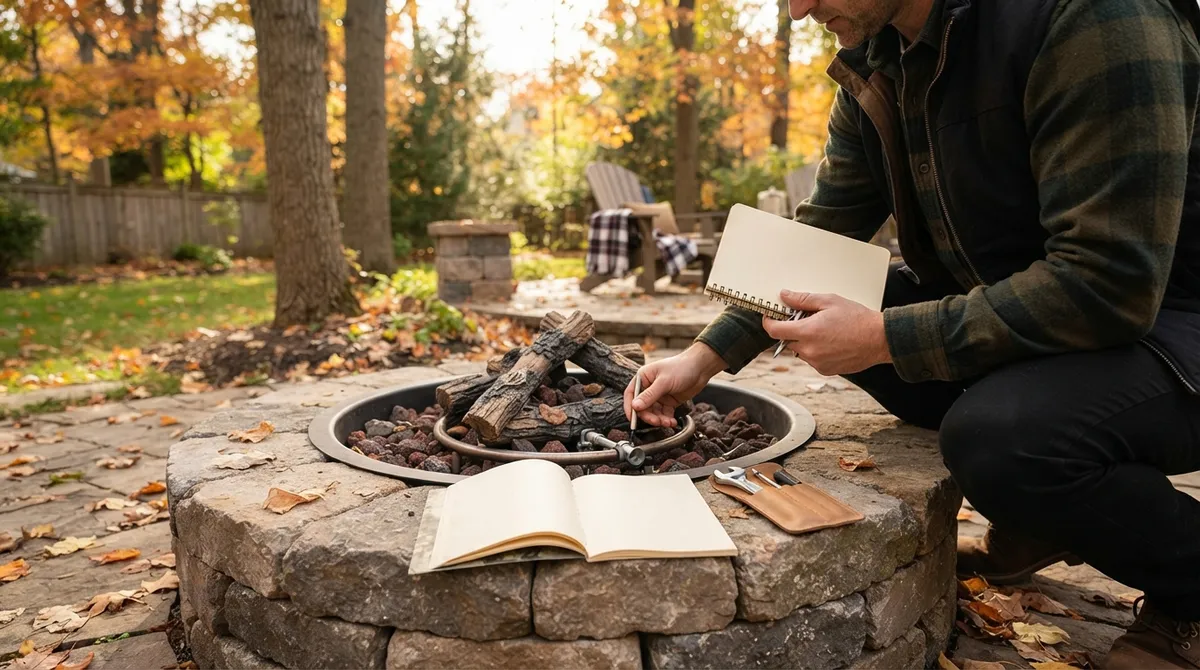
Step 4: Inspect the Fire Pit Itself
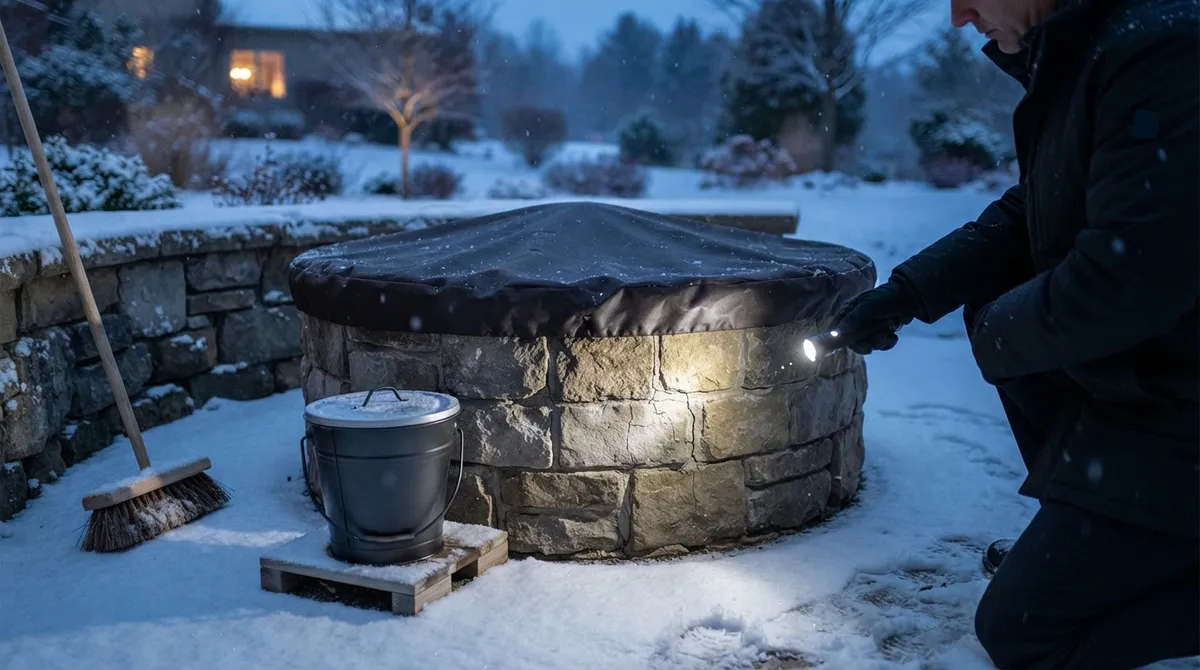
Wait until the pit is completely cool before you touch it. Then give the whole unit a slow, careful look. A flashlight helps you spot small cracks and dark corners.
Use this table as a quick reference during your walk-around:
| Part to Check | What to Look For | What to Do |
|---|---|---|
| Bowl or firebox | Cracks, warping, heavy rust, holes | Stop use and have it assessed or repaired |
| Base and legs | Wobbling, bent metal, loose bolts | Tighten hardware or replace damaged parts |
| Masonry or stone | Cracked mortar, loose stones, crumbling edges | Call a hardscape professional for repair |
| Spark screen | Holes, bent frame, poor fit | Repair or replace before the next fire |
| Hardware | Missing screws, stripped bolts, corrosion | Replace with manufacturer-approved parts |
| Drainage holes | Blocked by debris or ash | Clear carefully so water can escape |
Clean out old ash and debris, but only as your manual directs. Some materials need special care, and the wrong cleaner can damage the finish.
One important rule: do not use a damaged unit. A cracked bowl or unstable base can fail at the worst moment. Wait until it has been properly assessed or fixed.
Standing water is another common fall issue. Rain and wet leaves can pool in the bowl and speed up rust. Our post on mistakes that cause water buildup in a fire pit explains how to prevent it.
Step 5: Special Checks for Wood-Burning Fire Pits
Wood-burning pits are classic fall favorites. They crackle, they smell wonderful, and they need a little extra prep.
Follow these steps before your first fire of the season:
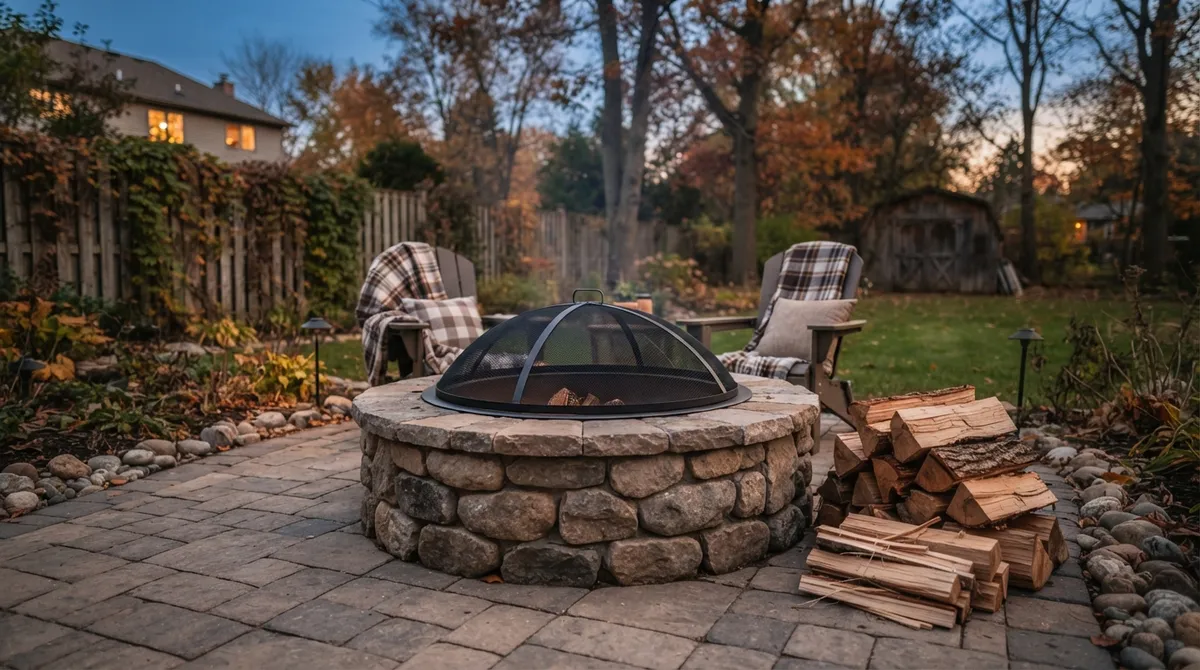
- Check the spark screen. It should fit snugly with no holes or bent edges.
- Remove old ash. Let it cool fully, then scoop it into a metal container as directed by your manual.
- Stock the right wood. Use clean, dry, seasoned hardwood. NFPA guidance says hardwood should be seasoned for at least six months.
- Store firewood safely. Keep it away from the pit and off the ground, so it stays dry and does not become a fire hazard.
- Skip the shortcuts. Never use gasoline or lighter fluid to start or relight a fire.
Avoid burning trash, painted wood, or treated lumber. These can release harmful fumes and throw off dangerous sparks.
Step 6: Special Checks for Gas and Propane Fire Features
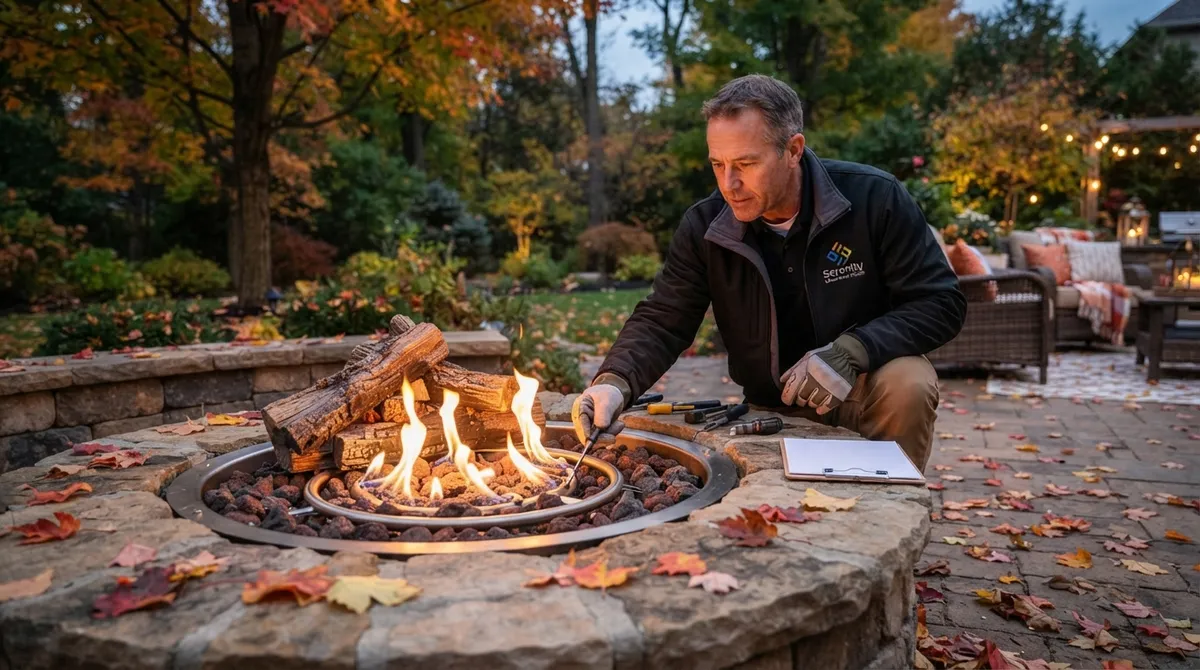
Gas fire pits are popular with busy homeowners and commercial properties because they light with the push of a button. They also need their own inspection routine. Here is the important part: gas components should never be repaired or modified by you.
Do a careful visual check for these items:
- Visible damage or corrosion on the burner, hoses, or housing
- Loose connections or fittings
- Blocked ventilation openings
- Debris, leaves, or spider webs around the burner and ignition area
Follow the product manual for cleaning and operation. Then stop and call a qualified service technician if you notice any of the following:
- A gas odor
- Abnormal or delayed ignition
- An uneven or unusual flame
- The fire fails to shut off normally
Never ignore a gas smell. Turn off the supply if you can do so safely and get professional help right away.
Step 7: Prepare Your Safety Gear and Plan
Great, your pit is clear and in good shape. Now set up for safe use. A little prep makes the evening more relaxing.
Before You Light
Check the weather first. Strong wind can carry embers far beyond your safe zone, and dry conditions raise the risk. If the wind is gusty or there is a burn ban, skip the fire and try again another night.
Have these items nearby:
- A garden hose, connected and ready
- A bucket of water or sand
- A fire extinguisher rated for outdoor use
- A shovel for managing the fire
While the Fire Burns
NFPA guidance recommends keeping children and pets at least 3 feet away from the fire. Set up chairs with room to spare, and remind guests to keep blankets and loose sleeves back from the flames. Never leave a fire unattended, even for a short trip inside.
When You Are Done
Put the fire out completely. Spread the embers, douse them with water, and stir until everything is cool. Place cooled ashes in a metal container with a tight-fitting lid, and store it away from anything that can burn. Hot embers can stay alive for hours, so be patient with this step.
Your Quick Fall Fire Pit Inspection Checklist
Here is a short version you can print or save on your phone. Use it each autumn before your first fire.
| Checklist Item | Done? |
|---|---|
| Review local fire rules and burn bans | ☐ |
| Read the manufacturer’s manual | ☐ |
| Confirm 10 feet of clearance from anything flammable | ☐ |
| Check overhead for low branches and eaves | ☐ |
| Rake leaves, needles, and dry debris | ☐ |
| Move furniture, firewood, and decor back | ☐ |
| Verify a level, noncombustible base | ☐ |
| Inspect bowl, base, masonry, and hardware | ☐ |
| Check the spark screen (wood pits) | ☐ |
| Inspect connections and burner (gas pits) | ☐ |
| Stock dry, seasoned hardwood | ☐ |
| Prepare water, extinguisher, and shovel | ☐ |
| Plan a 3-foot safe zone for kids and pets | ☐ |
When to Call a Landscaping Professional
Some fixes are easy to handle on a Saturday morning. Others are better left to the experts. It is smart to call in help when you see:
- Cracked or crumbling masonry and loose stones
- A sunken, tilted, or shifting patio base
- Any gas smell or odd flame behavior
- Heavy rust, warping, or holes in the bowl
- Overhanging branches that need professional trimming
Fall is also a smart time to plan upgrades for next year. If you want a safer layout, a sturdier base, or a fresh fire feature, our team can help. You can also explore ideas in 12 fire pits that transform backyards in 2026 or read our friendly guide to planning a fire pit project for spring.
For broader landscape support, the Landscape Illinois association is a trusted resource for finding qualified professionals in our region. And if you want to keep your whole yard looking great through the seasons, our garden maintenance plan guide can help.
Ready for Cozy, Worry-Free Fires?
A fall fire pit inspection does not have to be a big chore. With a little time and this checklist, you can clear hazards, spot damage, and enjoy the season with confidence. Check your local rules, clear the area, inspect the pit, and keep safety gear close. Then pour that hot cider and enjoy the glow.
At Serenity Landscape Group, we have spent over 20 years helping Chicago-area homeowners and businesses create outdoor spaces they love. If your fire pit needs repair, a new base, or a full upgrade, we are here to help. Get a Free Estimate today, or call us at (630) 359-5139 to talk about your outdoor space.
FAQs
Q: What should be included in a fall fire pit inspection checklist?
A: Start with local fire rules, burn bans, and your manual. Then clear debris, confirm at least 10 feet of clearance, check the base for stability, and inspect the bowl, hardware, and spark screen. Gas units also need a look at connections, ventilation, and the burner area.
Q: How far should a fire pit be from a house, fence, or deck?
A: NFPA guidance recommends at least 10 feet from anything that can burn, including your house, fence, deck, and overhanging branches. Some local codes and manufacturers require more space, so always follow the stricter rule.
Q: What should I do if my fire pit has rust, cracks, or loose parts?
A: Stop using it until it has been assessed or repaired. Light surface rust may be manageable if your manual allows cleaning, but cracks, warping, or an unstable base are safety risks. A landscaping or hardscape professional can help you decide whether to repair or replace.
Q: Can I use my fire pit during a burn ban or on a windy day?
A: No, it is best to skip it. Burn bans exist because dry conditions make fires easy to spread, and wind can carry embers past your safe zone. Wait for calmer weather and check with your local fire department first.
Q: How should I dispose of fire pit ashes safely?
A: Make sure the ashes are completely cool, which can take many hours. Then place them in a metal container with a tight-fitting lid and keep it away from anything that can burn. Never toss warm ashes into a trash bin or onto mulch.