Key Takeaways
-
Proper site assessment and grading with 1-2% slope is critical for drainage; skipping this step causes standing water after storms, especially in Chicago's clay-heavy soil.
-
Removing existing sod and organic material to 2-4 inches depth is non-negotiable; leftover roots decompose over time and cause turf to sink or develop dips.
-
Professional base compaction to 95% Proctor density prevents rippling, depressions, and seam failure; poor compaction is the leading cause of premature turf failure.
-
Proper seaming with outdoor-rated adhesive and careful grain matching prevents visible transitions and seam separation that create tripping hazards and aesthetic issues.
-
Installation costs range $5-$20 per square foot ($3,245-$8,711 average), with excavation, drainage upgrades, and pet-specific systems driving the largest cost differences.
-
Plan for ongoing maintenance including occasional brushing, debris removal, rinsing, and infill top-offs every few years at $250-$400 annually for residential lawns.
Thinking about saying goodbye to mowing forever? You’re not alone. More Chicago homeowners, condo owners, and business managers are choosing to install fake grass every year, and honestly, we get why. No more soggy mud patches after a spring storm, no more brown spots in July, and no more Saturday mornings pushing a mower around. But here’s the thing: a beautiful, long-lasting artificial lawn isn’t just about rolling out a green carpet and calling it a day. There’s real craft involved, and skipping steps can lead to bumps, puddles, or turf that looks tired after just one Chicago winter.
At Serenity Landscape Group, we’ve spent over two decades helping families and business owners across Chicagoland fall in love with their outdoor spaces. Whether you’re dealing with a shady side yard that won’t grow grass, a rooftop terrace, or a high-traffic commercial entrance, installing synthetic turf the right way makes all the difference. Let’s walk through the 11 steps that separate a turf project you’ll love from one you’ll regret.
1. Start With a Clear Plan and Site Assessment
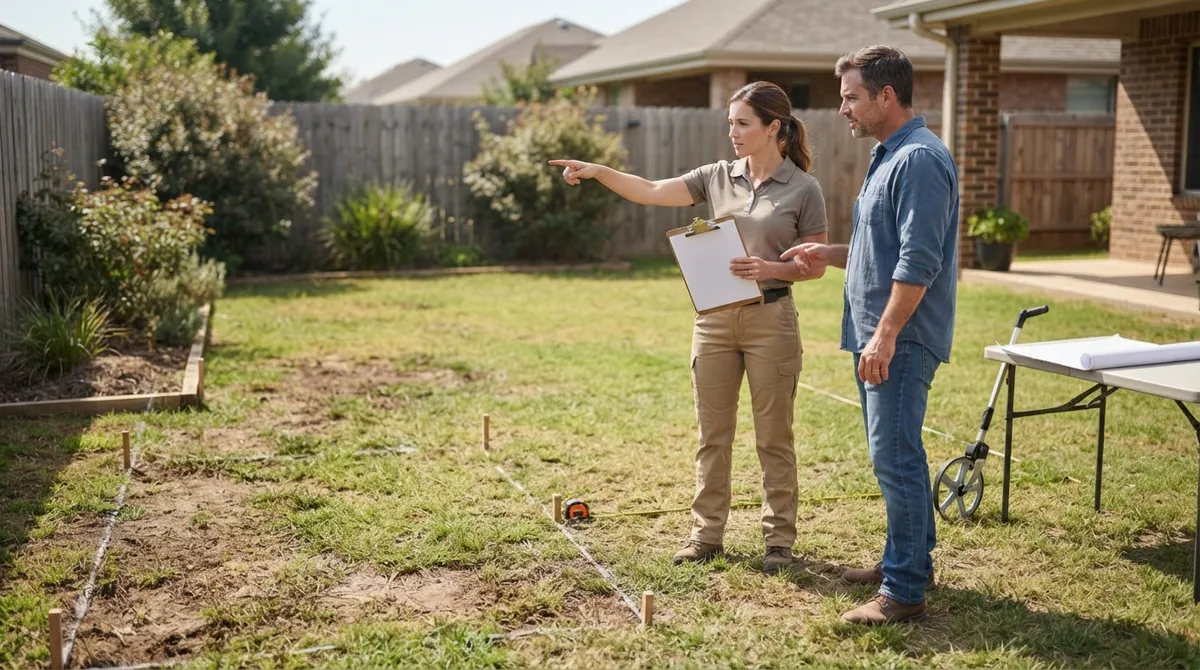
Before anyone breaks ground, a good installer walks your property and asks questions. How much sun does the area get? Where does water naturally flow? Will pets or kids use this space daily? These answers shape everything from base depth to drainage design.
This step matters more in our region than you might think. Chicago’s clay-heavy soil doesn’t drain like sandy soil down south, and our freeze-thaw winters can shift ground that wasn’t prepped correctly. A thoughtful assessment now saves you from costly repairs later. If you’re weighing your options, our guide on how to choose artificial turf for your backyard is a great starting point.
2. Remove Existing Sod and Organic Material
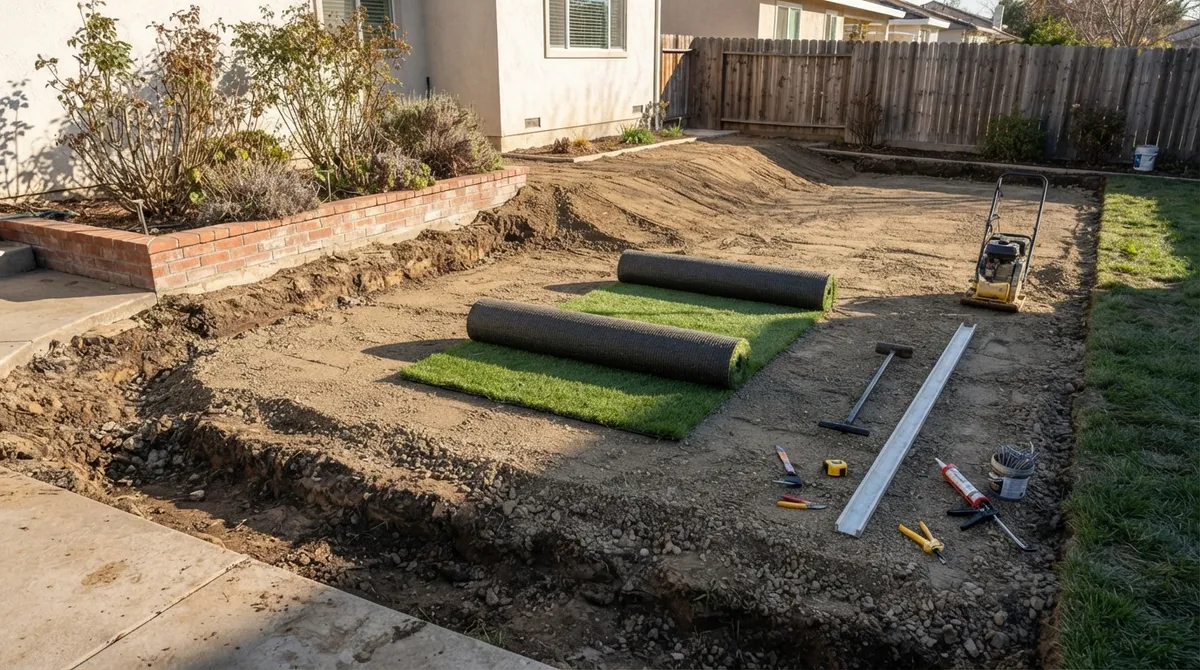
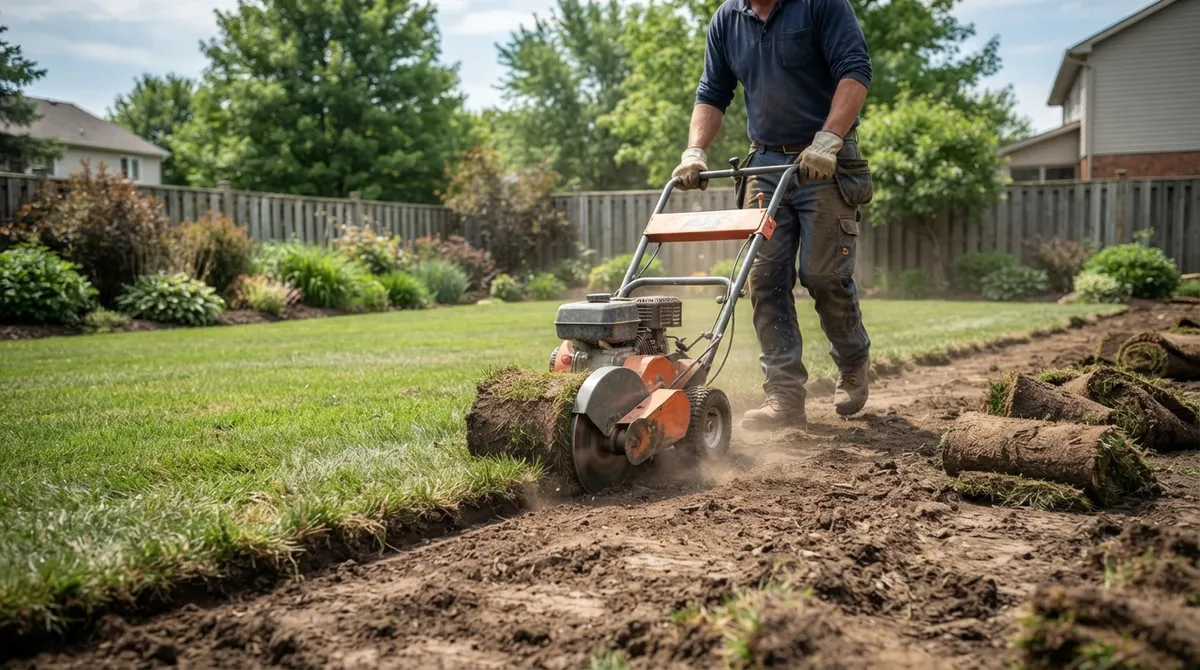
You can’t build a solid foundation on top of living grass and soil. Crews typically excavate about 2 to 4 inches, though the exact depth depends on your soil type, drainage needs, and the turf system you’ve chosen. This step also usually includes capping, removing, or repurposing any old irrigation heads in the area.
Removing organic matter is non-negotiable. Leftover roots and soil decompose over time, which can cause your turf to sink or develop dips. It’s tempting to think this step could be skipped to save money, but it’s really the heart of a lasting installation.
3. Grade the Site for Proper Drainage
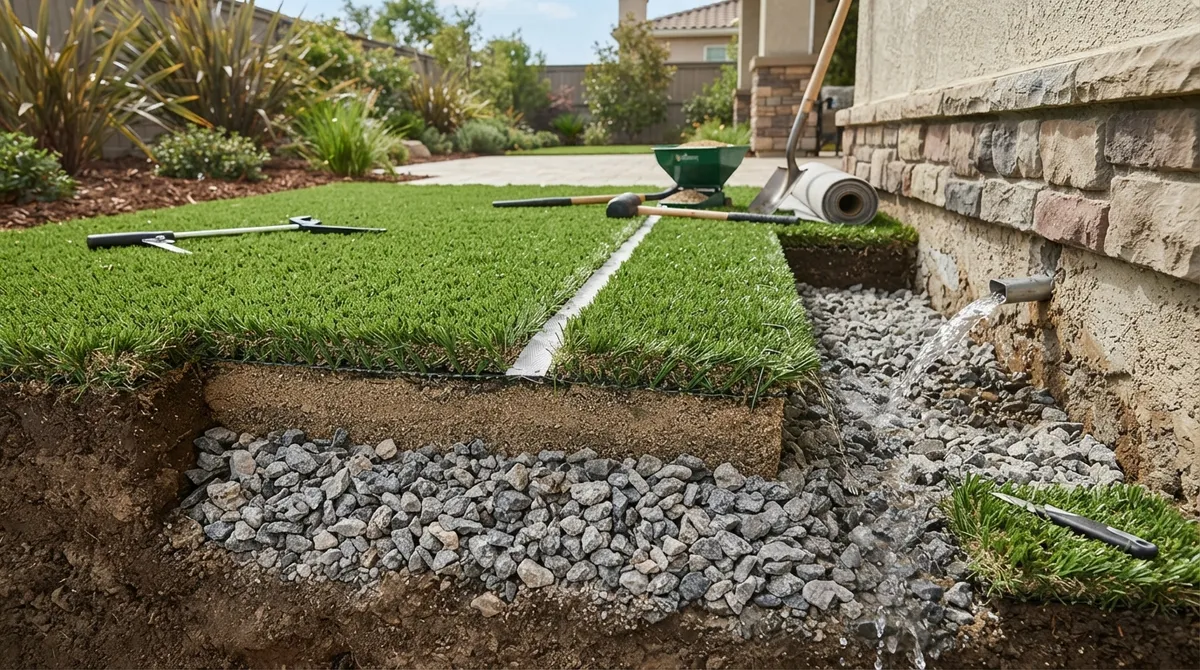
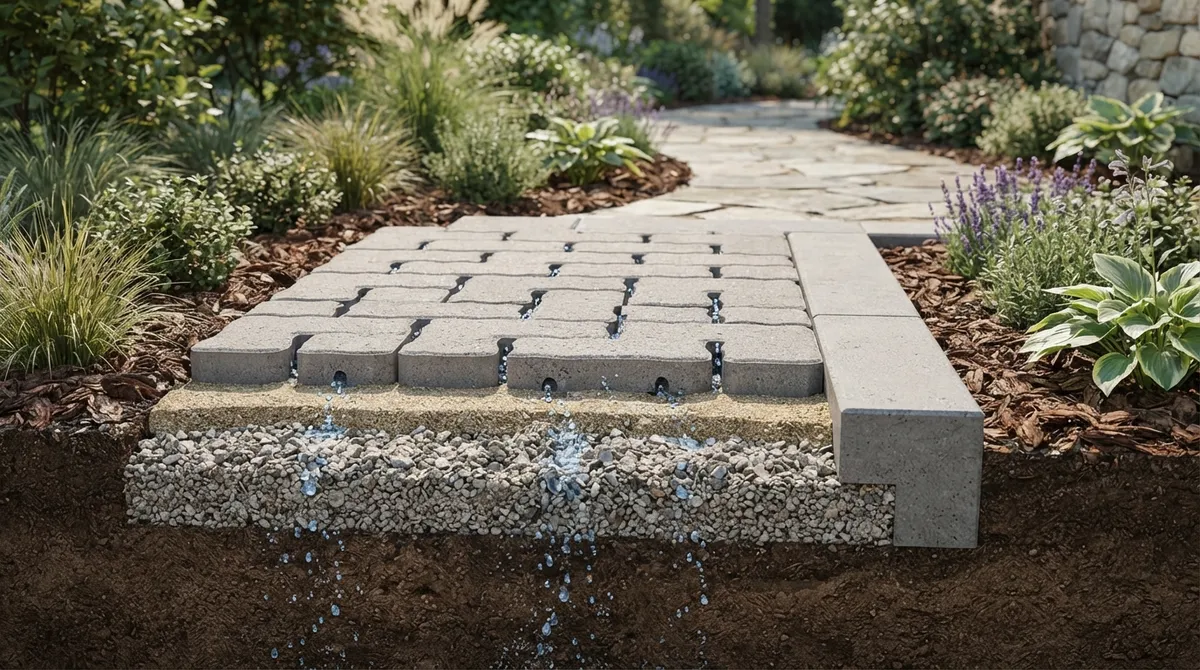
Artificial turf drains through small perforations in its backing, but that only works if water has somewhere to go. Installers commonly aim for roughly a 1–2% slope to direct water away from your home, patio, or foundation, though your specific site conditions will determine the right grade.
This is especially important for suburban homeowners dealing with heavy clay soil, and for commercial property managers managing stormwater runoff requirements. Skipping proper grading is one of the most common reasons synthetic lawns develop standing water after storms.
4. Build and Compact the Aggregate Base
Here’s where the real engineering happens. A quality base typically uses Class II road base, crushed stone, or decomposed granite. This layer gets compacted to around 95% Proctor density for most road-base applications, creating a firm, stable surface that won’t shift underfoot.
Poor compaction is the number one cause of rippling, depressions, and premature seam failure down the road. This is exactly why professional installation matters so much for larger or heavily used areas. Our best base materials for turf installation resource breaks this down further.
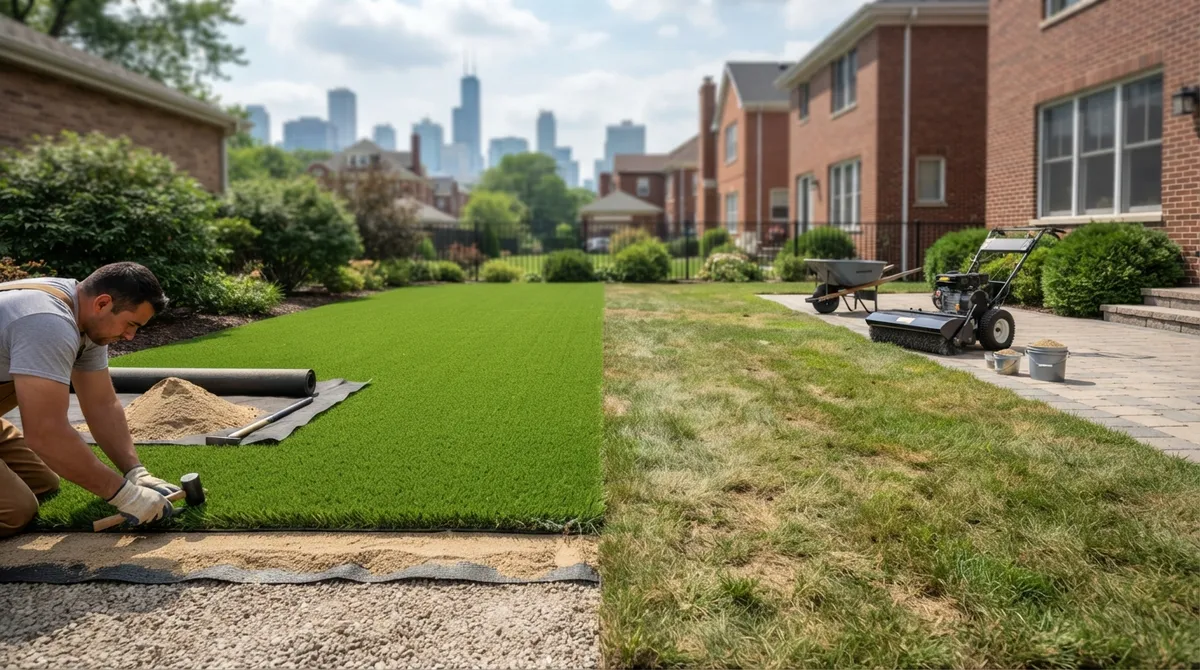
5. Roll Out the Turf and Match the Grain
Once your base is compacted and smooth, it’s time for the fun part: unrolling the turf itself. A skilled crew orients every piece so the grass grain runs in the same direction. Skip this detail and you’ll notice color and texture mismatches between panels, especially in bright sunlight.
For larger lawns or oddly shaped yards, this step takes patience and a trained eye. It’s one reason DIY installations sometimes fall short compared to professional turf installation over DIY projects.
6. Trim and Seam the Panels Carefully
Turf is trimmed from the backing side using specialized tools, then joined together with seaming tape and outdoor-rated adhesive. Seams are one of the biggest quality-control checkpoints in this entire process. A poorly seamed edge will separate over time, creating a tripping hazard and an eyesore.
Visible transitions between turf pieces and existing hardscaping, like pavers or patio edges, also deserve extra attention here. Clean transitions make the whole space look intentional and polished.
7. Anchor the Perimeter Securely
Once seams are set, the edges get secured using landscape nails, staples, or metal edging, depending on the site. This step keeps your turf from lifting in high winds or shifting from regular foot traffic.
For commercial properties with heavy pedestrian use, like retail storefronts or office courtyards, this anchoring step is especially critical. A loose edge near an entrance isn’t just unsightly, it’s a liability concern too.
8. Apply the Correct Infill
Infill isn’t just filler, it’s what gives your lawn its bounce, stability, and realistic feel underfoot. Common options include silica sand and coated sand, but the right choice depends entirely on your turf product and how the space will be used.
Homeowners with dogs often ask about pet-friendly options here, and for good reason. Choosing the wrong infill can lead to odor issues down the road. Check out our guide on infill types for artificial grass that actually work before deciding.
9. Brush and Groom the New Lawn
After infill goes down, crews brush the fibers to help them stand upright and blend the infill evenly throughout the turf. This final grooming step is what gives fake grass that lush, natural look you see in photos.
It also helps distribute infill weight evenly, which supports drainage and prevents matting in high-traffic zones like walkways or play areas.
10. Check Local Rules and Regulations
Before any install begins, it’s worth checking your municipality’s rules, your HOA guidelines, or any stormwater regulations that might apply. Some Chicago suburbs have specific requirements around synthetic landscaping, drainage, or lot coverage.
Commercial property managers especially should loop in relevant permitting offices early. Groups like Landscape Illinois offer helpful regional guidance, and working with an ICPI Certified Installer adds another layer of confidence that your project meets industry standards.
11. Plan for Ongoing Maintenance
Here’s something worth knowing upfront: artificial grass is low-maintenance, not no-maintenance. Plan on occasional brushing, debris removal, and rinsing, plus periodic infill top-offs every few years. Site Prep estimates 2026 annual maintenance costs around $250 to $400 for many residential lawns.
Pet owners should also budget time for odor control routines. Our cleaning artificial turf from pet waste guide walks through simple habits that keep things fresh.
What Does It Cost to Install Fake Grass in 2026?
Pricing varies quite a bit depending on site prep, drainage needs, and turf quality. Here’s a quick snapshot based on current 2026 market data:
| Source | Average Cost | Typical Range |
|---|---|---|
| HomeAdvisor (2026) | $5,783 | $3,245–$8,711 |
| Thumbtack (2026) | $5–$20 per sq ft | $2,709–$7,660 total |
| 500 sq ft example project | $6,250 | at $12.50/sq ft |
| Annual maintenance | $250–$400/year | varies by pets, debris, climate |
Excavation, access, drainage upgrades, edging, and pet-specific systems tend to drive the biggest cost differences. For a deeper dive, our guide to budgeting for artificial grass installation costs breaks down each variable.
Comparing Installation Scenarios
Not every yard or property is the same, so here’s a simple breakdown of what to expect across common situations:
- Standard backyard lawn: Moderate excavation, standard base depth, straightforward drainage planning.
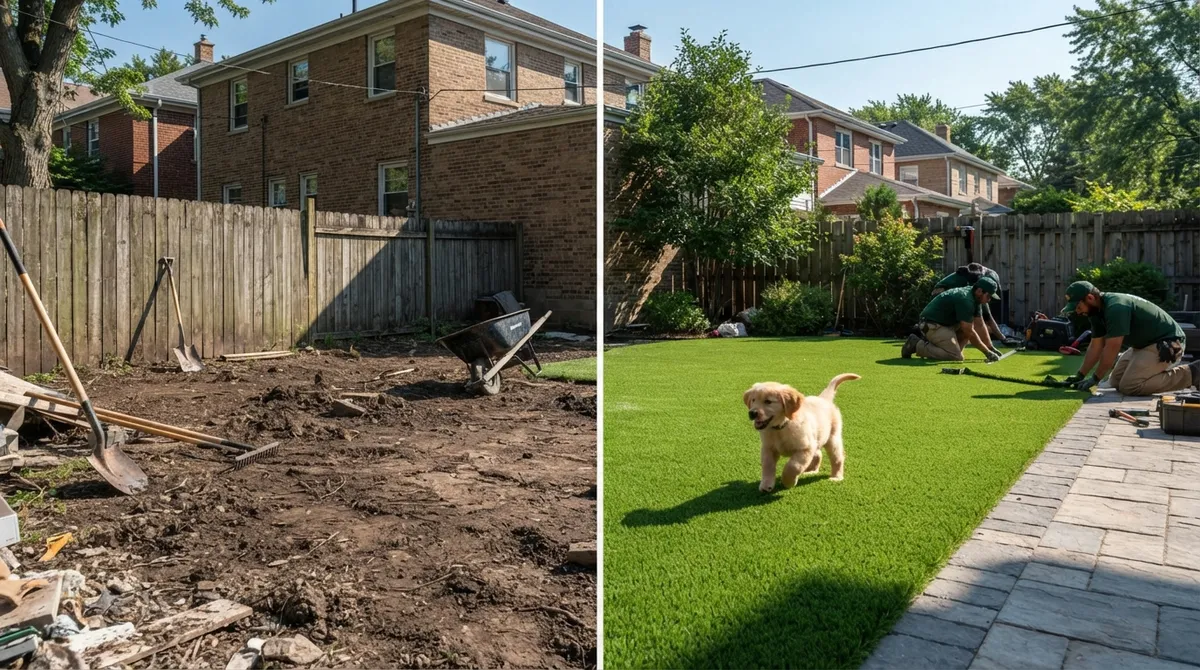
- Pet-heavy yards: Extra attention to infill choice, drainage capacity, and odor-resistant backing.
- Sloped or poorly draining lots: Additional grading work and possibly deeper aggregate base.
- Rooftop or urban condo spaces: Lightweight base systems and drainage mats designed for structural surfaces.
- Commercial entryways: Reinforced edging and heavier-duty turf rated for high foot traffic.
Is Fake Grass Right for Your Property?
Synthetic turf works beautifully in many situations, but it’s not automatically the right fit everywhere. Consider these points before moving forward:
- Sun exposure: Turf can get hotter than natural grass in direct, intense sunlight.
- Drainage complexity: Poorly draining lots need extra planning, not less.
- Local regulations: Some HOAs and municipalities have specific rules worth checking first.
- Long-term use: Heavy foot traffic areas benefit most from professional-grade installation.
- Environmental factors: Synthetic materials involve plastic production and eventual disposal, so it’s worth weighing sustainability alongside water savings.
For properties with heavy shade instead, you might also explore synthetic grass for shaded areas or other grass alternatives for wet backyards as complementary solutions.
Why Professional Installation Makes a Difference
We know DIY projects can be tempting, especially with so many tutorials online. But sloped yards, heavy clay soil, drainage challenges, and pet-use areas all benefit from experienced hands. Grading mistakes and poor compaction are hard to fix after the fact without tearing everything up again.
Our team has installed turf across countless completed projects throughout the Chicago suburbs, and we’ve seen firsthand how proper base work extends a lawn’s lifespan for years. If you’d like to see our full process from consultation to final walkthrough, take a look at our process page or explore our dedicated artificial turf installation services.
Ready to Make the Switch?
Installing fake grass the right way takes planning, skill, and attention to detail, but the payoff is a lawn that stays green through every Chicago season without the weekend mowing marathon. Whether you’re a homeowner tired of patchy grass, a property manager looking to boost curb appeal, or a business owner wanting a welcoming entrance, a well-installed synthetic lawn delivers year after year.
Ready to get started? Get a free estimate from our team today, or feel free to call us at (630) 359-5139 to talk through your project. We’d love to help you create an outdoor space you’ll actually enjoy using.
FAQs
Q: How much does it cost to install fake grass per square foot?
A: Great question! Most projects run between $5 and $20 per square foot installed, according to 2026 Thumbtack pricing data. The final number really depends on site prep, drainage needs, and the turf quality you choose, so it’s worth getting a personalized estimate for your space.
Q: Does artificial grass need drainage or a slope?
A: Yes, and this is such an important step! Even though turf has drainage holes built in, your base still needs proper slope, often around 1-2%, to keep water moving away from your home. Skipping this can lead to puddles you definitely don’t want.
Q: Can artificial grass be installed over concrete or an existing patio?
A: It absolutely can, with the right prep work. Installers typically add a drainage layer and cushioned underlayment to make sure water flows properly and the surface feels comfortable underfoot. It’s a wonderful option for rooftop terraces and urban condo spaces too.
Q: How long does professionally installed artificial turf last?
A: When it’s installed correctly with proper base prep, many synthetic lawns last well over a decade, even through tough Chicago winters. Quality installation really is the secret ingredient here, so don’t be afraid to invest in it upfront.
Q: Is artificial grass hotter than natural grass in direct sun?
A: It can be, yes, especially during peak summer sun. Many homeowners manage this with rinsing on hot days or choosing turf products designed with heat-reducing technology. It’s a small trade-off many families feel is worth it for the year-round low maintenance.