Key Takeaways
-
Plan the fire pit and built-in seating together on one drawing; choosing them separately is the most common mistake and leads to cramped, unusable spaces.
-
Keep the pit at least 10 feet from anything that can burn and at least 3 feet from children and pets, and always follow the manufacturer's clearance specs and any stricter local code.
-
Check local fire rules, HOA guidelines, and permit requirements before digging, since tall seat walls can count as retaining walls and trigger extra review.
-
Build a compacted base with proper grading and drainage, especially for sunken pits, so water never pools near the fire or gas components in freeze-thaw climates.
-
Use fire-rated liners for direct flame and freeze-thaw-resistant materials for seat walls, and mock up the layout with string or paint before excavation begins.
-
Request itemized local bids covering excavation, base, drainage, seating, fuel work, and permits so you can compare quotes accurately; 2026 costs vary widely by region and design.
Picture this: it’s a crisp October evening in Chicagoland. The leaves are crunchy, the air smells like woodsmoke, and your friends are laughing around a glowing fire. Now picture the same night with one small problem. The bench is too close to the flames, the patio has a puddle in the corner, and everyone keeps scooting their chairs back. Not so cozy anymore, right?
A fire pit area with built in seating is one of the most loved upgrades in outdoor living. It is also one of the easiest to get wrong. The fire feature, the seat walls, the patio surface, the walkways, and the drainage all have to work together as one space. When they don’t, you end up with a spot that looks nice but never gets used.
The good news is that most mistakes are easy to avoid once you know what to watch for. Here are the five we see most often, plus simple fixes, a few cost notes for 2026, and answers to the questions homeowners ask us all the time.
Why Built-In Seating Changes Everything
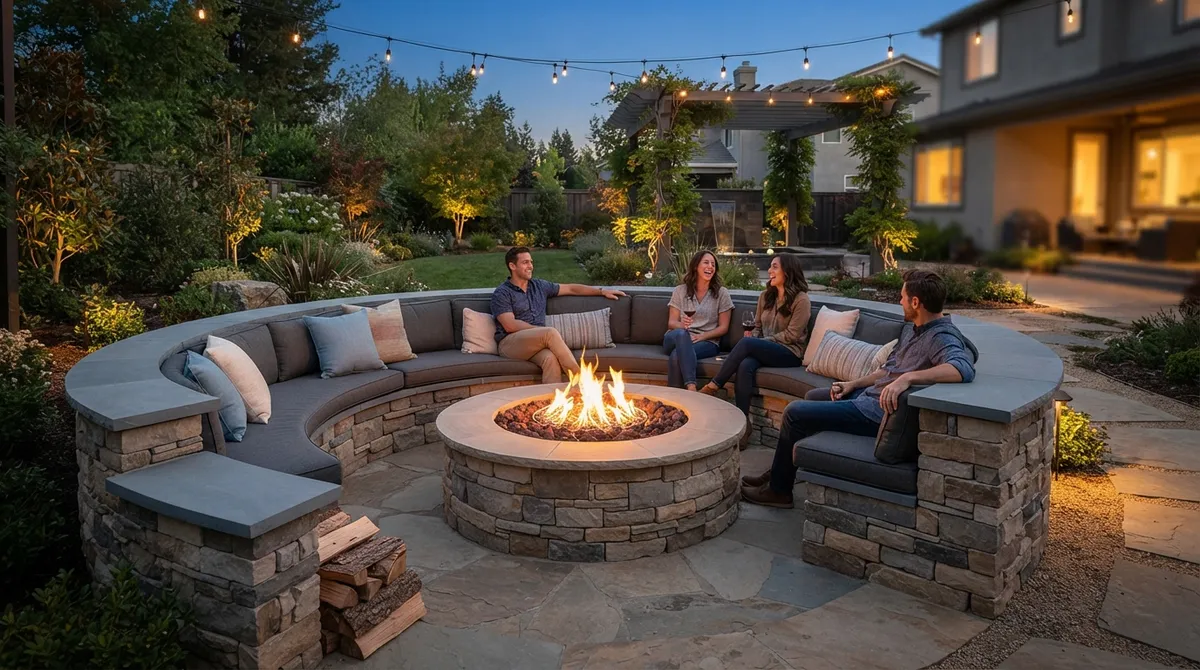
Loose chairs are flexible, but they wander. Built-in benches and seat walls anchor the whole design. They set the shape of the space, hold the circle together, and give you permanent seating that never blows over or gets dragged into the garage in November.
Built-in seating is usually made from masonry or concrete, often finished with a stone or concrete cap. Some seat walls also double as low retaining walls, which helps on a sloped yard. That’s a big plus, but it can also bring permit or engineering rules, depending on your town and site.
Think of the project as a small room with four jobs to do:
- The fire feature: a wood-burning pit or a gas burner, built for direct heat.
- The seating: seat walls or benches sized for comfort.
- The surface: a level, noncombustible patio or pad.
- The flow: clear walking paths and water that drains away.
If one of those four is weak, the whole space feels off. Let’s look at where things usually go sideways.
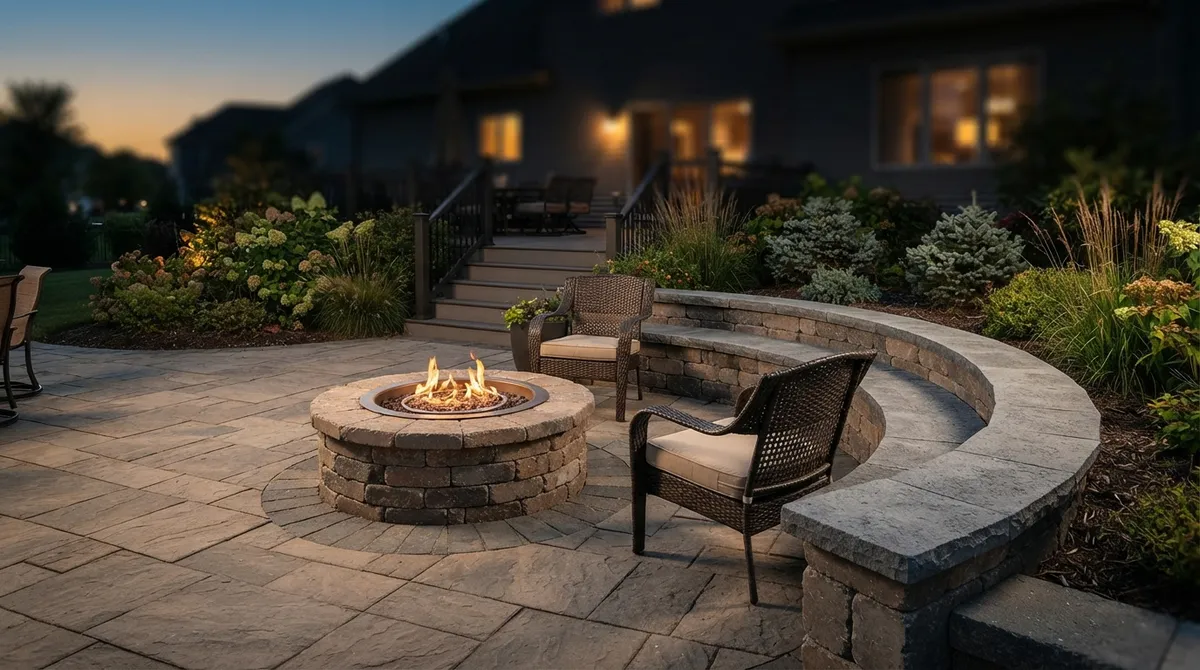
Mistake 1: Choosing the Fire Pit and Seating Separately
This is the big one. Many people pick a fire pit they love online, then try to squeeze seating around it later. Or they design a gorgeous curved bench and forget to ask what size fire pit it needs.
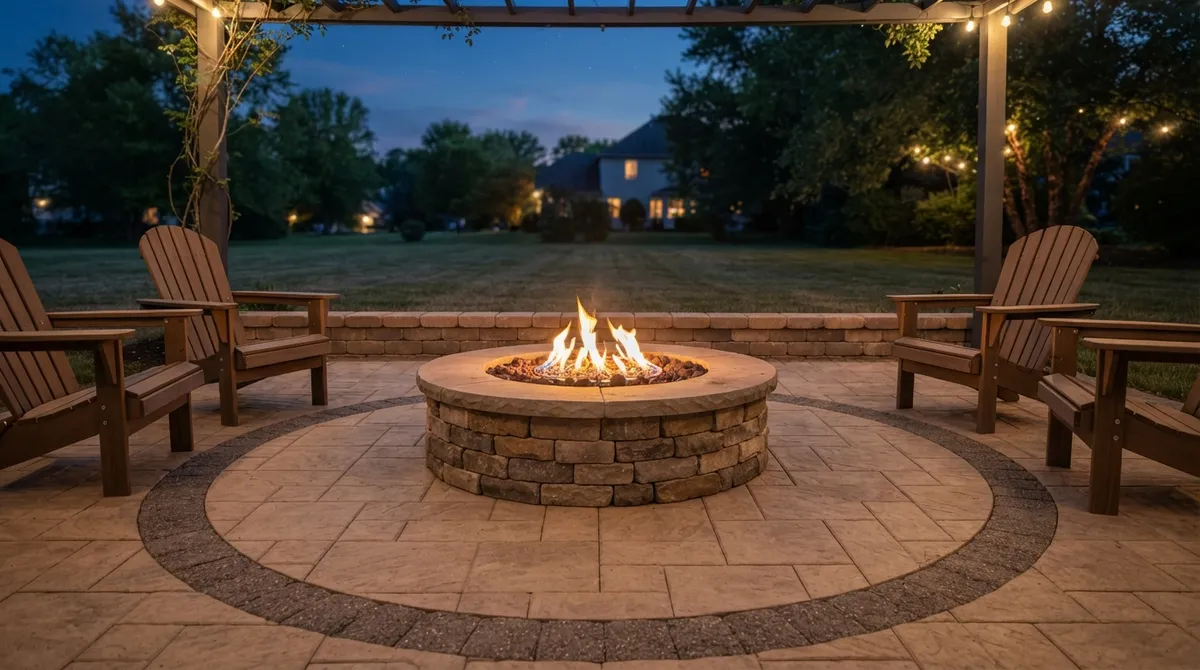
The pit and the seating should be planned together, on the same drawing. You need enough room to sit comfortably away from the flame, stretch your legs, and still walk behind the seats without bumping into anyone.
How Much Space Do You Really Need?
There is no single magic number. The right distances depend on the fire pit model, the fuel, local rules, and the maker’s instructions. But a few planning ideas help:
- Flame to seat: leave enough gap that people feel warm, not roasted. Always check the manufacturer’s clearance notes first.
- Legroom: seat walls need room in front for feet and knees.
- Walkway behind seating: keep a clear path so guests can move around without climbing over benches.
- Kids and pets: the NFPA recommends keeping children and pets at least 3 feet from an operating fire pit.
A good designer will mock up the layout with string or paint on the ground before any digging starts. It’s a simple step that saves a lot of regret. If you want inspiration for how pits and patios fit together, our guide on fire pit paver patio ideas shows several layouts that work.
Mistake 2: Ignoring Safe Clearances and Local Rules
Nothing ruins a fire pit dream faster than a stop-work notice. Before you build, check the rules where you live. Requirements vary a lot from one town to the next.
The NFPA advises using fire pits outdoors, on a level, noncombustible surface, and at least 10 feet from anything that can burn. That includes siding, decks, fences, shrubs, overhanging branches, and rooflines. Your local code or the product manual may ask for even more space, so always follow whichever rule is stricter.
Your Pre-Build Checklist
- Read the manual. The fire pit and burner instructions come first.
- Check local fire rules. Look for burn bans and open-fire restrictions.
- Ask about permits. Building, fuel-gas, and retaining wall permits may apply.
- Call before you dig. Have underground utilities marked.
- Check HOA rules. Many suburban associations have guidelines on fire features and materials.
- Plan for inspections. Permanent gas connections usually need qualified installation.
If your seat wall is tall or holds back soil, it may count as a retaining wall. That can trigger extra review. Our article on what a retaining wall is and whether you need one explains when walls cross that line.
For safety basics, the NFPA’s fire pit safety tips are a great place to start.
Mistake 3: Skipping the Base and Drainage Plan
Here in the Chicago area, we get heavy spring rain, freeze-thaw swings, and snow. A fire pit area that doesn’t drain well will heave, settle, and hold water. That’s not just ugly. Standing water can damage gas components and shorten the life of your patio.
A lasting fire pit area depends on what you can’t see:
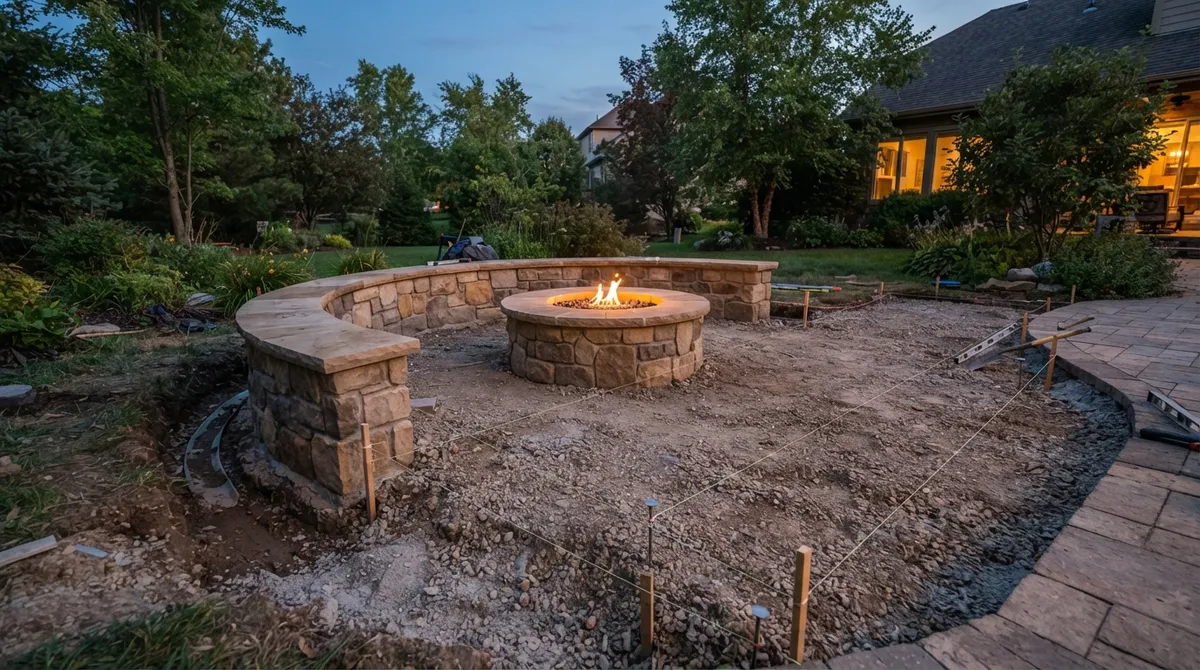
- A stable, compacted base: this keeps pavers and seat walls from sinking or shifting.
- Proper grading: the surface should be level for the pit and seating, with a gentle slope that sends water away.
- Drainage: water should never pool around the pit or run toward gas parts.
Sunken fire pit designs need extra care. Because they sit below the surrounding grade, they can act like a bowl that fills with water. They need a clear drainage path or a dry well. If you’ve ever seen a pit full of rainwater, our list of mistakes that cause water buildup in a fire pit will feel very familiar. For yards that flood, a dry well installation can be a game changer.
Mistake 4: Using the Wrong Materials for Heat and Weather
Not every pretty stone belongs next to a flame. Materials need to be rated for how they’ll be used. Direct flame calls for a fire-rated liner or insert. Decorative masonry should never be assumed safe for direct heat. Follow the fire pit and burner maker’s specs for construction, media, and ventilation.
Seat walls face a different test: Chicago winters. Look for materials that handle freezing, thawing, and de-icing salt without cracking or flaking.
| Material | Best For | Things to Know |
|---|---|---|
| Concrete pavers | Patio surface | Durable, many styles, easy to repair by lifting individual pavers |
| Natural stone | Caps and seat walls | Rich, timeless look; fit and finish take skill |
| Segmental block | Seat walls | Interlocking design; a stone or concrete cap adds comfortable seating |
| Fire-rated liner or insert | Inside the pit | Made for direct flame; follow the manufacturer’s specs |
If you’re comparing options for the surface, our guide to concrete vs. natural stone pavers breaks it down in plain language. And if you want a pro to handle the install, you can learn how to choose professional paver installation with confidence. The ICPI Certified Installer program is also a handy place to look for installer standards.
Wood or Gas? Pick With Your Lifestyle
This choice shapes the whole design, so decide early.
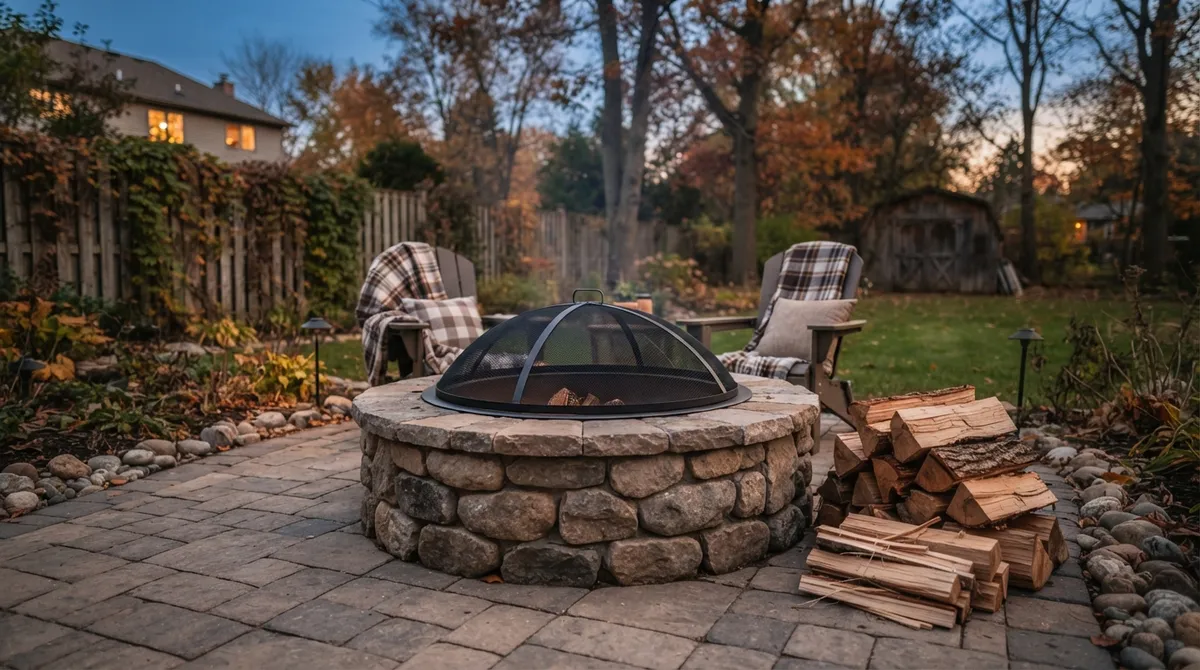
- Wood-burning: that classic crackle and smell. It also means sparks, smoke, firewood storage, ash cleanup, and often a spark screen.
- Gas: instant, controllable flames and no ash. It needs a compatible burner, a shutoff, a fuel supply, and installation that meets gas and building codes.
Neither is “better.” A busy family that wants fire in ten minutes flat may love gas. Someone who treasures the ritual of building a fire may never switch. Just plan the seating, storage, and utilities around your choice from day one.
Mistake 5: Forgetting Comfort, Planting, and Year-Round Use
A seat wall can look amazing and still feel awful after ten minutes. Comfort is part of the design. Seat height, depth, and the angle of your back all matter. A cap that’s too narrow, or a bench that’s too deep, will send guests searching for a cushion.
Don’t forget what surrounds the space. Plants near a fire pit need smart choices. Keep trees, shrubs, and ornamental grasses well back from the flames and out of the 10-foot zone from anything that can burn. Low-growing, well-spaced plantings and hardscape edging are safer than dense, dry material close to the pit. Thoughtful softscape design can frame the space without adding fire risk.
Quick Comfort Wins
- Add outdoor cushions or seat pads for long evenings.
- Include a small side table or ledge for drinks.
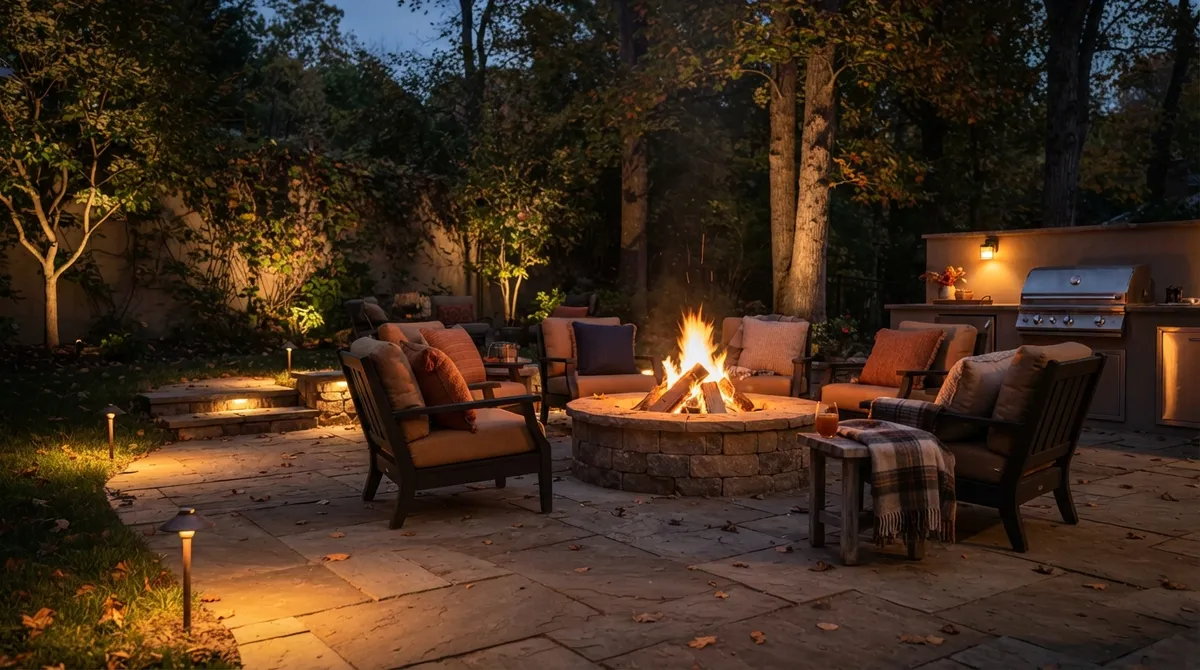
- Layer in soft landscape lighting for safe steps and a warm glow.
- Plan a clear path from the house, wide enough for easy walking after dark.
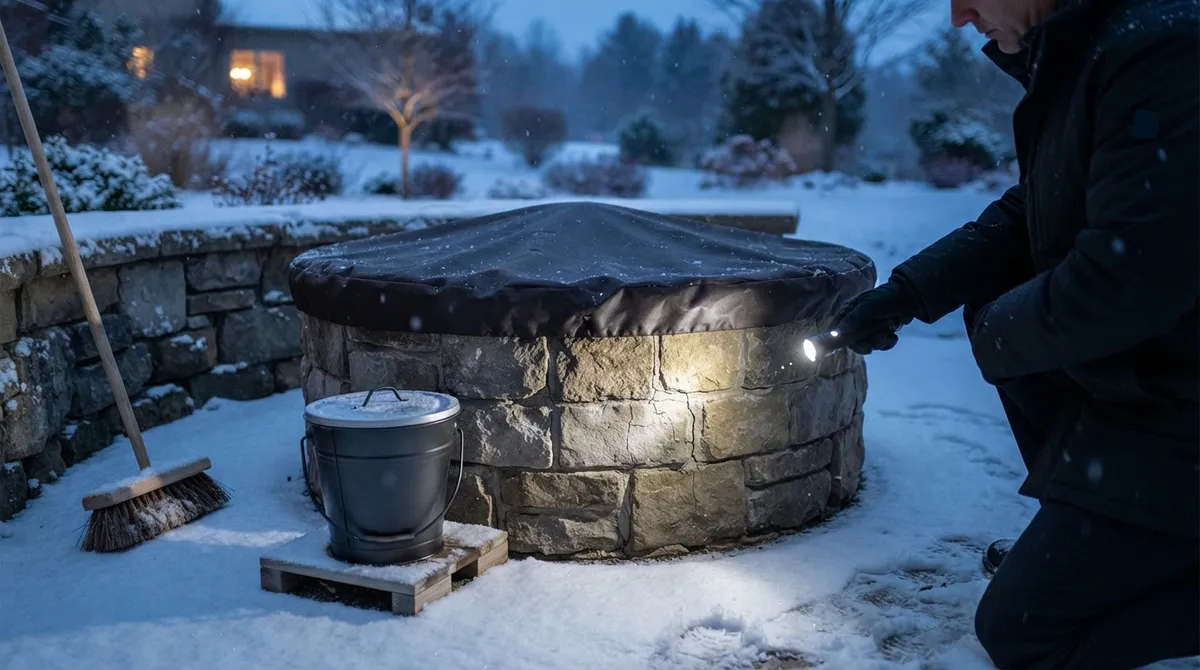
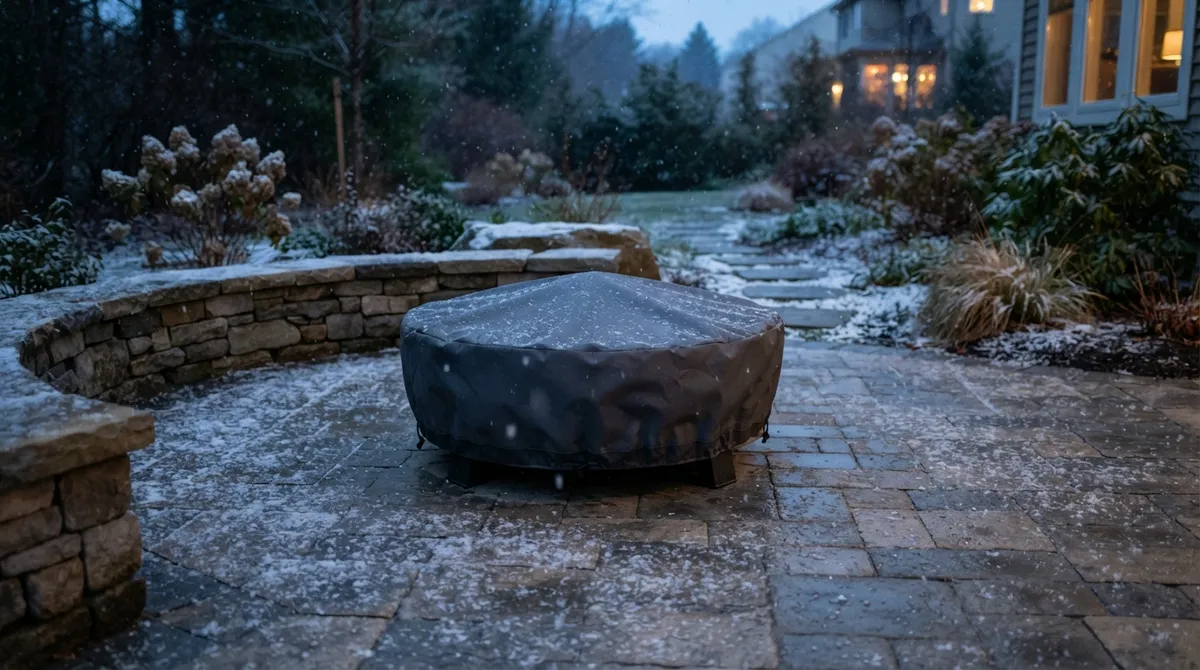
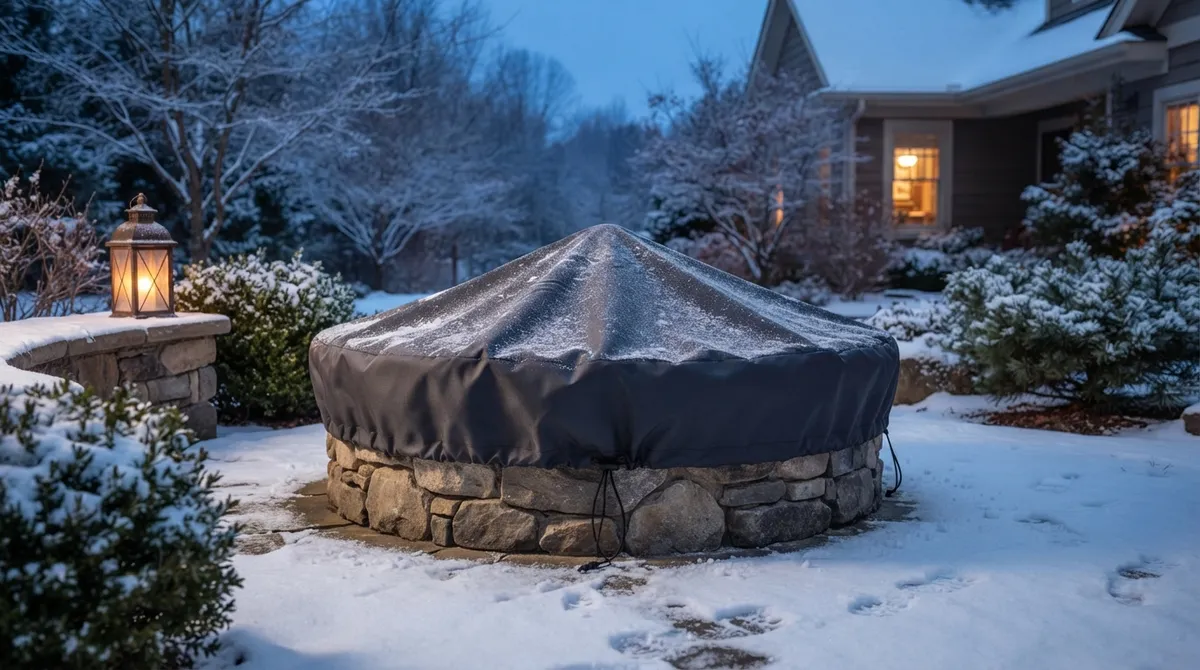
- Add a cover and plan for winter care. Our tips on choosing fire pit covers help you protect your investment.
Winter is also when masonry takes a beating, so a little seasonal care goes a long way. Take a look at our winter maintenance guide for masonry fire pits to keep it looking sharp year after year.
What Does a Fire Pit Area With Built-In Seating Cost in 2026?
Everyone wants a number, and it’s fair to ask. The honest answer is that it varies a lot. One 2026 landscaping source estimates installed paver patios at roughly $12 to $25 per square foot. Another 2026 cost source gives a broad range of about $5,000 to $12,000 for a fire pit project with a patio and seating in some regions. Those are source-specific estimates, not national standards, and other reports differ quite a bit.
What moves the price?
- Patio size: more square feet means more material and labor.
- Masonry detail: custom seat walls and stone caps cost more than simple benches.
- Site conditions: slopes, poor soil, and tight access add work.
- Drainage and excavation: sunken designs and water control add cost.
- Fuel work: a gas line, shutoff, and inspections add to the total.
- Permits: fees depend on your town and the scope.
The smartest move is to get itemized local bids that list excavation, base, drainage, seating, fuel work, and permits separately. That way you can compare apples to apples. Our breakdown of custom fire pit installation cost factors in 2026 walks through each line item, and our tips on reading landscape quotes can help you spot gaps before you sign.
A Simple Step-by-Step Plan to Get It Right
Ready to avoid all five mistakes? Follow this order and you’ll be in great shape:
- Dream and measure. Note your yard size, slope, sun, and views.
- Check the rules. Confirm fire, building, gas, and HOA requirements.
- Choose your fuel. Wood or gas shapes everything else.
- Design pit and seating together. Lock in clearances, legroom, and walkways.
- Plan the base and drainage. Decide how water leaves the space.
- Pick rated materials. Match each to heat and weather exposure.
- Build with qualified pros. Especially for masonry, drainage, and gas lines.
- Add the finishing touches. Lighting, cushions, plants, and a cover.
If you’d like to think about timing, our friendly guide to planning a fire pit project for spring shows how to line things up. For broader hardscape ideas, Landscape Illinois is a helpful regional resource for finding professional standards and inspiration.
Who Benefits Most From This Kind of Space?
A fire pit area with built-in seating works in a lot of settings. Suburban homeowners love it for family nights and entertaining guests. Condo and townhome owners with smaller patios can scale the idea down with a compact gas feature and a short bench. Restaurants and shops use fire features to extend the season and draw customers in. Builders and developers often add one as a turnkey amenity that makes new homes feel finished.
The size changes, but the rules stay the same: plan the pit, seating, surface, and drainage as one project, and follow safety and local requirements.
Ready to Build Your Backyard Gathering Spot?
A great fire pit area isn’t about avoiding every bump in the road. It’s about planning ahead so the fun parts can happen without the headaches. When the layout, materials, drainage, and safety details all line up, you get a space people never want to leave.
At Serenity Landscape Group, we’ve spent over two decades helping Chicago-area homes and businesses turn outdoor spaces into places people love. From design to installation, we handle the whole process so you can focus on the s’mores. Ready to start? Get a free estimate or call us at (630) 359-5139, and let’s build your backyard gathering spot together.
FAQs
Q: How much space do you need for a fire pit area with built-in seating?
A: It depends on the fire pit model, fuel type, local rules, and the manufacturer’s instructions, so start with the manual. Plan for safe distance from the flame, comfy legroom, and a clear walkway behind the seats. The NFPA also advises keeping the pit at least 10 feet from anything that can burn.
Q: Is a gas or wood-burning fire pit better for built-in seating?
A: Neither wins every time, so it comes down to your lifestyle. Wood gives you that classic crackle but means sparks, smoke, and ash cleanup. Gas gives you easy, controllable flames and no ash, but needs a compatible burner and code-compliant installation.
Q: Do I need a permit to install a built-in fire pit or gas line?
A: Often, yes, but it varies by town. Fire restrictions, building permits, fuel-gas permits, and HOA rules may all apply, and tall seat walls can count as retaining walls. Check with your local office first, and use qualified installers for any permanent gas connection.
Q: How do you drain a sunken fire pit area?
A: Sunken designs need a clear drainage plan from the start, since they can collect water like a bowl. A professional can set a compacted base, proper grading, and a drainage path or dry well to carry water away from the pit and any gas parts.
Q: How much does a fire pit patio with built-in seating cost?
A: Costs vary widely by region and design. One 2026 source estimates installed paver patios at roughly $12 to $25 per square foot, and another suggests about $5,000 to $12,000 for a fire pit project with patio and seating in some areas. Ask for itemized local bids that include excavation, drainage, seating, fuel work, and permits.