Key Takeaways
-
Plan the traffic flow before choosing finishes, since moving drains or posts after construction is costly.
-
Split the pavilion into four zones: dining, circulation, service, and landscape, and keep the main walking route direct and free of obstacles.
-
Allow about 12 to 15 square feet per guest and 18 to 24 inches of pull-back space behind chairs, with wider aisles on main routes.
-
Keep accessible routes at least 36 inches wide with firm, slip-resistant surfaces, and make at least 5% of seating (minimum one) accessible.
-
Scatter accessible tables throughout the pavilion rather than grouping them in one corner so every guest gets the same views and shade.
-
Use orientation, deciduous trees, and screens on the prevailing wind side to manage sun and wind, but keep airflow open for comfort and ventilation.
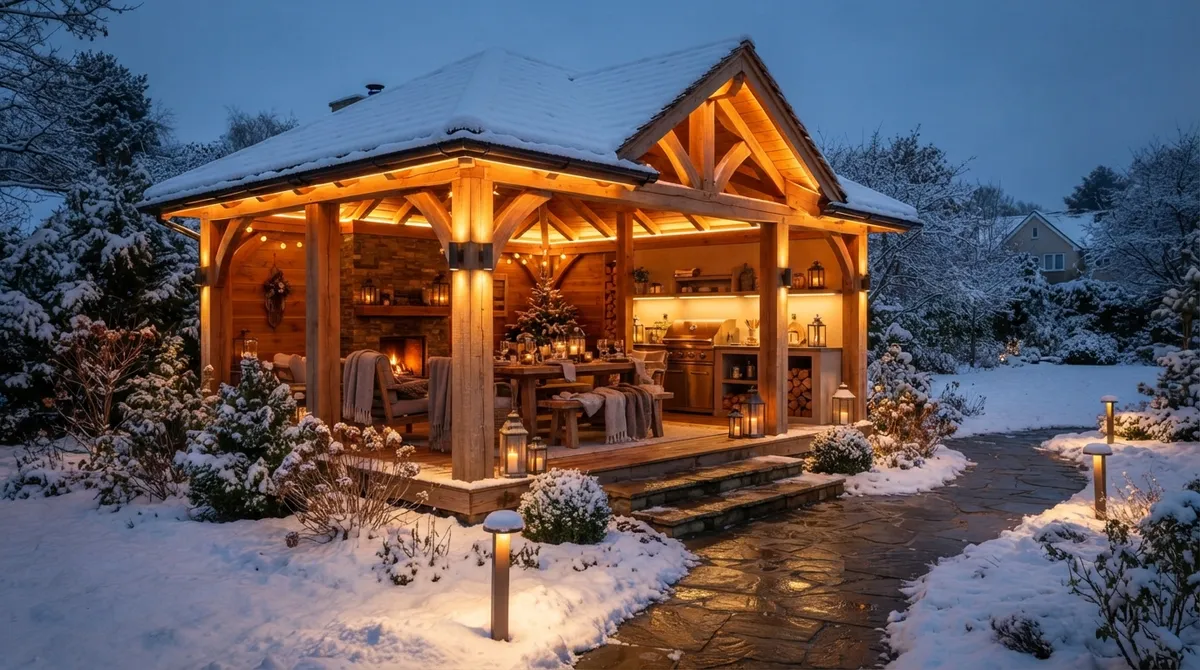
Picture this: a warm Chicago summer evening, string lights glowing overhead, and every table full of happy guests. Now picture the opposite. Servers squeezing past tight chairs, puddles near the entrance, and a wobbly path that nobody can roll a wheelchair across. The difference between those two scenes is almost always the plan.
A smart pavilion layout for outdoor dining does more than fit tables under a roof. It guides people through the space, keeps servers moving, handles rain and wind, and welcomes every guest. Whether you run a restaurant, manage a commercial property, or want an amazing backyard dining spot, the same basics apply.
In this friendly guide, we walk through the steps landscaping pros use in 2026 to plan a dining pavilion that works. You will learn how to read your site, set up zones, size tables, meet accessibility rules, pick surfaces, and manage weather. Let’s get started!
Why Layout Matters More Than the Structure Itself
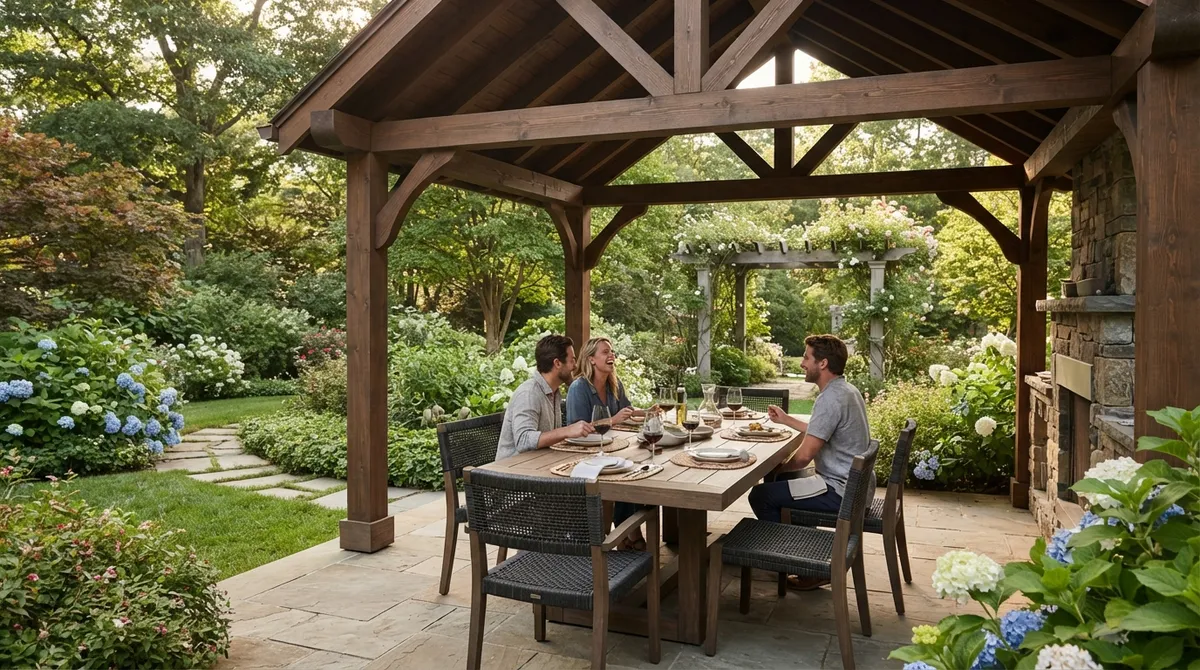
It is easy to fall in love with a beautiful roofline. But the roof is only part of the story. A great dining pavilion is a mix of comfortable seating, smooth traffic flow, safe surfaces, and smart landscaping.
When the layout is right, guests feel relaxed and servers work faster. When it is wrong, even a gorgeous pavilion feels cramped and awkward. Good planning also protects your budget, because moving a drain or a post after construction is costly.
At Serenity Landscape Group, we have spent over two decades designing outdoor spaces across the Chicago area. The lesson we repeat most often is simple: plan the flow first, then pick the finishes.
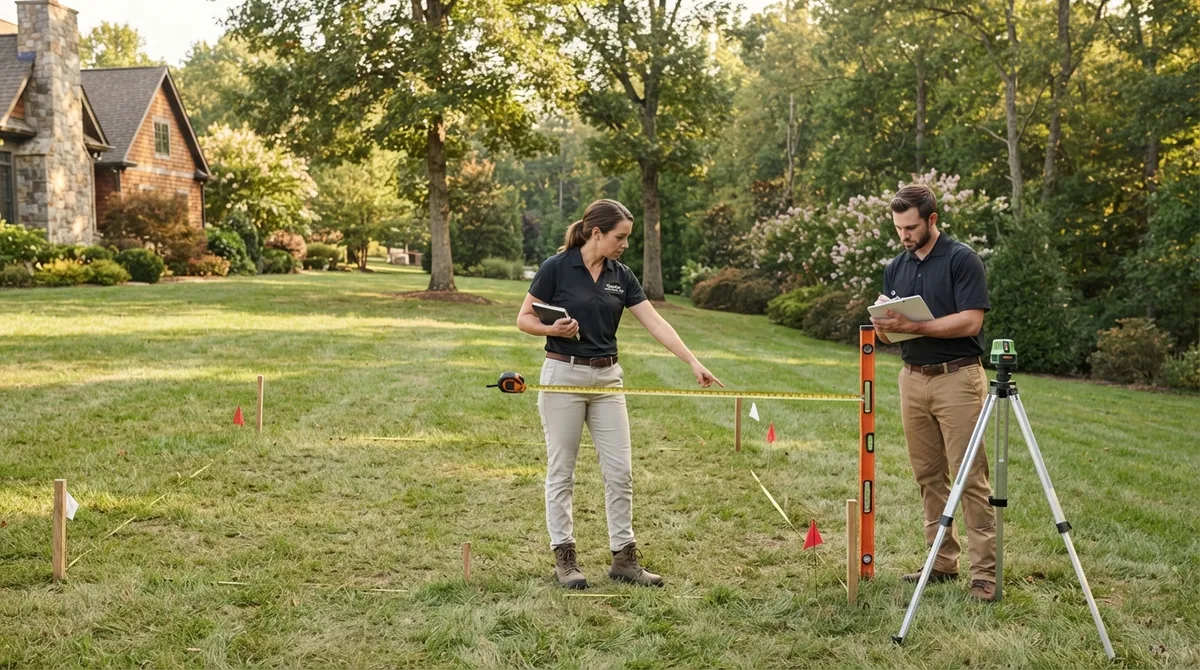
Step 1: Start With a Thorough Site Assessment
Before you draw a single table, get to know your site. A walk-through with a notebook and a tape measure will save you headaches later.
Here is what to check:
- Dimensions: Measure the available dining area and any limits like property lines or setbacks.
- Slopes and drainage: Note where water flows after rain and where it pools.
- Sun and wind: Track where the sun hits during lunch and dinner, and which way the wind usually blows.
- Connections: Map the routes to the building, kitchen or service door, parking, restrooms, and utilities.
Chicago-area sites often have heavy clay soil and strong seasonal swings. That makes drainage planning extra important. If your lot has a noticeable grade, you may need a retaining wall to create a flat, usable dining pad.
Step 2: Divide the Plan Into Clear Zones
The easiest way to organize a pavilion layout for outdoor dining is to split it into four zones. Think of them as puzzle pieces that must fit together.
- Dining zone: Where tables, chairs, and booths sit.
- Circulation zone: The paths guests and staff use to enter, exit, and move around.
- Service zone: Server stations, trash, and supply access, kept near the kitchen door.
- Landscape zone: Planting beds, screens, and decor that frame the space.
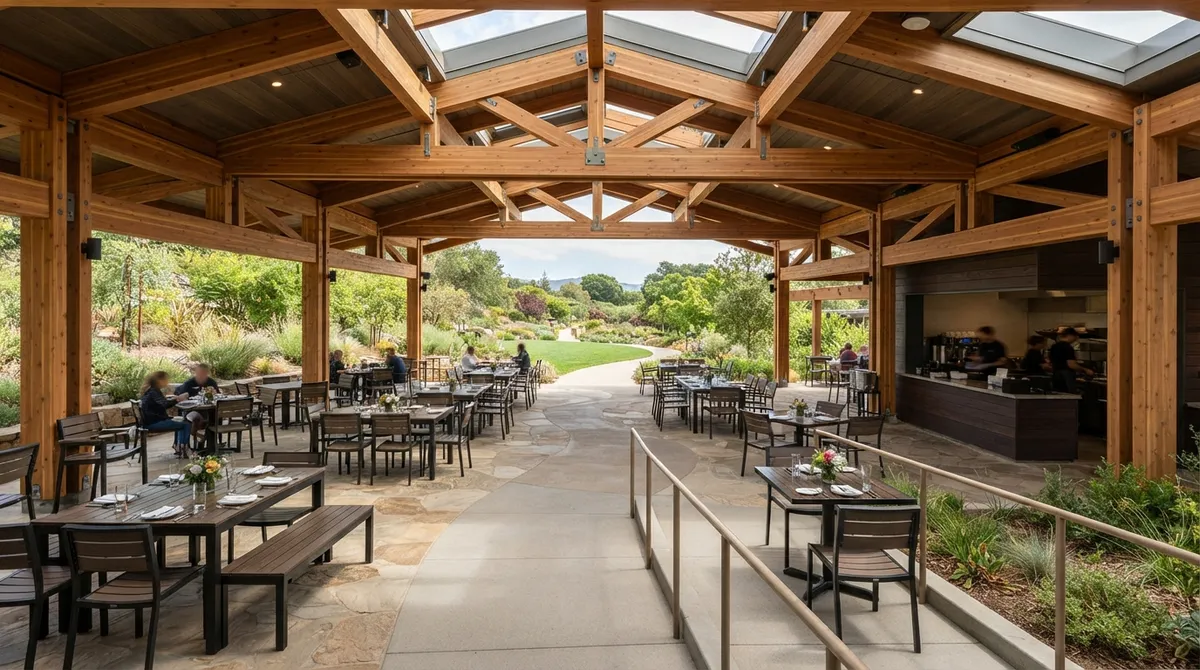
Keep the main walking route direct and open. Avoid putting planters, posts, heaters, or decor where they pinch the path or create trip hazards. A simple rule helps: if you would have to dodge it with a full tray, move it.
Step 3: Choose the Right Table Spacing
Spacing is where comfort lives. Too tight and guests feel crowded. Too loose and you waste revenue and lose that cozy feeling.
As a general guide, plan about 12 to 15 square feet per guest in a casual outdoor setting. Leave room behind each chair for people to slide out and for servers to pass. Many designers plan around 18 to 24 inches of pull-back space behind chairs, with wider aisles on main routes.
| Table Type | Typical Seats | Suggested Footprint (Including Chairs) |
|---|---|---|
| Two-top (square or round) | 2 | About 24–30 in. table, plan roughly 6×6 ft |
| Four-top (square or round) | 4 | About 36–42 in. table, plan roughly 8×8 ft |
| Six-top (rectangular) | 6 | About 30×72 in. table, plan roughly 8×11 ft |
| Banquette or booth run | Varies | Plan 24–30 in. per guest along the bench |
These numbers are starting points. Your local fire and building codes may set exact aisle widths and occupancy limits, so always confirm before you finalize the plan.
Step 4: Build In Accessibility From Day One
Great outdoor dining welcomes everyone. In the United States, the ADA requires an accessible route to restaurant dining areas, including outdoor ones. It is much easier and cheaper to plan this at the start than to fix it later.
Here are the key points from the Access Board guidance on accessible routes:
- Accessible routes generally need at least 36 inches of clear width. A short narrowing to 32 inches is allowed in limited cases, such as a brief gap between obstacles.
- Surfaces must be firm, stable, and slip resistant.
- The running slope of a walking surface is generally limited to 5% (1:20), with a cross slope of no more than 2% (1:48).
- Where fixed dining surfaces are provided, at least 5% of seating spaces, and no fewer than one, must be accessible.
- Accessible dining surfaces are 28 to 34 inches high and need at least a 30 by 48 inch clear floor space for a forward approach, with knee and toe room.
Scatter the accessible tables around the pavilion rather than hiding them in one corner. That way, every guest has the same great choices of view, shade, and atmosphere. For full details, review the ADA Title III small business primer and talk with your local building department.
Step 5: Pick Paving and Flooring That Last
The ground under your pavilion does a lot of heavy lifting. It must feel good underfoot, resist slipping, handle chair legs, and drain well after a storm.
Consider these factors when you compare materials:
- Slip resistance: Rain, spills, and winter moisture all matter.
- Durability: Chicago freeze-thaw cycles are tough on weak surfaces.
- Maintenance: Think about snow removal, cleaning, and repairs.
- Heat: Some surfaces get hot in full sun.
- Drainage: Choose a surface that sheds water or lets it pass through.
Pavers are a favorite for dining pavilions because they are strong, repairable, and come in many looks. If you want to learn more about the benefits, see our guide on why landscape pavers work so well in Chicago. Pavers that are installed by a trained crew with a proper base last for decades, and you can look for contractors who follow ICPI Certified Installer standards.
One tip: choose a surface with a slightly textured finish and tight joints. This keeps heels, wheelchair casters, and table legs from catching.
Step 6: Plan Drainage So Puddles Never Win
Nothing ruins an outdoor meal like a damp floor or a muddy edge. Grade the site so water flows away from the pavilion and the building. Even a gentle slope helps, as long as it stays within accessibility limits.
Coordinate your paving, drains, and planting beds so they work together. Poor planning here can cause ponding, erosion, and mulch washing onto the walking surface. In areas with persistent wet spots, a dry well installation can send runoff safely underground.
Also check local stormwater rules. Larger paved areas may need to meet requirements for runoff, and your landscape team can design around them.
Step 7: Use Orientation and Landscaping to Tame the Weather
The best pavilions feel comfortable because they work with the weather instead of fighting it. Use the roof, the direction the structure faces, and your plantings as a team.
Shade and Sun
In summer, afternoon sun from the west can heat up a dining space fast. Place the open side away from that low sun, or use deep roof overhangs and slatted shades. Deciduous trees on the west side give shade in summer and let light through in winter.
Wind and Rain
Find your prevailing wind direction and add a screen, hedge, or half-wall on that side. Do not seal the space completely, though. Good airflow keeps guests comfortable and helps with ventilation if you have heaters or cooking nearby.
For more ideas on staying cool, take a look at our post on shade structures that cool Chicago yards.
Plant With Purpose
Trees, tall grasses, and shrubs add beauty, privacy, and shelter. Just keep them from blocking accessible routes, sightlines, service access, or vents. Choose plants that stay tidy, drop little debris, and thrive in our climate. Our softscapes team can recommend plants that look great and stay low-maintenance. Working with a member of Landscape Illinois is another way to find trusted local expertise.
Step 8: Layer in Lighting, Heat, and Atmosphere
Once the bones are set, you can add the magic. Lighting changes the entire feel of a dining pavilion after dark. Soft, warm light on tables, low path lights for safety, and gentle accent lights on plants all create a welcoming glow.
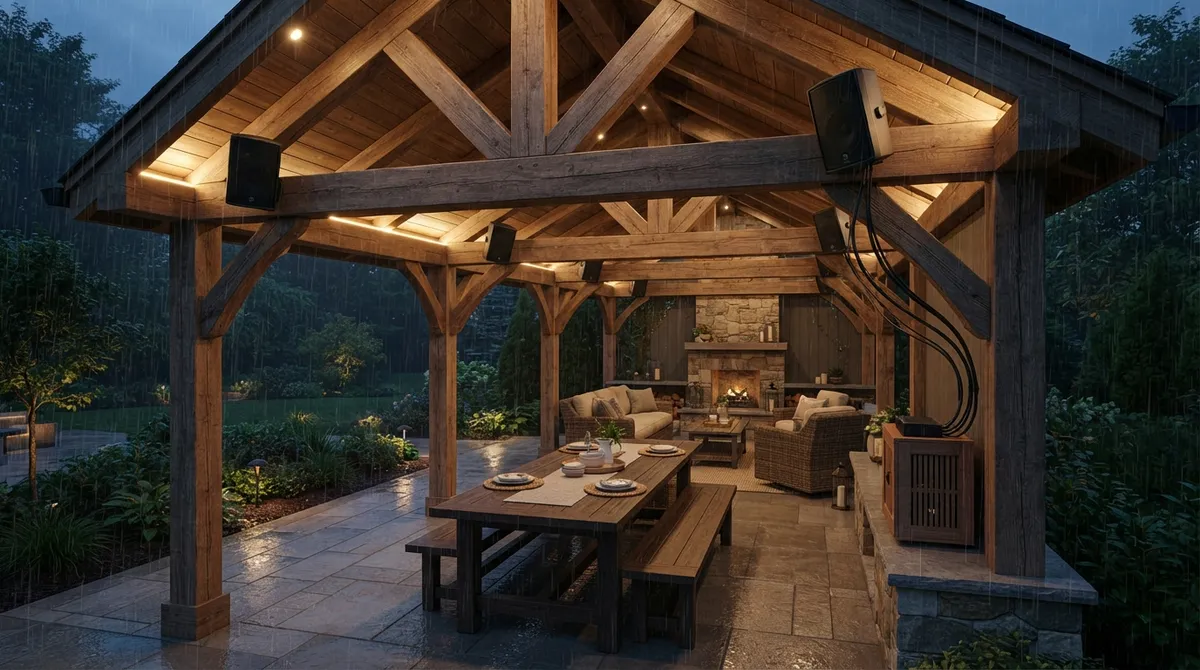
Plan wiring early, since cutting into finished paving later is messy. Many owners also add a fire pit or heaters to stretch the dining season into spring and fall. Keep a safe distance from the roof and seating, and check local fire codes. For ideas, explore our lighting and sound options, including subtle outdoor speakers for background music.
Step 9: Check Zoning, Codes, and Permits
This step is not the most glamorous, but it can save you from big surprises. Rules vary by city and town, and they often depend on what you are building.
Ask your local building department about:
- Zoning and setbacks for the pavilion
- Building and fire codes, especially for enclosed or attached structures
- Electrical or gas permits for lighting, heaters, or outlets
- Cooking equipment rules if you plan outdoor grilling or kitchens
- Stormwater requirements for new paved areas
A permanent, attached, or enclosed pavilion usually faces stricter rules than a freestanding open one. A good landscape contractor can help you gather the right documents and sequence the work.
Layout Ideas by Property Type
Different spaces call for different approaches. Here is how the same principles look in real life.
| Property Type | Layout Focus | Smart Add-Ons |
|---|---|---|
| Restaurant or cafe | Short service paths, flexible tables, accessible seating | Branded planters, string lights, seasonal color |
| Commercial property | Open circulation, tenant-friendly gathering areas | Biophilic plantings, durable paving, stormwater-friendly design |
| Suburban backyard | One long table or two zones for dining and lounging | Outdoor kitchen, fire pit, privacy screening |
| Urban patio or rooftop | Compact seating, wind control, light materials | Container gardens, heat-reducing surfaces |
If you are exploring structure types, our overview of pergolas and pavilions and our guide to what pavilions are and how they transform your space are great next reads.
Common Layout Mistakes to Avoid
After many projects, we see the same slip-ups again and again. Dodge these, and you are ahead of the game:
- Packing in too many tables and leaving no room for service or wheelchairs.
- Placing decor or planters in the main walking path.
- Ignoring drainage, which leads to puddles and ice.
- Forgetting the sun angle, so one side bakes at dinner.
- Saving all accessible seating for one corner.
- Skipping the permit check until the build has started.
For more cautionary tales, read our list of hardscaping mistakes to avoid.
Putting It All Together: A Simple Planning Checklist
Ready to move from ideas to action? Use this quick sequence to keep your project on track.
- Walk the site and record measurements, grades, sun, wind, and utilities.
- Sketch your four zones: dining, circulation, service, and landscape.
- Choose table sizes and test spacing with simple floor markings or tape.
- Confirm accessible routes, tables, and clearances.
- Select paving, drainage, and plantings that suit your site.
- Add lighting, heat, and finishing touches.
- Verify zoning, building, and fire code requirements, then apply for permits.
You do not have to figure all of this out alone. Our design and build process walks you through each stage, from the first sketch to the final reveal. You can also browse our gallery of our work for inspiration.
Ready to Build Your Dining Pavilion?
A thoughtful pavilion layout for outdoor dining turns an ordinary patch of ground into a place people love to gather. It starts with knowing your site, sets clear zones, respects accessibility, and uses smart surfaces and landscaping to handle the weather. Take it one step at a time, and the result will be a space that works beautifully and feels welcoming from the very first visit.
If you are ready to bring your vision to life, we would love to chat. Get a free estimate from Serenity Landscape Group, or call us at (630) 359-5139 to start planning your outdoor dining space today.
FAQs
Q: How do you plan a pavilion layout for outdoor dining?
A: Start by assessing your site for slopes, drainage, sun, wind, and utility access. Then split the plan into dining, circulation, service, and landscape zones, and test your table spacing before you build. Finish by checking accessibility rules and local permits.
Q: How much space should be allowed between outdoor dining tables?
A: A good rule is about 12 to 15 square feet per guest, with room behind chairs so people can slide out comfortably. Main aisles should be wider than side paths, and your local fire and building codes may set exact minimums.
Q: What is the minimum accessible route width for an outdoor dining pavilion?
A: Under ADA guidance, accessible routes generally need at least 36 inches of clear width. A short reduction to 32 inches is allowed in limited cases, like a brief gap between obstacles. Surfaces also need to be firm, stable, and slip resistant.
Q: How many accessible tables are required in an outdoor dining area?
A: Where fixed dining surfaces are provided, at least 5% of seating and standing spaces, and no fewer than one, must be accessible. Accessible tables are 28 to 34 inches high with clear floor space for a forward approach. Spreading them throughout the pavilion gives every guest great options.
Q: Do I need a permit to build an outdoor dining pavilion?
A: Most likely, yes, though it depends on your town and the design. Permanent, attached, or enclosed pavilions, and those with electrical, gas, or cooking equipment, often need stricter approvals. Check with your local building department before construction begins.