Key Takeaways
-
Use a three-layer plan: path and step lights for safety, soft ambient light around seating, and separate task lighting for serving or cooking areas.
-
Choose warm white light around 2700K or lower, since cooler bluish light looks harsh next to flames and dulls the fire's glow.
-
Keep fixtures out of seated eye level (about 3 feet) by using shielded, recessed, or under-cap lights aimed at the ground, walls, or trees.
-
Follow NFPA guidance of at least 10 feet between the fire pit and anything combustible, and keep children and pets at least 3 feet away from the fire.
-
Sit in every seat after dark and test each light for glare, adjusting any fixture that makes you squint.
-
Use outdoor-rated fixtures, clear fallen leaves regularly, and consider low-voltage hardwired systems with timers, since they perform more reliably in cold, damp weather.
There’s a special kind of magic on a crisp October night in Chicagoland. The air smells like woodsmoke and fallen leaves. A warm blanket is wrapped around your shoulders. And the fire is crackling away like it was made for this moment.
But here’s the catch. Fall days get short fast. By 5:00 p.m., your backyard can go from golden to pitch dark. If the path to your fire pit is shadowy, or the seating area is glaring in your guests’ eyes, the magic fades quickly. That’s why smart fire pit lighting ideas for fall evenings matter so much.
The good news? Great lighting is not about adding more light. It’s about adding the right light in the right places. In this friendly guide, we’ll walk through a simple layered plan that keeps the fire as the star, keeps everyone safe on damp, leafy paths, and keeps your space cozy from the first chilly night to the last one before winter.
Why Fall Changes Your Fire Pit Lighting Needs
Fall is different from summer. The sun sets earlier. Leaves pile up on walkways. Evening dew and rain make stone and pavers slick. And you’ll likely be outside longer, because that is when the fire feels best.
All of that means your lighting has more work to do than it does in July. A few things to keep in mind:
- Shorter days: You’ll use your lights nearly every evening, not just on special nights.
- Slippery surfaces: Wet leaves on pavers can be tricky, so steps and paths need clear light.
- Cooler temperatures: Some solar and battery lights perform worse in the cold, so check their operating-temperature specs.
- Changing scenery: Falling leaves can block fixtures, so you may need to clear them more often.
Think of your lighting as a safety net that also happens to look pretty. If you want to dig deeper into overall yard lighting, our guide on how to plan landscape lighting that wows after dark is a great place to start.
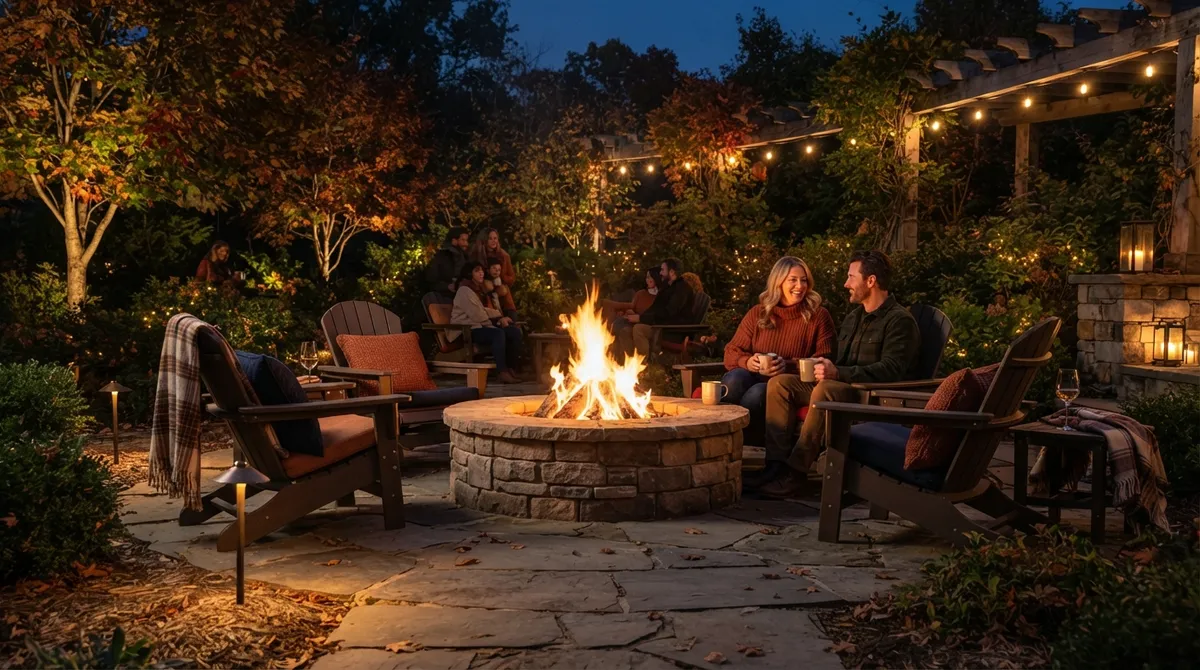
The Golden Rule: Let the Fire Be the Star
Here’s the one idea that will improve any fire pit space. Treat the fire as your focal point. Your lights are the supporting cast, not the headliner.
That means keeping surrounding light low, soft, and out of the way. If bright fixtures compete with the flames, the fire loses its glow and your guests lose that relaxed, campfire feeling. Bright lights can also create glare, which makes it harder to see the fire and your friends’ faces.
A good rule of thumb is to light the places people walk and gently light the places people sit. Leave the rest of the yard a little dim. Shadows are not a problem here. They are part of the charm.
Build a Three-Layer Lighting Plan
The best fire pit areas use layers, just like a good fall outfit. Each layer has a job. Together, they make the space safe, cozy, and beautiful.
Layer 1: Path and Step Lighting
This is your safety layer, and it’s the most important one. Guests need to see where they’re stepping from the back door to the fire pit, especially on damp, leafy evenings.
- Shielded path lights cast light downward onto the walkway without shining into eyes.
- Step lights and riser lights make every change in grade easy to see.
- Recessed paver lights sit flush in the hardscape for a clean, modern look.
If your walkway is stone or pavers, light can really make the texture shine. For ideas on beautiful routes to your fire, check out our post on walkway paver design.
Layer 2: Soft Ambient Light Around Seating
Once guests arrive, you want gentle light around the seating zone. This layer should be quiet and low. Think glow, not spotlight.
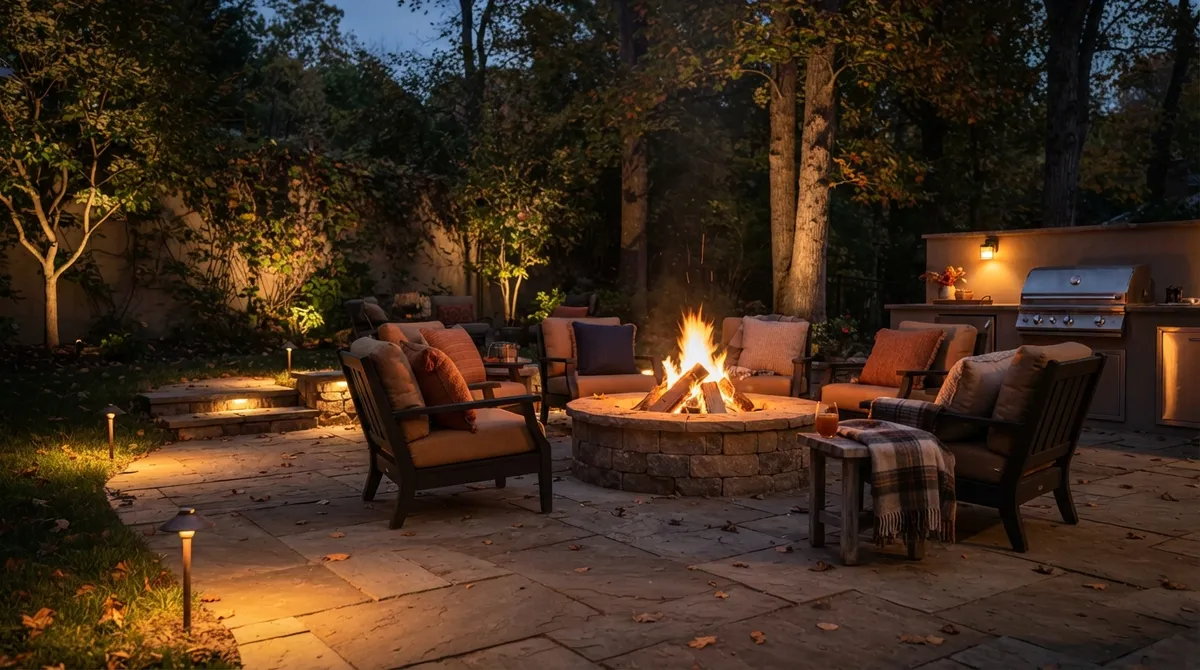
Great options include lights tucked under seat wall caps, soft downlights aimed at the ground, or low fixtures hidden in nearby plantings. If you have built-in seating, under-cap lighting is a lovely choice because it washes a soft line of light across the stone without showing the bulb at all. Planning a fire pit with seating built in? Take a peek at common built-in seating mistakes to skip before you start.
Layer 3: Optional Task Lighting
Task lighting is only for spots where people actually do something, like serving snacks, roasting marshmallows, or handling firewood. Keep it separate from your main lights so you can switch it off when you don’t need it.
A small, shielded light near a serving table or cooking area is plenty. That way, the cider pours smoothly and the s’mores don’t land in the dirt, but the rest of the space stays moody and calm.
Fire Pit Lighting Ideas for Fall Evenings That Really Work
Now for the fun part. Here are some of our favorite ways to light a fire pit space in autumn. Mix and match based on your yard and your style.
- Under-cap seat wall lights. A hidden strip of warm light under the cap of a seating wall gives a soft, floating glow that flatters stone and faces.
- Recessed paver lights. Small lights set into the patio or walkway guide guests without shining up into anyone’s eyes.
- Shielded path lights. Place them along the walk to the fire, spaced evenly so there are no dark gaps.
- Step and riser lights. Essential on any stairs or grade changes leading down to a sunken fire pit area.
- Downlighting from nearby trees. Soft moonlight-style lighting from above creates gentle dappled shadows on the ground and feels very natural.
- Uplighting on a feature tree or wall. A low, warm uplight on a tree with fall color adds depth beyond the fire circle.
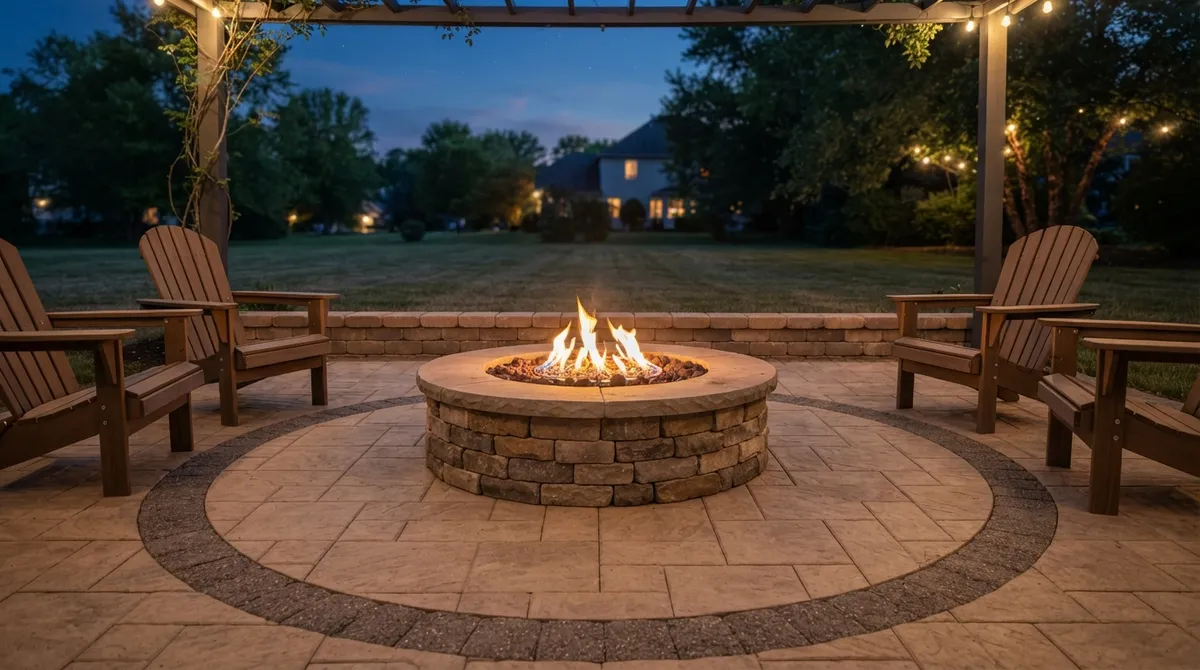
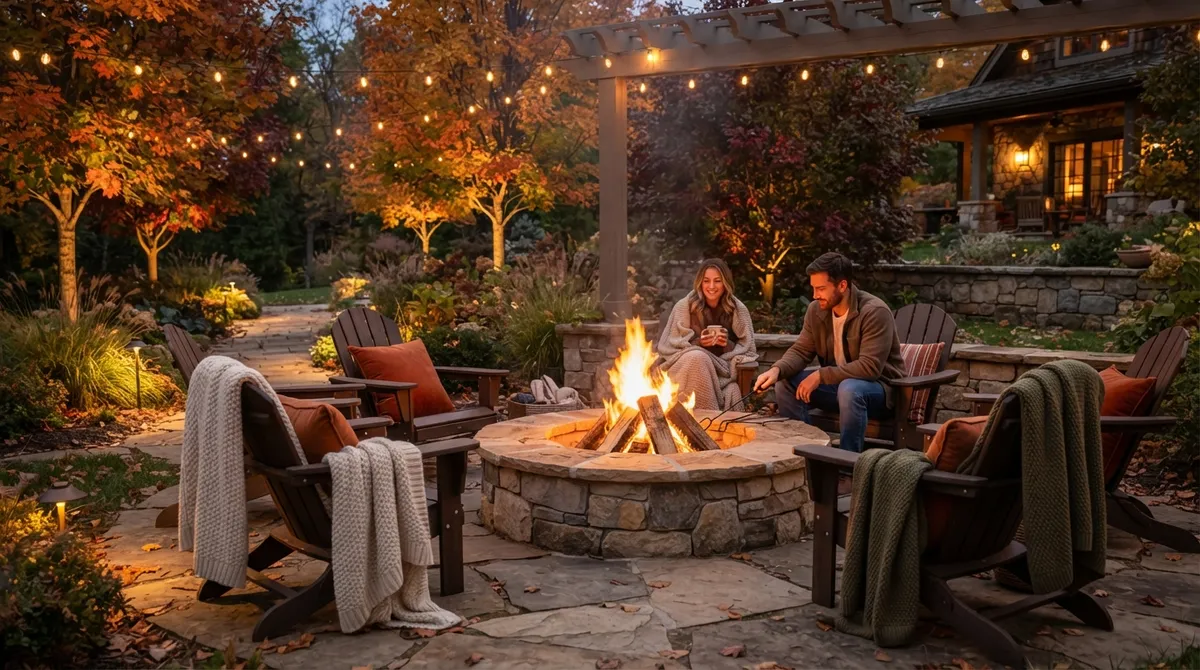
- Dimmable string lights on a safe structure. Strung from a pergola or posts at a safe distance, they add a festive glow (more on safety below).
Love the idea of lights overhead? A nearby structure makes it easy. Our post on pergola lighting ideas for shorter autumn days is full of cozy inspiration, and you can see how to blend the two in 11 smart ways to integrate a pergola with a paver patio.
Choose Warm Light for a Cozy Mood
The color of your light matters as much as where you put it. For a fire pit area, warm white is the way to go. Many landscape lighting pros recommend about 2700K or lower. That gives a soft, amber glow that blends beautifully with firelight.
Cooler, bluish light can feel harsh next to a fire. It makes the flames look dull and the space feel like a parking lot. Keep it warm and everything feels more welcoming.
Here’s a quick comparison to help you choose:
| Light Color | Approx. Temperature | Feel Next to a Fire | Best For |
|---|---|---|---|
| Extra warm white | 2200K–2700K | Cozy, amber, blends with flames | Seating areas, under-cap lights, string lights |
| Soft white | 2700K–3000K | Gentle and welcoming | Paths, steps, tree lighting |
| Neutral/cool white | 3500K and up | Crisp, can feel harsh | Rarely recommended for fire pit zones |
One more pro tip: use dimmers or separate controls. The fire changes brightness as it burns, and your lights should be able to change with it. Dimming lets you turn things up when guests arrive and way down when the flames are glowing.
Avoid Glare: Think About Seated Eye Level
Nothing ruins a fireside chat like a bright bulb right in your face. The fix is simple. Remember that seated eye height is about 3 feet, and aim or shield your fixtures so light never points at that level.
Here’s how to keep glare under control:
- Use shielded or hooded fixtures so the bulb is hidden from view.
- Aim lights down at the ground or up at walls and trees, not outward at seats.
- Choose recessed or under-cap lights that hide the light source.
- Test your setup after dark and sit in each seat to check for glare.
That last tip is our favorite. Grab a cup of cocoa, sit in every chair, and look around. If something makes you squint, adjust it. It takes just a few minutes and makes a big difference.
Keep Safety First: Clearances and Local Rules
Lighting near a fire is lovely, but it needs to be done with care. Fire safety comes first, always.
The National Fire Protection Association (NFPA) recommends placing fire pits outdoors and at least 10 feet away from anything that can burn. They also suggest keeping children and pets at least 3 feet from the fire. Your local rules or your fire pit’s instructions may ask for even more room, so always check those first.
Here’s what that means for your lighting plan:
- Keep cords and fixtures out of heat zones. Don’t run wires or place lights close to the flames.
- Avoid combustible decor. Dry leaves, paper lanterns, and fabric near the fire are a bad mix.
- Check string light placement. If hanging lights overhead, keep them well away from the fire and any rising sparks and heat.
- Check local fire restrictions and permits. Rules differ across Chicago suburbs, so confirm yours before building or burning.
- Never leave a fire unattended. Keep water or another extinguishing method close, and make sure the fire is fully out before you head inside.
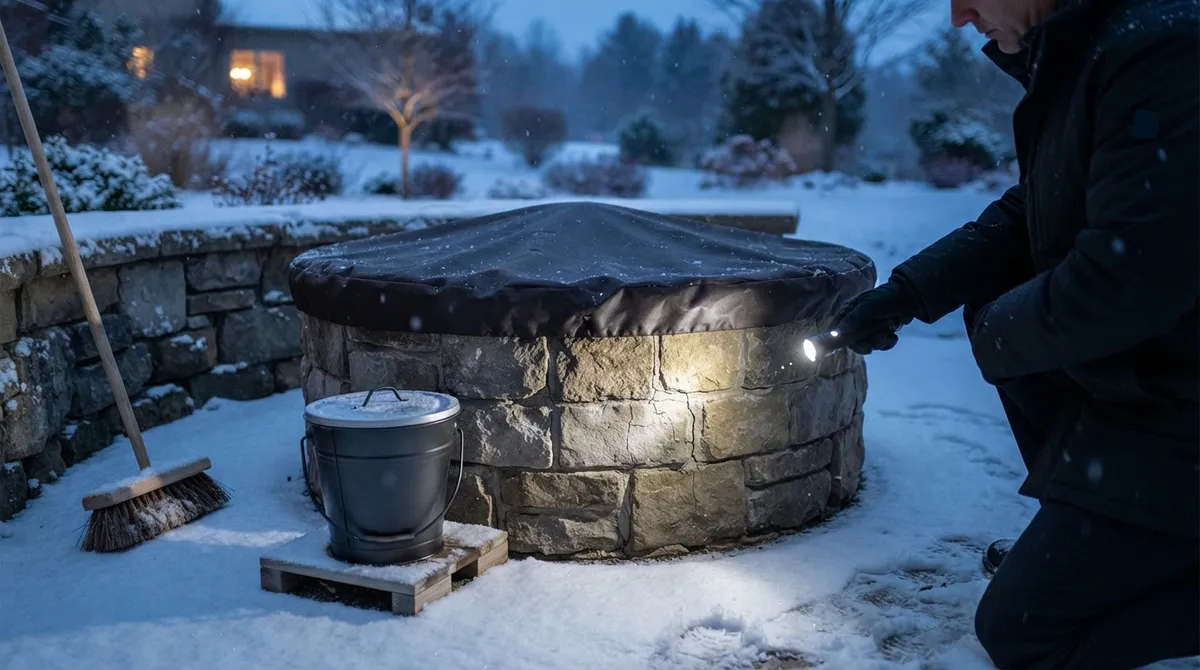
It’s also smart to skip burning on windy or very dry days. If you’d like a quick walk-through before the season starts, our fall fire pit inspection checklist covers the basics. For general guidance on professional standards, you can also look to organizations like Landscape Illinois.
Weatherproof Your Lighting for Damp, Chilly Nights
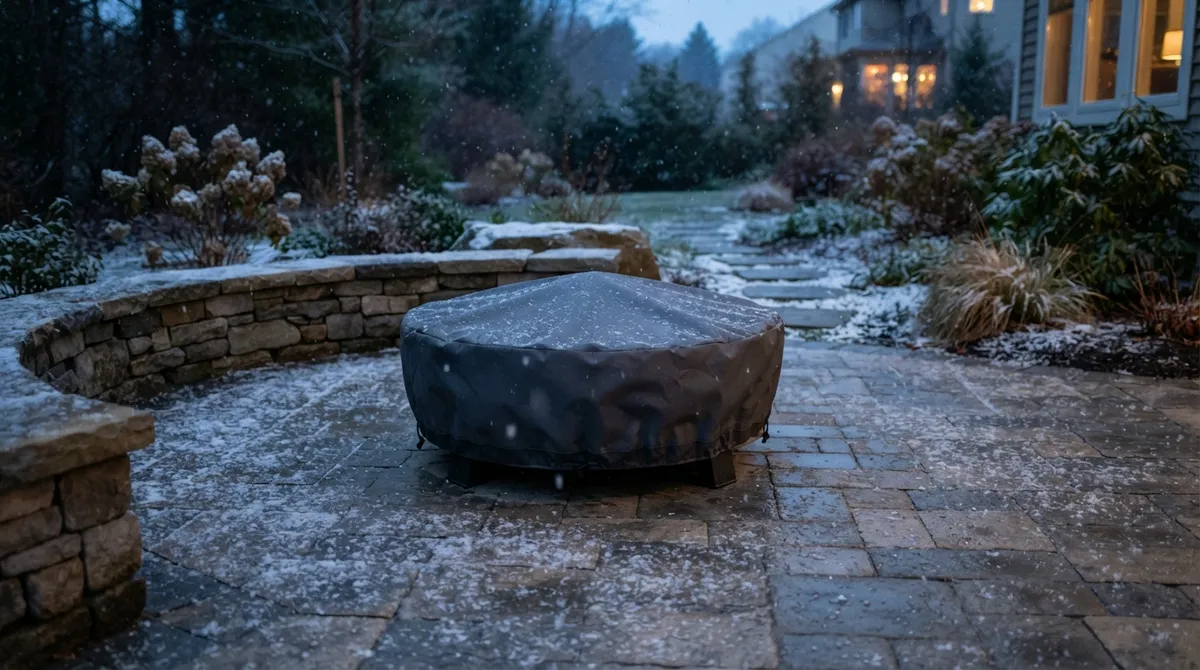
Fall weather can be tough on outdoor electronics. Rain, dew, falling leaves, and cold snaps all test your equipment. A little prep goes a long way.
- Choose outdoor-rated fixtures. Look for products made for wet locations, not indoor lights used outside.
- Inspect connections. Check that wire connectors and transformers are sealed and rated for outdoor use.
- Check solar and battery specs. Cold weather can shorten run times, so look at the operating-temperature range on the package.
- Clear leaves regularly. Debris can cover fixtures, trap moisture, and block light.
- Test before the cold sets in. Walk your yard after dark in early fall and fix any dim or flickering spots.
Low-voltage hardwired systems tend to be the most dependable for fall and winter use. They run steady in the cold and can be put on timers or smart controls so your lights come on right when the sun drops.
Lighting Ideas by Fire Pit Style
Every fire pit setup is a little different. Here’s how to tailor the lighting to your layout:
| Fire Pit Style | Best Lighting Approach | Watch Out For |
|---|---|---|
| Sunken fire pit | Step lights, riser lights, and under-cap wall lights | Dark steps and grade changes |
| Paver patio fire pit | Recessed paver lights and shielded path lights | Glare bouncing off light-colored stone |
| Fire pit with built-in seating | Under-cap seat wall lights, soft downlights | Light shining at seated eye level |
| Lawn or turf fire area | Shielded path lights and tree downlighting | Keep fixtures out of heat and dry grass |
| Fire pit near a pergola | Lights on the structure, kept at a safe distance | Heat and sparks rising toward overhead lights |
If you’re still dreaming up your fire pit design, our roundups of 12 fire pits that transform backyards in 2026 and 13 fire pit paver patio ideas are great sources of inspiration. And if you’re curious about budget, take a look at custom fire pit installation cost factors in 2026.
Plan Lighting Into the Design from Day One
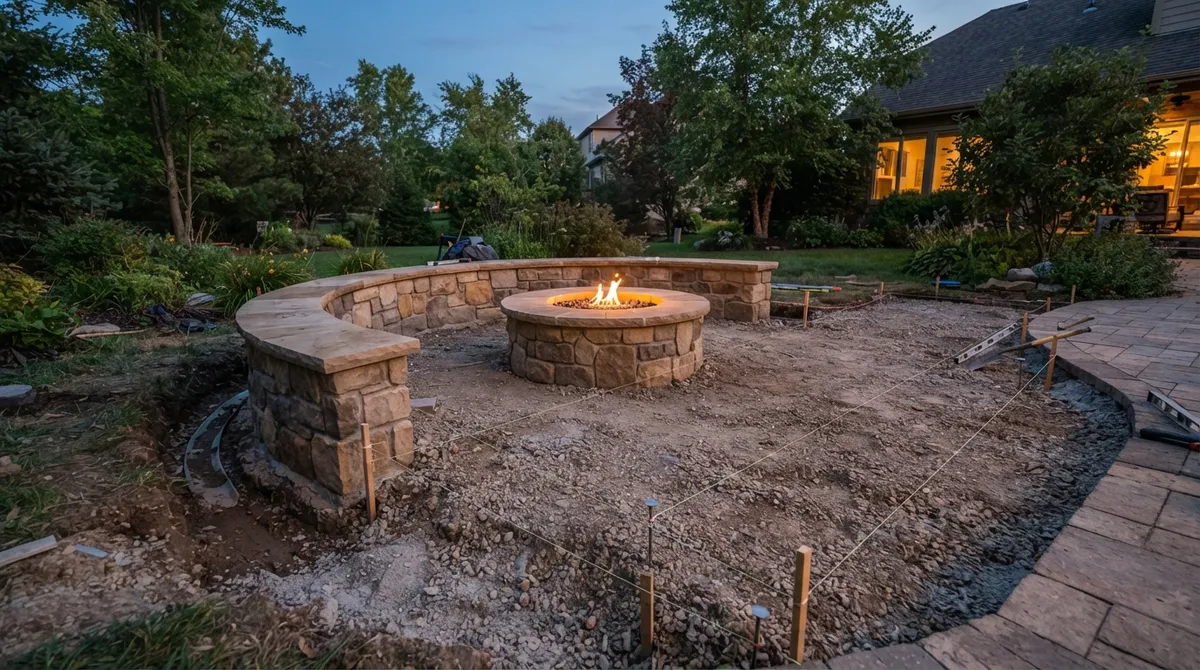
Here’s something we’ve learned over two decades of building outdoor spaces around Chicago: lighting works best when it’s planned before the stone is set. When wiring runs under pavers and fixtures hide inside seat walls, the result looks seamless and works for years.
Adding lights after the fact can still be done. But planning ahead means cleaner lines, fewer visible wires, and fixtures placed exactly where they do the most good. It also helps you avoid a common problem, which is placing lights too close to heat or in the way of seating.
If you’re a homeowner, a builder, or a business owner with a patio or restaurant space, the same principle applies. A well-lit fire feature draws people in, keeps them comfortable, and keeps them coming back. You can learn more about our approach in our guide to how outdoor lighting transforms a Chicago yard, and if you’re after a comfortable all-weather spot, see how to light a pavilion for cozy winter evenings.
For quality paver work that holds up to lighting installation and Midwest weather, it also helps to know your installer follows industry standards, like those promoted by the ICPI.
A Simple Fall Lighting Checklist
Before your first big fire of the season, run through this quick list:
- Walk the path from your door to the fire pit after dark. Can you see every step?
- Sit in each seat. Do any lights shine directly into your eyes?
- Confirm your bulbs are warm white, around 2700K or lower.
- Check that all cords and fixtures sit well outside the heat zone.
- Clear leaves off fixtures and walkways.
- Test dimmers and timers.
- Review local fire rules and keep extinguishing materials close by.
That’s it. Ten minutes of prep, and you’re ready for a season of cozy nights.
Ready to Light Up Your Fall Fire Pit Space?
A beautiful fire pit area isn’t just about the fire. It’s about how safe, warm, and welcoming the whole space feels once the sun goes down. With a layered plan, warm light, glare control, and a little weatherproofing, you can enjoy your backyard long into autumn.
We’d love to help you bring your vision to life. At Serenity Landscape Group, we’ve spent over 20 years designing and building outdoor spaces across the greater Chicago area, from fire pits and pavers to lighting and sound. Get a Free Estimate today, or call us at (630) 359-5139 to start planning your cozy fall retreat.
FAQs
Q: How do you light a fire pit seating area without creating glare?
A: Use shielded or recessed fixtures and aim them at the ground, walls, or trees instead of toward seats. Since seated eye height is about 3 feet, keep bare bulbs out of that zone. Under-cap lights and low downlights are great choices, and a quick test from every seat will catch any trouble spots.
Q: What color temperature is best for fire pit lighting?
A: Warm white light around 2700K or lower is a popular choice for fire pit areas. It blends with the glow of the flames and creates a relaxed, cozy mood. Cool or bluish light can feel harsh next to a fire, so it’s best to avoid it here.
Q: Can you put string lights over a fire pit?
A: You can use string lights near a fire pit area, but they should stay well away from the flames, sparks, and rising heat. Keep cords and bulbs outside the clearance zone listed in your fire pit’s instructions and local codes. When in doubt, hang them over the seating area at a safe distance rather than directly above the fire.
Q: How far should lights and landscaping be from a fire pit?
A: NFPA guidance recommends keeping fire pits at least 10 feet from anything that can burn, and keeping children and pets at least 3 feet from the fire. Your local rules or the manufacturer’s instructions may call for more space, so check both before you plan your layout.
Q: Where should path lights go around a backyard fire pit?
A: Place shielded path lights along the walkway leading to the fire pit, spaced evenly so there are no dark gaps. Add step lights at any stairs or changes in grade. Keep fixtures and wires out of the heat zone near the fire itself.