Key Takeaways
-
Plan your fire pit in late fall or winter: landscapers book up fast in spring, and permits, HOA reviews, and materials like stone or gas parts can take weeks.
-
Check local fire codes, burn bans, HOA rules, and permit requirements before finalizing a design, since gas lines often need licensed trades and inspections.
-
Keep the fire pit at least 10 feet from anything that can burn, and keep children and pets at least 3 feet from flames, per NFPA guidance.
-
Choose fuel and design together: wood-burning pits need ash cleanup and spark control, while gas pits offer instant startup and are often easier under burn bans.
-
Build on a level, noncombustible base such as compacted pavers or stone with good drainage, never grass, mulch, or wood decking, to prevent settling in freeze-thaw climates.
-
Budget beyond the pit itself: above-ground pits run about $200–$1,500 and in-ground pits about $1,000–$3,000, but patios, gas lines, and lighting can raise totals significantly.
It’s the end of October, and the first real chill is settling over Chicagoland. You might be sitting on the patio in a heavy sweater, wishing you had a warm fire to gather around. Here’s a little secret: the smartest time to start planning a fire pit project for spring is right now.
Good fire pits don’t happen by accident. They come from careful thinking about your yard, your budget, local rules, and how you want to spend your evenings. Landscapers book up fast once the weather warms, and the ground needs to thaw before any digging begins.
In this guide, we’ll walk through every step in plain language. You’ll learn how to pick a spot, check the rules, choose between wood and gas, set a realistic budget, and get your timeline right. Whether you have a big suburban backyard or a cozy city patio, you’ll finish this article feeling ready to make a plan. Let’s get started!
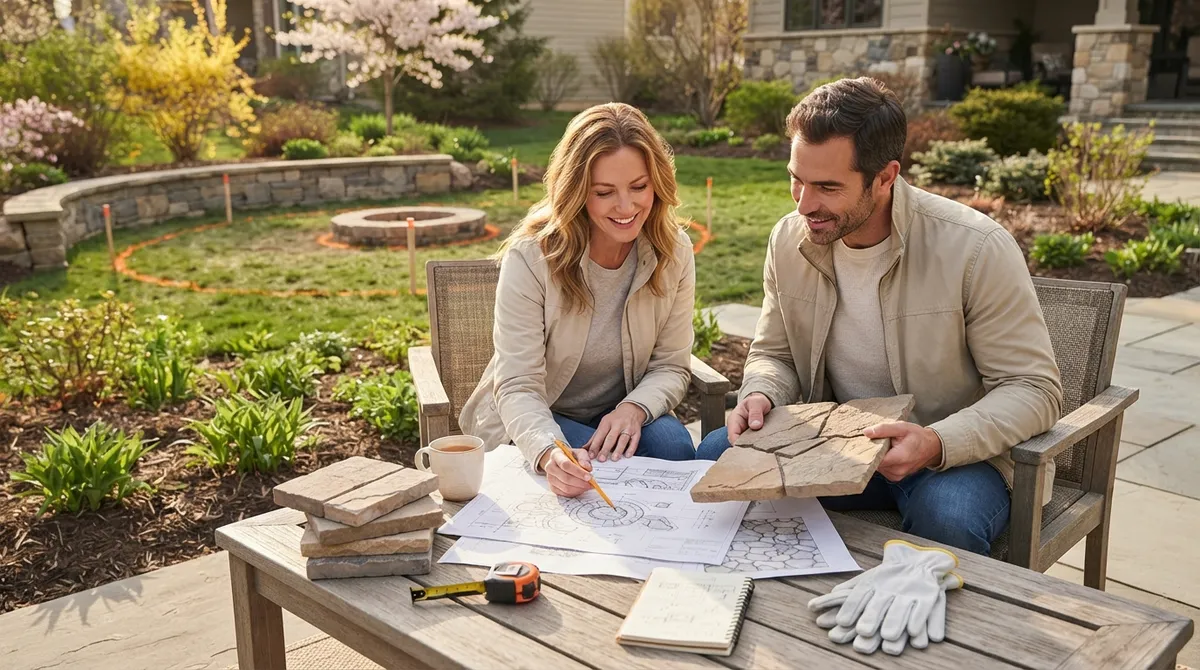
Why Start Planning a Fire Pit Project for Spring Now?
Spring is a busy season for landscaping. Homeowners, builders, and business owners all want projects done at the same time. Starting your plan in late fall gives you a real head start.
Here are the big reasons to plan early:
- Better contractor availability. Early planners get first pick of start dates.
- Time to check permits and rules. Some towns and HOAs take weeks to respond.
- Time to pick materials. Stone, pavers, and gas parts can have lead times.
- A smoother budget. You can compare options without feeling rushed.
Keep in mind that weather matters too. Frozen or soggy ground can delay digging and base work. Talk with your contractor about your hoped-for first-use date so you both stay realistic.
Step 1: Study Your Yard Before You Pick a Design
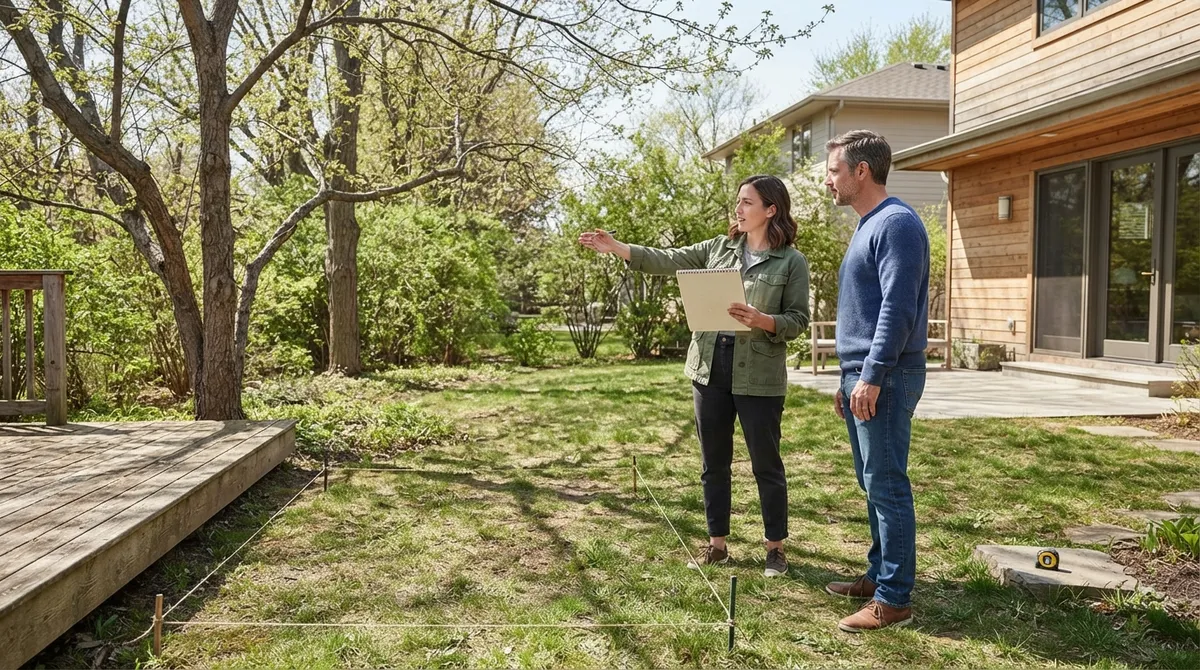
Before you fall in love with a style, take a slow walk around your yard. The best fire pit designs start with the site itself. Look at these things first:
- Slope and drainage. Find a level, stable spot. Water that pools near a fire pit can cause settling and mess.
- Wind. Notice which way the wind usually blows. Smoke follows wind, and nobody wants a face full of it.
- Nearby structures. Check the distance to your house, deck, fence, shed, and garage.
- Trees and branches. Look up! Low branches and overhanging limbs are fire risks.
- Utilities. Know where gas, water, electric, and irrigation lines run before anyone digs.
- Access. Make sure people can walk in and out easily, and that you can reach the area with water if needed.
Walk the yard at different times of day. Notice where you’d actually like to sit in the evening. A fire pit that’s technically allowed but awkward to reach will rarely get used.
Step 2: Check Local Rules, Permits, and HOA Guidelines
This step is easy to skip, but please don’t! Rules about fire pits vary a lot from town to town. Some places treat portable fire pits one way, permanent built-in pits another way, and gas appliances another way still.
Before you finalize a design, check these items:
- Municipal fire codes and burn bans
- Permit rules for permanent or in-ground pits
- Rules for gas lines, which may need a licensed trade professional and inspection
- Homeowners association (HOA) restrictions on size, style, and location
- Condo or building rules if you have a rooftop or shared patio
Urban condo owners should pay extra attention here. Many buildings and city codes limit open flames on rooftops and balconies. A gas or electric fire feature may be the only option, so ask early.
The National Fire Protection Association (NFPA) recommends placing fire pits at least 10 feet from anything that can burn. Your local code, fire official, or product manual may require more, so always verify the exact requirement for your site.
Step 3: Choose Your Fuel and Design Together
Fuel type shapes almost everything else: your base, your budget, your maintenance, and even your permit needs. So decide on fuel and design at the same time.
Wood-Burning Fire Pits
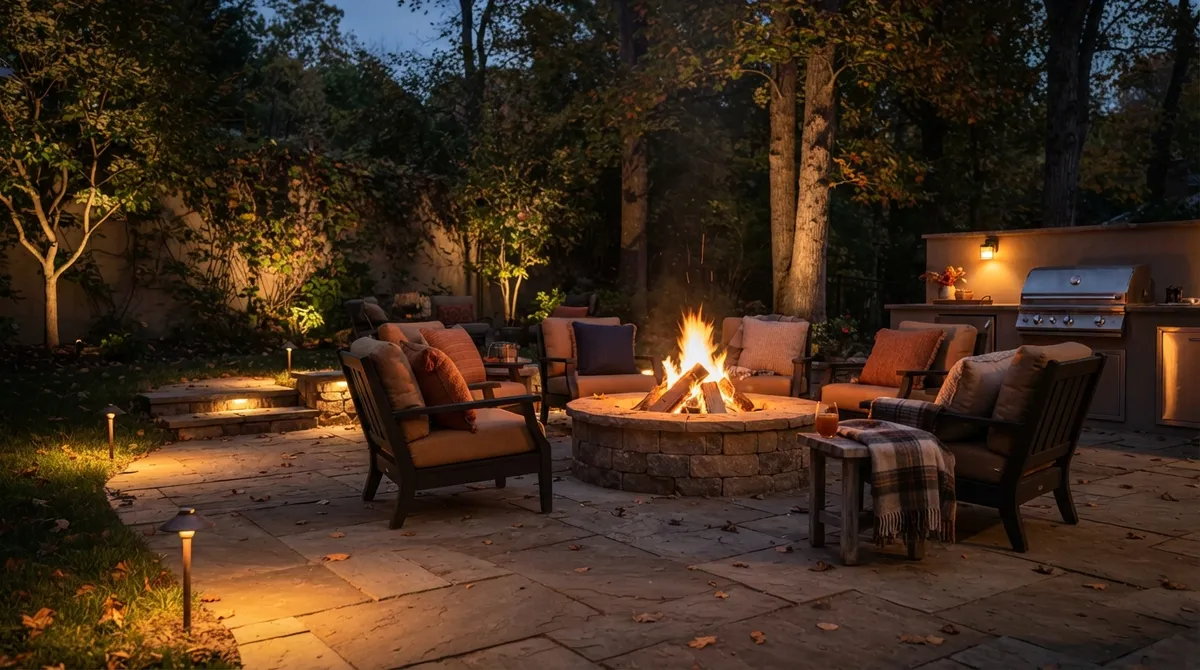
Wood fires crackle, smell wonderful, and feel classic. They also need more care. You’ll want a noncombustible base, a spark screen, and a plan for disposing of ash. Only burn clean, dry, seasoned hardwood.
Gas Fire Pits
Gas pits light with a switch or a button and shut off just as easily. They’re clean, steady, and often easier to use in places with burn bans or tight rules. The tradeoff is that gas lines usually require licensed work, permits, and inspections.
| Feature | Wood-Burning | Gas |
|---|---|---|
| Ambiance | Crackling, smoky, traditional | Clean, steady flame |
| Startup | Takes time and effort | Instant |
| Cleanup | Ash removal needed | Minimal |
| Permits | Varies by location | Often needed for gas line work |
| Burn-ban friendly | Often restricted | Often allowed, but verify locally |
| Installation | Simpler | May need licensed trades |
Not sure which feels right? Browse our fire pit options or get inspired by 12 fire pits that transform backyards in 2026.
Step 4: Build a Safe, Solid Base
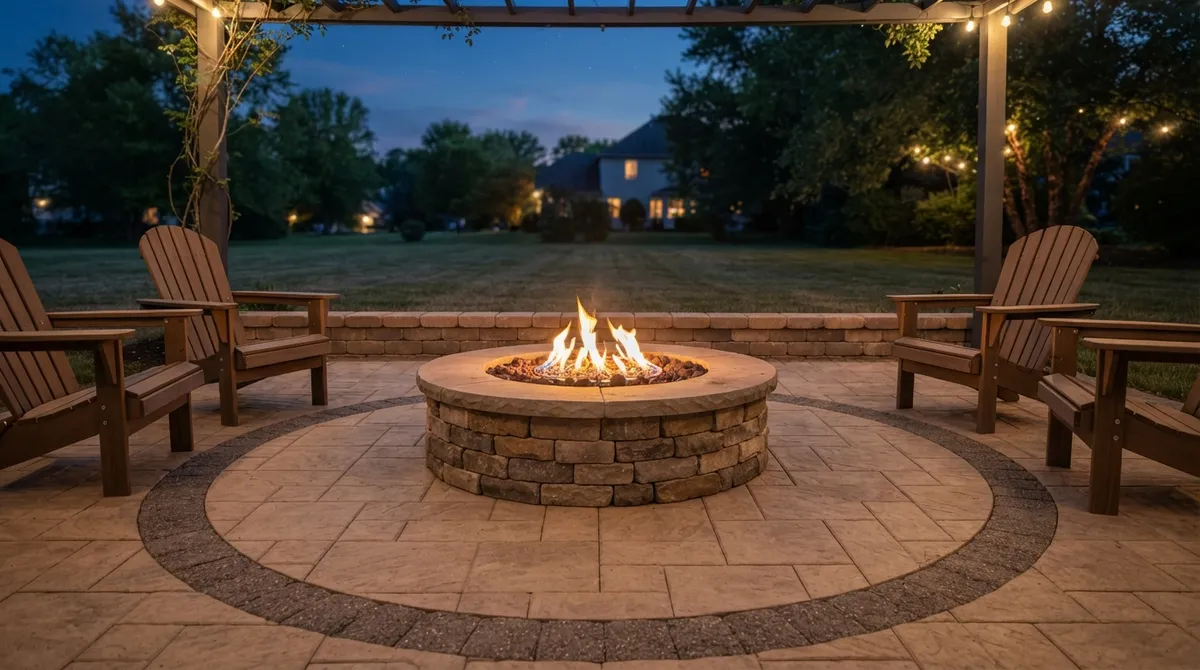
What’s under your fire pit matters just as much as the pit itself. You need a stable, noncombustible surface that can handle heat and stay level over time. Grass, wood decking, and mulch are not safe choices underneath a fire.
Many homeowners pair their fire pit with a patio. Pavers are a popular choice because they’re strong, heat-tolerant, and flexible in design. If you want the full picture, check out 13 fire pit paver patio ideas that transform backyards in 2026, or read our guide on how to design a stunning paver patio for your yard.
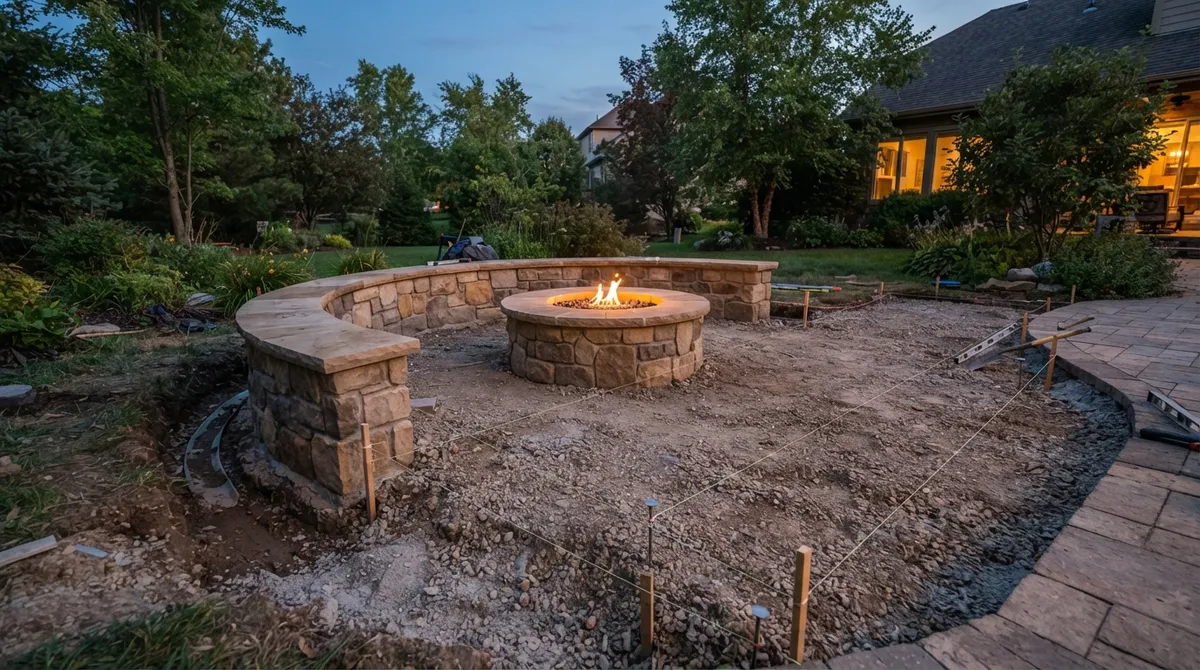
Here in the Chicago area, our freeze-thaw cycles can shift poorly prepared bases. A well-built, compacted base with proper drainage helps your patio and fire pit stay level for years. Working with an installer who follows industry standards, such as an ICPI certified installer, can add peace of mind.
Step 5: Plan Seating, Circulation, and Comfort
A fire pit is really a gathering place. So think about the people around it, not just the flame.
Keep these design tips in mind:
- Leave room to move. Plan clear paths so guests can walk around seating without bumping into the fire.
- Space your seating. Chairs should be close enough to feel cozy but far enough to stay comfortable.
- Add built-in seating walls. They look great and can double as extra seats for a crowd.
- Think about wind and views. Face seating toward the best view, with the wind at your back when possible.
- Plan for kids and pets. NFPA suggests keeping children and pets at least 3 feet away from outdoor fires.
If your yard has a slope, a retaining wall can create a flat, usable area for your fire pit. Learn more in what a retaining wall is and whether you need one.
Step 6: Tie the Fire Pit Into Your Whole Landscape
The best fire pit areas feel like part of the yard, not an afterthought. That’s where a full landscape plan really shines.
Think about how these pieces work together:
- Lighting. Soft path and accent lights make evenings safer and more inviting. See our ideas for lighting and sound.
- Shade and shelter. A pergola or pavilion nearby gives you a spot to relax before the fire is lit.
- Plantings. Smart softscapes add color and privacy, but keep tall or dry plants safely away from the flame.
- Drainage. Make sure water flows away from the patio and seating area.
For a bigger-picture look, read how to create a landscape design that transforms your space. And if you’re weighing different project types, our article on landscaping vs. hardscaping can help you decide where to invest first.
How Much Does a Fire Pit Project Cost?
Costs vary a lot based on design, fuel, site work, and location. Think of the numbers below as starting points, not promises. A site-specific estimate is the only way to know your real price.
| Project Type | Typical Reported Range | What Can Raise the Cost |
|---|---|---|
| Above-ground fire pit | About $200–$1,500 (Angi, 2026) | Premium materials, size |
| In-ground fire pit | About $1,000–$3,000 (Angi, 2026) | Excavation, drainage |
| Broad installed range | About $200–$2,200, near $850 average (FeeGuides, 2026) | Fuel type, site prep |
| Built-in gas with custom hardscape | Roughly $5,000–$12,000 or more (one 2026 regional guide) | Gas lines, patio, permits, labor |
Notice how fast the total can climb when you add a patio, seating walls, gas lines, and lighting. That’s normal! Chicago-area labor costs, permits, and custom stonework can push totals above national averages.
To avoid surprises, read 7 secrets to a landscape quote that won’t surprise you and how to read landscape quotes and compare them fairly.
Step 7: Build Your Spring Timeline
A good timeline keeps everyone calm. Here’s a simple way to map it out:
- Late fall (now): Walk your yard, set your goals, and start collecting ideas.
- Winter: Check local rules, HOA needs, and permits. Meet with a landscape designer and request estimates.
- Late winter: Finalize your design, materials, and contract. Lock in a start window.
- Early spring: Confirm ground conditions. Excavation and base work begin once the ground is workable.
- Mid spring: Hardscape, fire pit installation, gas work, and inspections happen.
- Late spring: Lighting, plantings, and final touches. Then it’s time to enjoy your first fire!
Remember, weather can shift this schedule. Ask your contractor to build in a little flexibility, and confirm your hoped-for first-use date up front. Want to see how our process works? Take a look at our process.
Planning Tips for Different Property Types
Every property has its own needs. Here’s how to tailor your plan:
- Suburban homeowners: Check HOA rules early, and design a patio and seating area that fits your lot size and neighbors’ sight lines.
- Urban condo owners: Look into gas or electric tabletop options, and confirm building and municipal rules before buying anything.
- Commercial property managers: Plan for liability, clear signage, and low-maintenance materials that hold up to heavy use.
- New home builders: Include rough-in gas lines and a patio base in your site plan so buyers see a turnkey outdoor feature.
- Small business owners: A restaurant or shop patio with a fire feature can draw customers on cool evenings. Check fire code and insurance requirements first.
Fire Pit Safety Basics
A beautiful fire pit should also be a safe one. Keep these habits in mind:
- Never leave a fire unattended, and fully extinguish it before you go inside.
- Keep children and pets at least 3 feet from the flames.
- Burn only clean, dry, seasoned hardwood in wood-burning pits.
- Never burn treated lumber, plastics, or construction debris.
- Never use gasoline or other flammable liquids to start a fire.
- Keep water, a hose, or a fire extinguisher nearby.
- Follow all burn bans and local guidelines.
Why Work With a Professional Landscaper?
You can certainly plan much of this yourself. But a professional team brings design skill, material knowledge, and local code experience. They also coordinate the patio, walls, lighting, gas work, and plantings so everything fits together. If you’d like to see examples, browse our gallery, or learn how to choose landscape design services that transform your yard.
You can also look for pros who are active in the industry, such as members of Landscape Illinois. And remember, avoiding common pitfalls helps too. Our guide on 7 hardscaping mistakes to avoid is a great read before you sign anything.
Ready to Start Your Spring Fire Pit Plan?
A great spring fire pit starts with a great plan. Study your yard, check your local rules, pick your fuel and design together, build a strong base, and tie it all into your landscape. Do those things, and you’ll be roasting marshmallows with your favorite people before you know it.
At Serenity Landscape Group, we’ve spent over two decades helping Chicagoland homes and businesses turn ordinary outdoor spaces into places people love. If you’re ready to begin, get a free estimate or call us at (630) 359-5139. Let’s make next spring your coziest one yet!
FAQs
Q: How far should a fire pit be from my house, fence, deck, or trees?
A: The NFPA recommends at least 10 feet from anything that can burn, including your house, fence, deck, and overhanging branches. Your local fire code or the product manual may call for even more space, so always check the exact rule for your site before building.
Q: Do I need a permit to install a fire pit in my yard?
A: It depends on where you live. Permanent installs, gas lines, and wood-burning fires are often treated differently than portable pits, and HOAs may add their own rules. A quick call to your local building or fire department will tell you what you need before you start.
Q: Should I choose a wood-burning or gas fire pit?
A: Wood pits give you that classic crackle and smoky scent, but they need a safe base, spark control, and ash cleanup. Gas pits light instantly and are cleaner, though gas lines often need licensed work and permits. Your choice depends on your lifestyle, budget, and local rules.
Q: What is the best surface to put under a fire pit?
A: Choose a level, stable, noncombustible surface such as pavers, stone, or compacted gravel over a well-prepared base. Avoid placing a fire pit directly on grass, wood decking, or mulch, since these can burn or shift under heat.
Q: When should I schedule a landscaper to build a fire pit?
A: Late fall or winter is a great time to start planning, getting estimates, and booking a spring start window. Actual installation depends on ground conditions and weather, so talk with your contractor about a realistic first-use date.