Key Takeaways
-
Start planning in fall, not spring: Chicagoland's short building season and long winters mean the best contractors and material slots fill early, so late fall through winter is the ideal planning window.
-
Check local permit rules and HOA requirements before buying anything, since requirements vary widely by municipality and review times can delay a spring build.
-
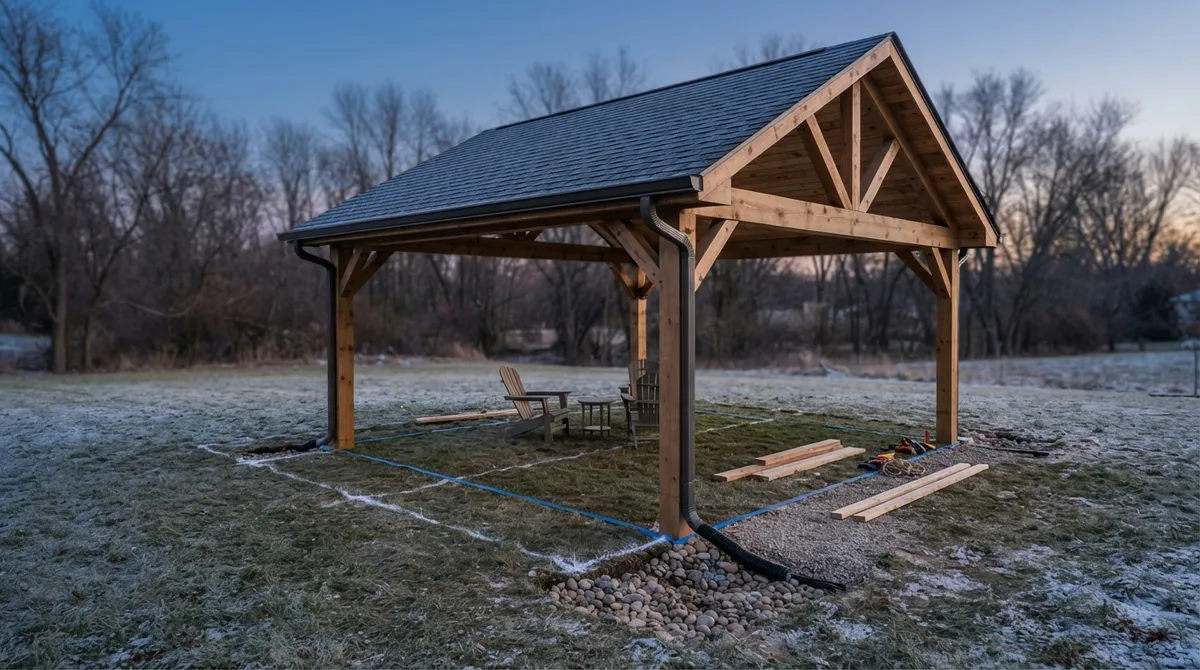
Plan roof runoff from the start with gutters, downspouts, proper grading, and safe discharge points so rainwater doesn't pool on the patio, erode beds, or flow onto neighboring property.
-
Mark the pavilion footprint with chalk or painter's tape and set out real furniture to test sizing and walking room before finalizing the layout.
-
Choose materials and footings rated for Chicago's snow, ice, freeze-thaw cycles, and local wind and snow loads, and confirm footing depth with your building department.
-
Get a detailed written quote and plan electrical before the roof goes on so lighting, fans, heaters, and sound can be installed cleanly and budgets stay predictable.
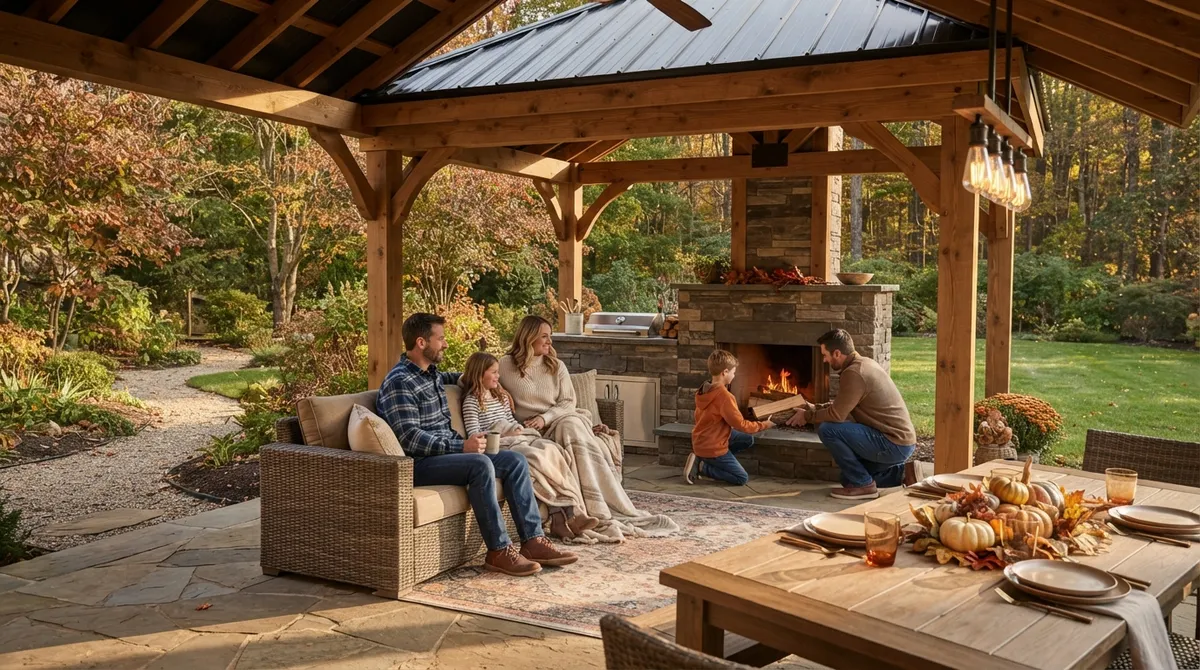
Picture this: it’s a warm May evening, the grill is going, friends are laughing, and a light rain starts to fall. Instead of running for the door, everyone just scoots in a little closer under your new pavilion. That’s the dream, right? And it’s totally doable. But here’s the secret most people learn too late: covered patio pavilion planning for spring doesn’t start in spring. It starts months earlier.
Here in Chicagoland, our building season is short and our winters are long. By the time the snow melts, the best contractors are often booked and material orders are already stacking up. The good news? Right now, in late October 2026, you have plenty of time to plan with a clear head and no rush.
In this friendly guide, we’ll walk you through every step, from picking the perfect spot to handling permits, drainage, materials, and timing. Whether you’re a suburban homeowner, a condo owner with a small outdoor space, or a business owner dreaming of a welcoming patio, you’ll find simple, practical advice you can use today.
Why Start Planning a Covered Patio Pavilion This Fall
Spring is the finish line, not the starting line. A covered patio pavilion is a real structure with a roof, posts, footings, and often lighting and electrical. That means design, approvals, and ordering all come first.
Planning now gives you a few big wins:
- Better contractor availability. Design and scheduling slots fill fast once the weather warms up.
- Time for permits. Review times vary, and you don’t want paperwork to delay your first cookout.
- Smarter material choices. Lead times can vary, so ordering early helps avoid surprises.
- A calmer budget conversation. You can compare options without pressure.
Think of it like planting a garden. The real work happens before the first flower shows up.
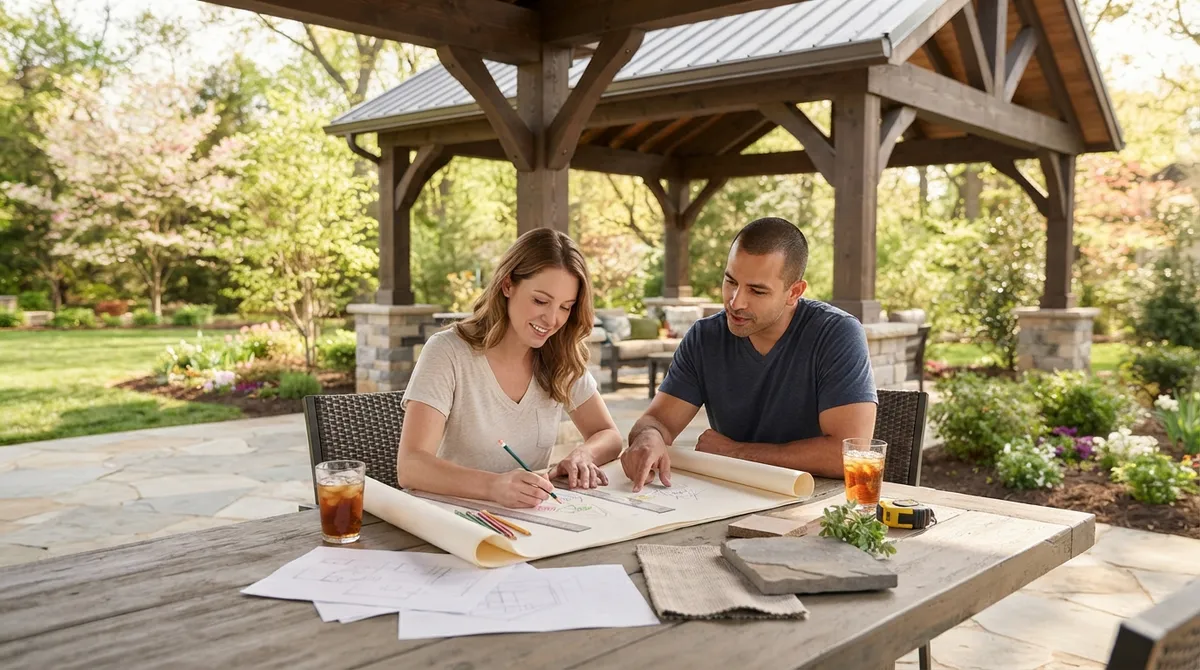
Step 1: Decide How You’ll Actually Use Your Pavilion
Before you pick a roof style or a color, ask one simple question: what do you want to do out there? The answer shapes everything else.
A pavilion for a family of four that mostly eats breakfast outside is very different from one built for 20 guests, an outdoor kitchen, and a big TV. Write down your top uses. Here are some common ones:
- Outdoor dining. Think table size, chair room, and walking space around it.
- Lounging and conversation. Sofas and chairs need more floor space than you’d guess.
- Cooking and entertaining. An outdoor kitchen needs room for appliances, counters, and safe airflow.
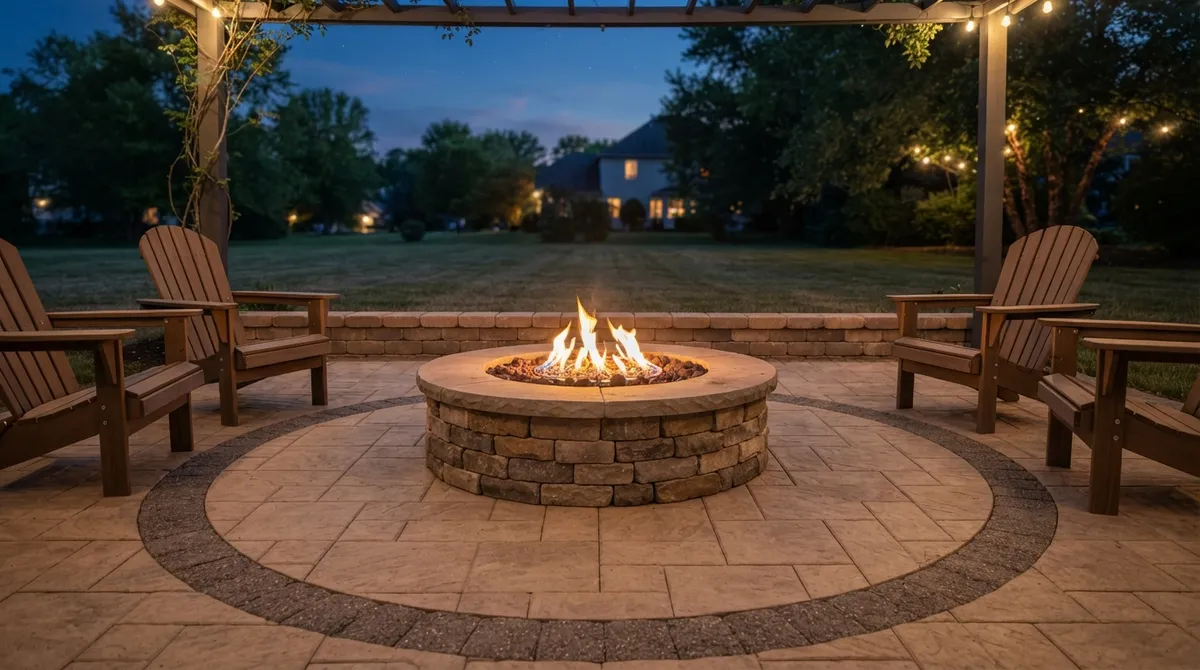
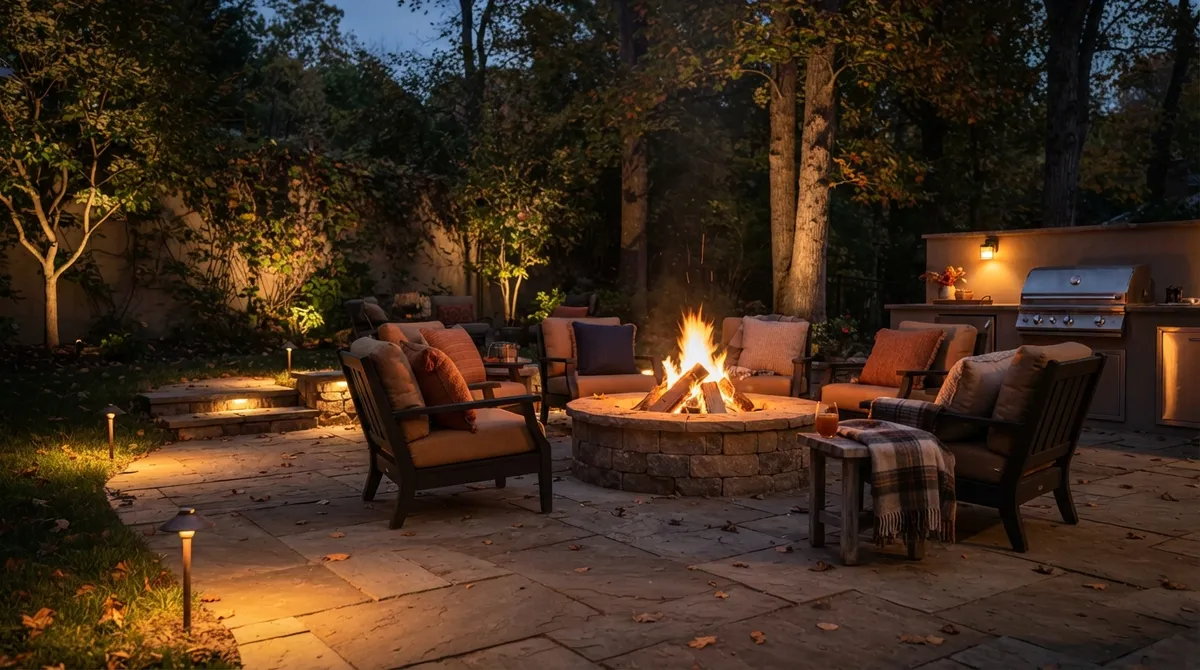
- Fire features. If you want a warm gathering spot nearby, plan the layout early. Our team loves pairing pavilions with fire pits for cozy shoulder-season evenings.
- Quiet retreat. A reading nook or morning coffee spot may need less space but more privacy.
If you’re curious how a well-planned dining setup comes together, this guide on planning a pavilion layout for outdoor dining is a great next read.
Step 2: Pick the Right Spot in Your Yard
Where you put your pavilion matters just as much as how it looks. A beautiful structure in the wrong spot can feel too hot, too windy, or just plain awkward.
Look at Sun, Wind, and Views
Spend a few fall afternoons watching your yard. Where does the sun hit in the morning? Where does the late-day sun feel harshest? Chicago winds can be strong, so notice where gusts tend to blow through. If wind is a concern, designing a pavilion for a windy yard takes a few extra steps worth knowing about.
Think About Trees, Privacy, and Access
Existing trees can offer lovely shade, but falling branches, roots, and leaf litter can cause trouble. Keep the structure a safe distance from large trees. Also think about how you’ll walk from your back door to the pavilion, and from there to the lawn, grill, or garden. A smooth path makes the space feel connected, not tacked on.
Quick checklist for placement:
- Easy walking path from the house
- Good views of your best garden areas
- Privacy from neighbors or busy streets
- Safe distance from large tree limbs and roots
- Room for lighting, power, and future add-ons
Step 3: Choose the Right Size
Sizing is where many people guess, and where many regret it. A pavilion that feels huge on paper can feel tight once furniture goes in.
Here’s a simple way to think about space. These are general planning ranges, and your final layout will depend on your furniture and activities:
| Use | Typical Needs | Planning Tip |
|---|---|---|
| Small dining area | Table plus chairs and walking room | Leave room to pull chairs out comfortably |
| Lounge seating | Sofa, chairs, and a coffee table | Lay out furniture with painter’s tape first |
| Outdoor kitchen | Counters, appliances, and prep space | Plan clearances and ventilation early |
| Large entertaining | Dining, lounge, and circulation space | Zone the space so it doesn’t feel crowded |
Here’s a fun trick. Mark your pavilion footprint on the patio with chalk or painter’s tape and set out your real furniture. Walk around it. Does it feel comfortable? You’ll know fast.
Step 4: Check Permits and Local Rules Early
This is the step nobody loves, but it can save you from big headaches. Permit rules vary a lot from place to place. For example, some cities require permits for all covered structures, while others exempt certain smaller covers under specific conditions. Portland’s guidance, as cited in our research, says some attached patio covers up to 200 square feet may not need a building permit, while detached covers over 200 square feet do. San Diego describes a possible exemption for some residential patio covers up to 300 square feet, with exceptions for things like setbacks and coastal areas. Milpitas requires a permit for covers attached to the main structure and for detached covers over 120 square feet.
Those examples come from other parts of the country, so don’t treat them as Chicago-area rules. The big lesson is simple: rules differ, so check yours before you buy anything. Contact your village or city building department and ask about:
- Whether your pavilion size and type need a permit
- Setback rules from property lines
- Height limits
- Foundation and footing requirements
- Any HOA approval you might need
If you live in an HOA community, get approval in writing before construction starts. Reviews can take time, which is another reason fall is a smart time to begin.
What You May Need for Permit Review
Local guidance often asks for a site plan and structural details. This can include property lines and setbacks, structure dimensions and height, roof framing, foundations, connections, and drainage. A good contractor will help you pull this together. Our design and build process is built to keep these details organized from the start.
Step 5: Plan for Roof Runoff and Drainage
Here’s one people forget until the first big rain: a roof sends a lot of water somewhere. Without a plan, that water can pool on your patio, erode planting beds, or wash toward your foundation or a neighbor’s yard.
Smart drainage planning often includes:
- Gutters and downspouts to guide water away from the structure and patio.
- Proper grading so water flows away from foundations and doesn’t pond.
- Safe discharge points that don’t send runoff onto neighboring property.
- Erosion control with planting or stone where water exits.
Some local codes also set a minimum roof slope for drainage. San Diego’s guidance, for instance, cites a minimum slope of 1/4 inch per 12 inches, but that’s a local detail, not a universal rule. Your contractor and local building department can tell you what applies to you.
If your yard has slopes or low spots, structures like retaining walls and smart grading can make a big difference in how water behaves around your new space.
Step 6: Choose Materials That Fit Chicago Weather
Our winters bring snow, ice, and freeze-thaw cycles. Our summers bring heat, humidity, and sudden storms. Your pavilion materials need to handle all of it.
Here’s a quick comparison to get you thinking:
| Material | Look and Feel | Upkeep | Things to Consider |
|---|---|---|---|
| Wood | Warm, natural, classic | Needs regular sealing or staining | Beautiful, but plan for maintenance |
| Metal | Clean, modern lines | Typically lower upkeep | Check finish quality and noise in rain |
| Composite or other systems | Varies by product | Often lower upkeep | Confirm suitability for local loads |
Whatever you choose, confirm that the system is rated for local wind and snow loads. Your contractor and local code will guide this. For cold-climate tips, take a look at which pavilion materials handle cold climates best.
Also think about how your pavilion will match your home. A stone or brick home may look stunning with matching columns. A modern home may call for clean lines and darker finishes. For design inspiration, browse our gallery of our work or read about what pavilions are and how they transform an outdoor space.
Step 7: Build a Solid Foundation and Patio Surface
A pavilion is only as strong as what’s underneath it. Posts need proper footings, and footing depth in our region has to account for frost. Your local building department will tell you the required depth.
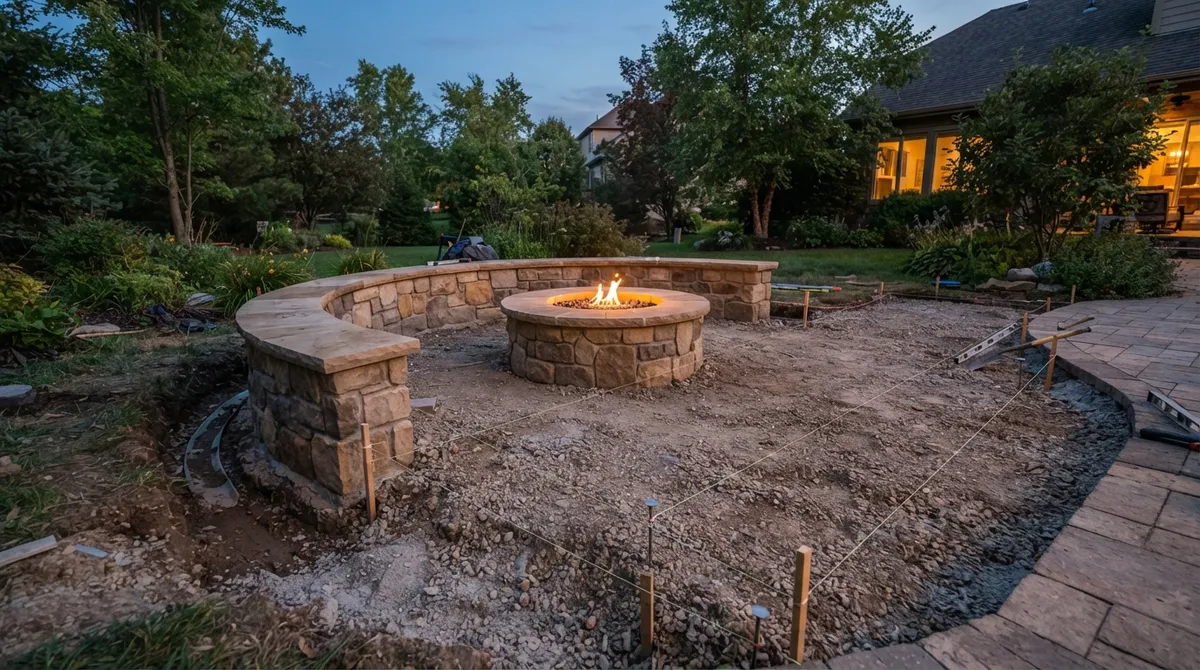
Your patio surface matters too. Durable pavers are a popular choice because they handle freeze-thaw movement well and look great. If you want a deeper dive, check out why landscape pavers are a top choice for Chicago homes. Many homeowners pair a pavilion with a new paver patio so the structure and surface are designed together.
If you already have a patio, a professional should confirm it can support the new structure or whether new footings are needed.
Step 8: Add Lighting, Sound, and Comfort
This is the fun part. A pavilion truly shines after dark when it’s lit well. Plan your electrical early, before the roof goes on, so wires can be hidden neatly.
Popular add-ons include:
- Soft overhead or perimeter lighting for dining and walking safety
- Accent lights that highlight posts, plants, and stonework
- Outdoor speakers for background music
- Ceiling fans for warm nights
- Heaters for chilly spring evenings
Our lighting and sound services can help you build a layered plan, and you can explore outdoor sound systems for covered pavilions for ideas.
Step 9: Tie It Into the Landscape
A great pavilion doesn’t look dropped in. It looks like it belongs. Planting beds, paths, and softer touches help it blend into your yard and feel intentional.
Consider layered plantings around the base, privacy shrubs, and seasonal color near the entrance. Thoughtful softscapes soften hard edges and make the space feel welcoming. If you want to understand how plants and structures work together, this guide on choosing between landscaping and hardscaping is a helpful starting point.
Think about lawn edges, too. Some homeowners add artificial turf beside the pavilion for a clean, low-maintenance play or pet area.
A Look at Costs and Budget Planning
Let’s talk money, because it matters. Costs vary a lot depending on size, materials, site work, electrical, and labor. One commercial 2025 guide estimates covered patios at roughly $50 to $150 per square foot, with averages in the $10,000 to $22,500 range. Treat that as a broad, non-authoritative estimate. Your real number could be lower or higher.
Here’s what tends to push cost up or down:
- Size and height: Bigger structures need more material and stronger framing.
- Material choice: Premium woods, stone columns, and custom finishes cost more.
- Site work: Grading, drainage, and tree removal add to the project.
- Utilities: Electrical, gas lines, and plumbing for kitchens add cost.
- Extras: Lighting, heaters, fans, and sound systems build up quickly.
The best way to avoid surprise costs is to get a detailed written quote. This guide on reading landscape quotes and comparing them fairly can help you spot what’s included and what’s not.
Your Fall-to-Spring Planning Timeline
There’s no universal construction calendar, since weather and local rules vary. But here’s a friendly roadmap you can adjust:
- Late fall: Define your goals, watch your yard, and start collecting ideas.
- Early winter: Meet with a landscape designer, review concepts, and ask about permits and HOA rules.
- Mid-winter: Finalize the design, get your written quote, and submit permit paperwork if needed.
- Late winter: Confirm material orders and lock in your installation window.
- Early spring: Prep the site as soon as conditions allow, then build.
Remember, ground conditions, frost, and weather can shift the schedule. Staying flexible and communicating with your contractor goes a long way.
Tips for Different Property Types
Not every property needs the same plan. Here are a few quick thoughts:
- Suburban homeowners: Check HOA rules early, and plan for entertaining, privacy, and long-term durability.
- Urban condo owners: Smaller spaces need smart design. Confirm building rules, structural limits, and any rooftop restrictions before anything else.
- Commercial property managers: Focus on low maintenance, drainage, and accessibility so the space works for guests year-round.
- New home builders: Coordinate the pavilion with grading, utilities, and landscape installation so the finished home feels complete.
- Small business owners: A well-lit, welcoming pavilion can extend your outdoor seating season and boost curb appeal.
What to Look for in a Pavilion Contractor
The right partner makes everything easier. Look for a team that offers design, hardscape, and landscape services under one roof, so your pavilion, patio, lighting, and plantings all work together. Ask for examples of past projects, clear written scopes, and a plan for permits, drainage, and cleanup.
You can also check credentials and industry involvement. Organizations like Landscape Illinois support professionals in the field, and the ICPI Certified Installer program is a helpful reference when your project includes paver work. For general guidance on local building rules, your village or city building department is always your best authority.
At Serenity Landscape Group, we’ve spent over two decades helping Chicago-area homeowners and businesses turn open yards into places people love to be. If you’re curious about styles and options, take a look at our pergolas and pavilions page and our guide to stunning pergola designs.
Ready to Start Your Spring Pavilion Plan?
A great covered patio pavilion doesn’t happen by accident. It comes from thoughtful choices about use, placement, size, permits, drainage, materials, and timing, and the earlier you begin, the smoother spring will go. Every step you take this fall brings you closer to those effortless, rain-or-shine evenings outside.
If you’re ready to turn your ideas into a real plan, we’d love to help. Get a free estimate and let’s talk about your space, or call us at (630) 359-5139 to chat with our friendly team. Let’s make next spring your best outdoor season yet.
FAQs
Q: Do I need a permit to build a covered patio pavilion?
A: It depends on where you live. Some cities require permits for all covered structures, while others exempt smaller ones under certain conditions, so always check with your local building department before buying materials or starting work. Your HOA may have its own approval process too.
Q: How much does a covered patio pavilion cost?
A: Costs vary widely based on size, materials, site work, and extras like lighting and electrical. One commercial guide suggests roughly $50 to $150 per square foot, but that’s only a broad estimate, so a detailed written quote for your specific yard is the best way to know your real budget.
Q: When should I start planning a pavilion for spring installation?
A: The sweet spot is fall or early winter. That gives you time to confirm permits, line up your contractor, order materials, and prepare the site before the busy building season begins. There’s no single universal schedule, so build in a little flexibility for weather.
Q: How do I handle roof runoff and drainage around a pavilion?
A: Plan for gutters, downspouts, and smart grading so water flows away from your patio, foundation, and neighboring property. Good drainage prevents ponding and erosion, and your contractor can design it right into the project from day one.
Q: Which pavilion materials work best in the Chicago area?
A: Wood, metal, and composite systems can all work well if they’re rated for local wind and snow loads. The best choice depends on your style, budget, and how much upkeep you want to take on, so it helps to talk through the pros and cons with a landscape professional.